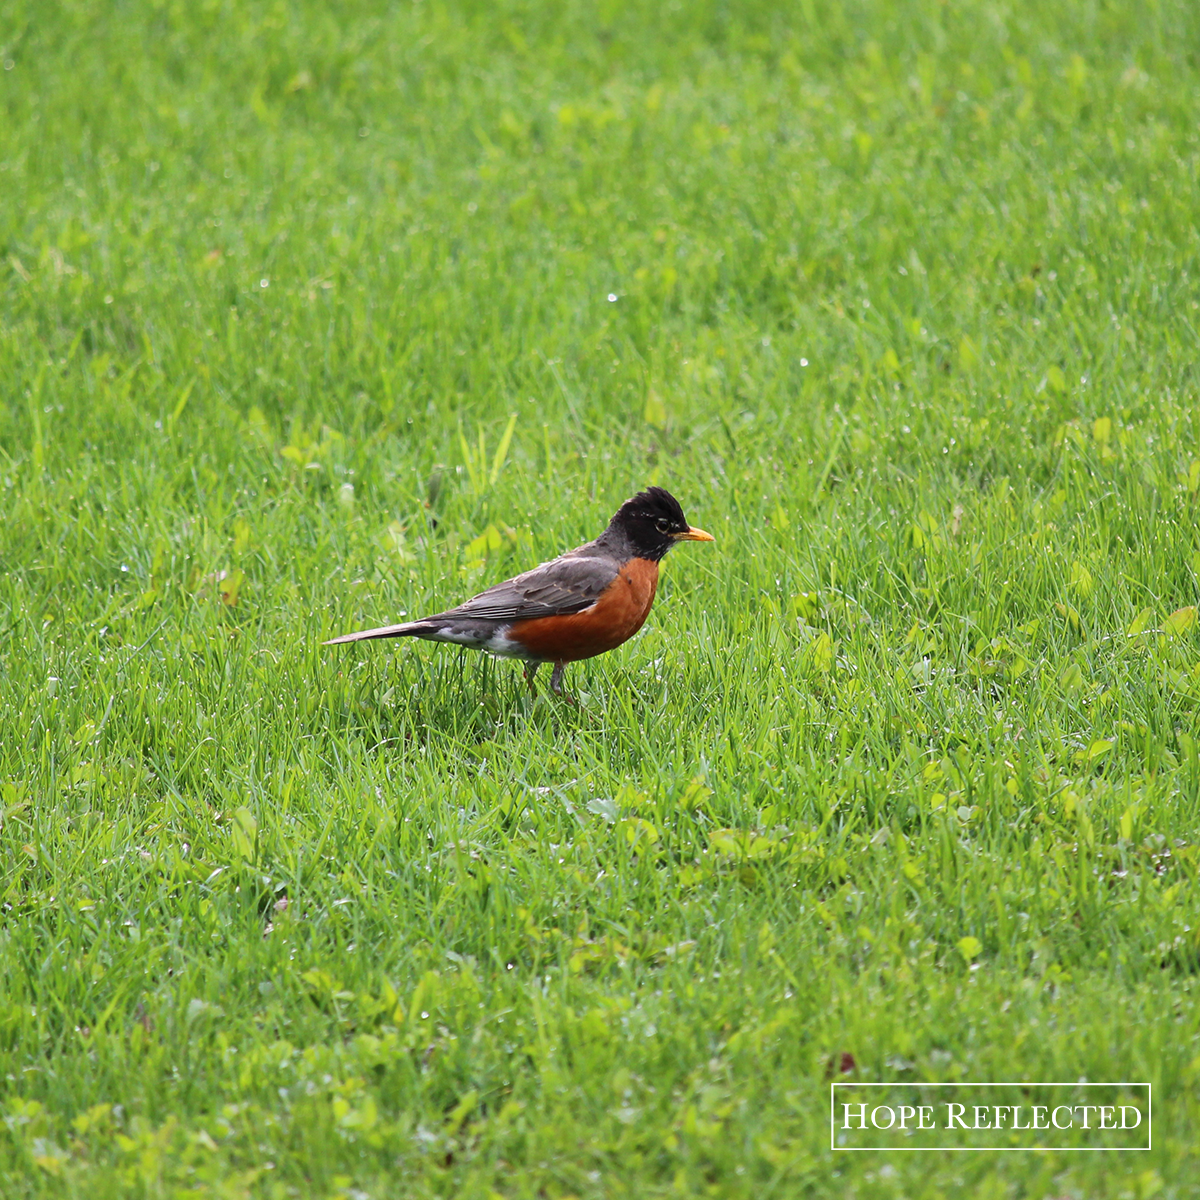
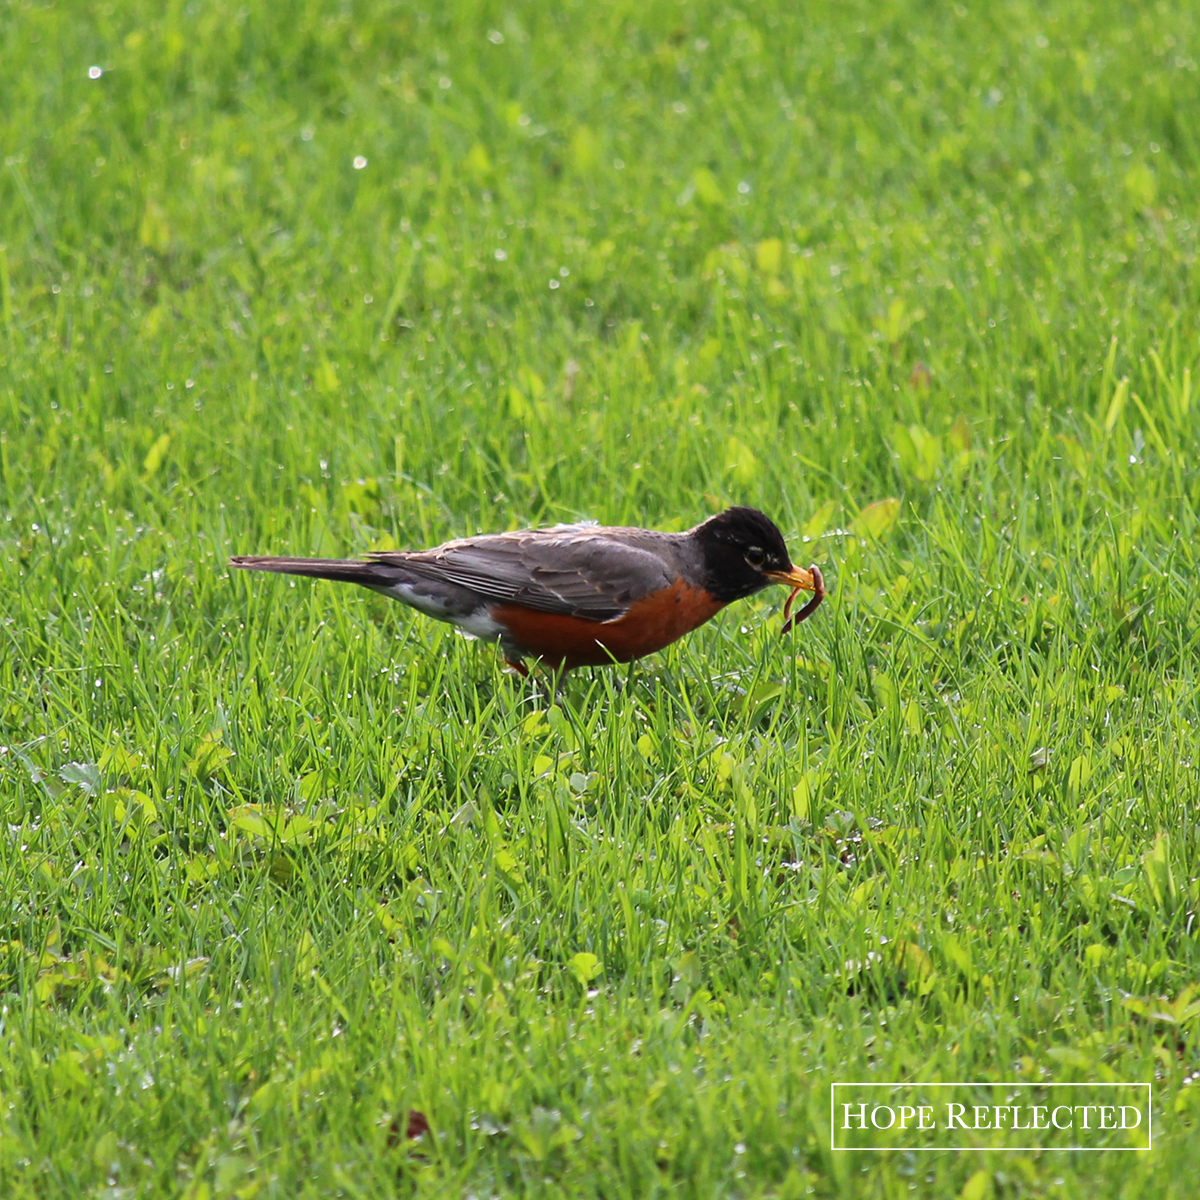
Tips for helping robins
Written by H, Posted in Gardening
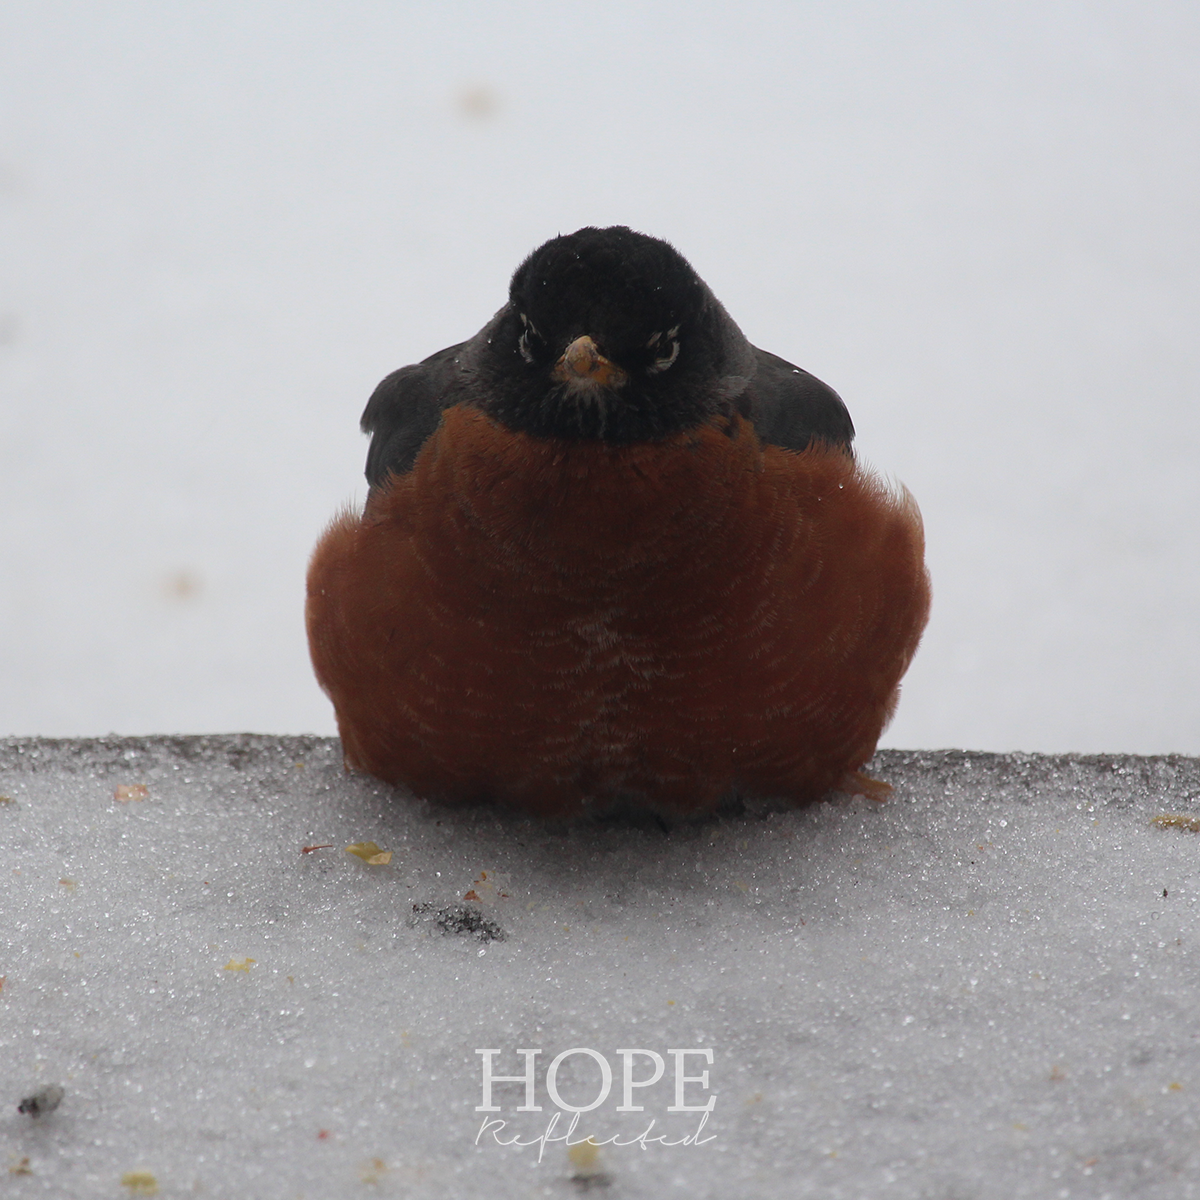
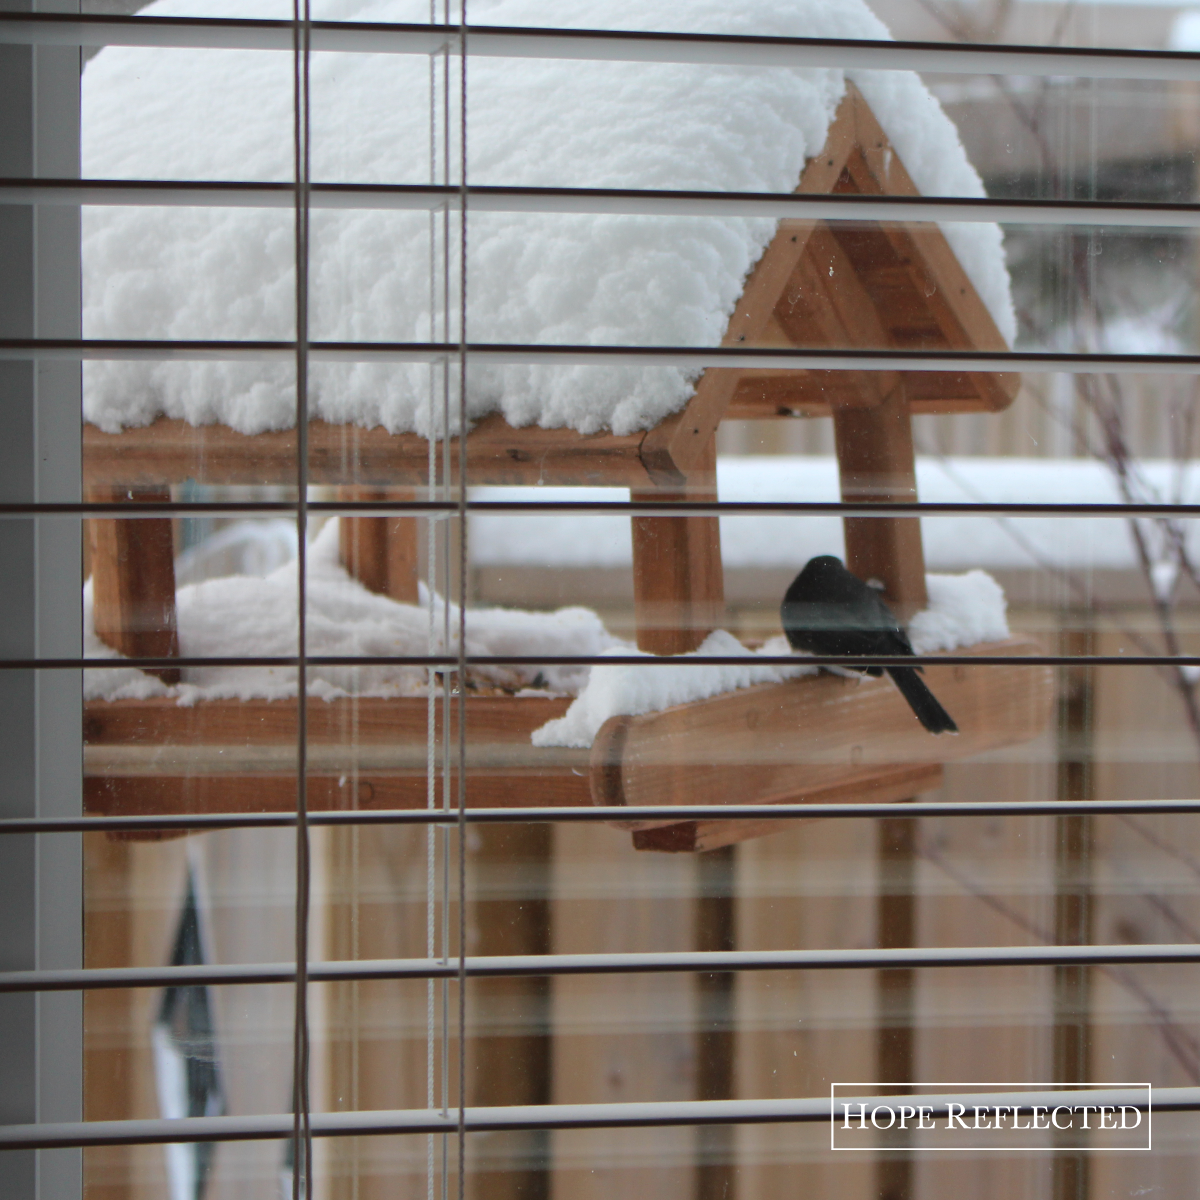
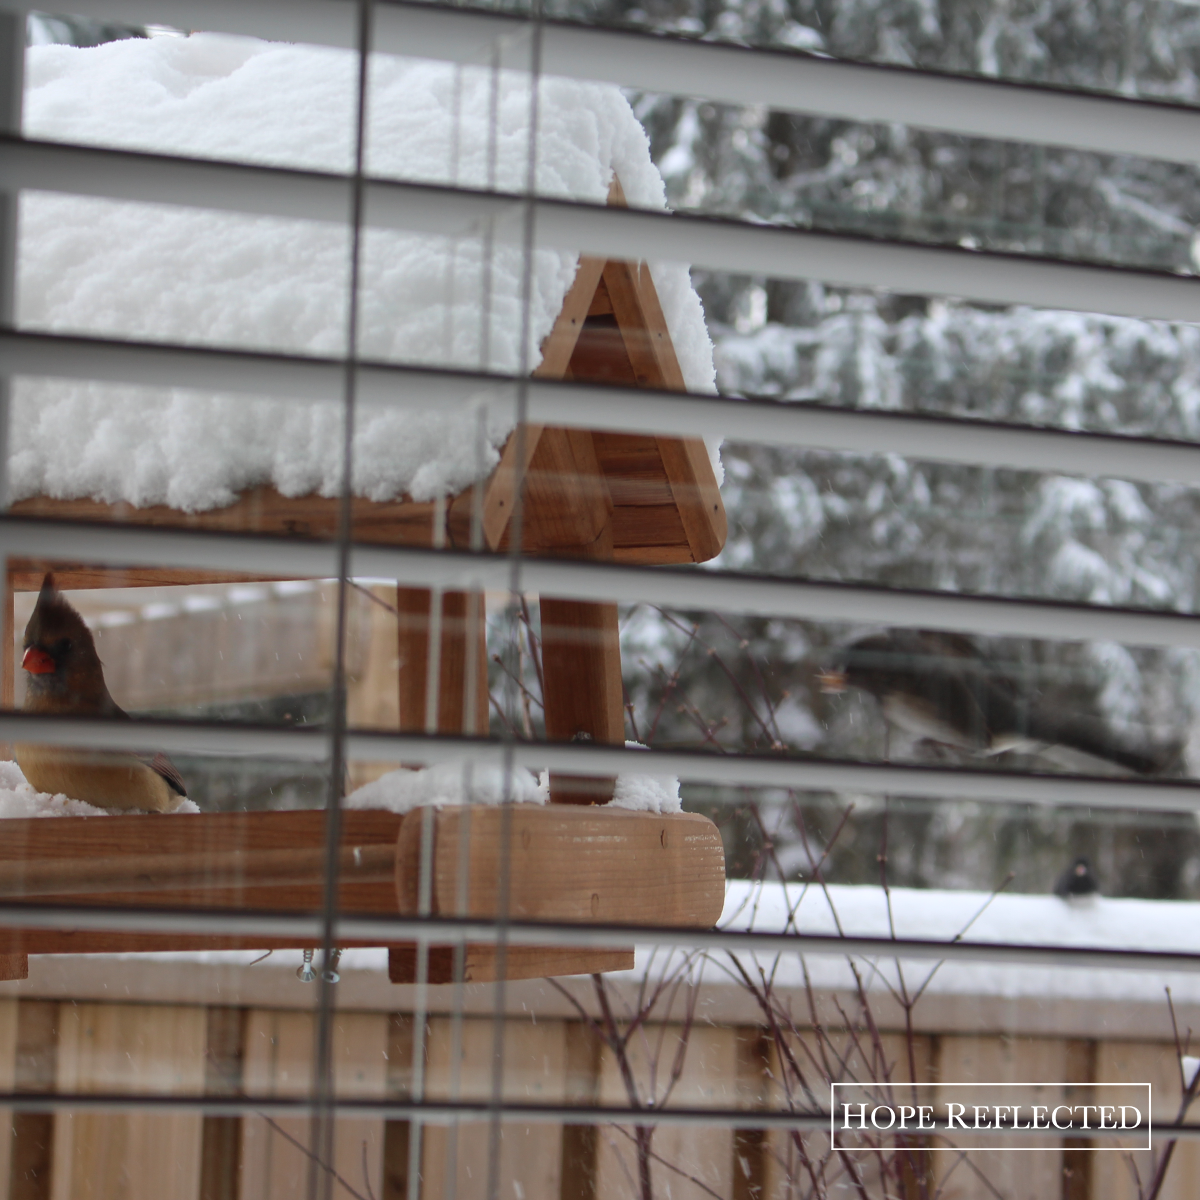
I think we all understand that it’s no longer winter, but seeing as we’re experiencing one last (we hope) blast of winter before spring sets in, today I’m sharing some tips for helping robins. You’ve likely noticed all the robins flitting about in your yard, along the sides of road ways, and in the streets.
Here are some suggestions and tips for helping robins in winter (or in this unseasonable stormy and cold spring):
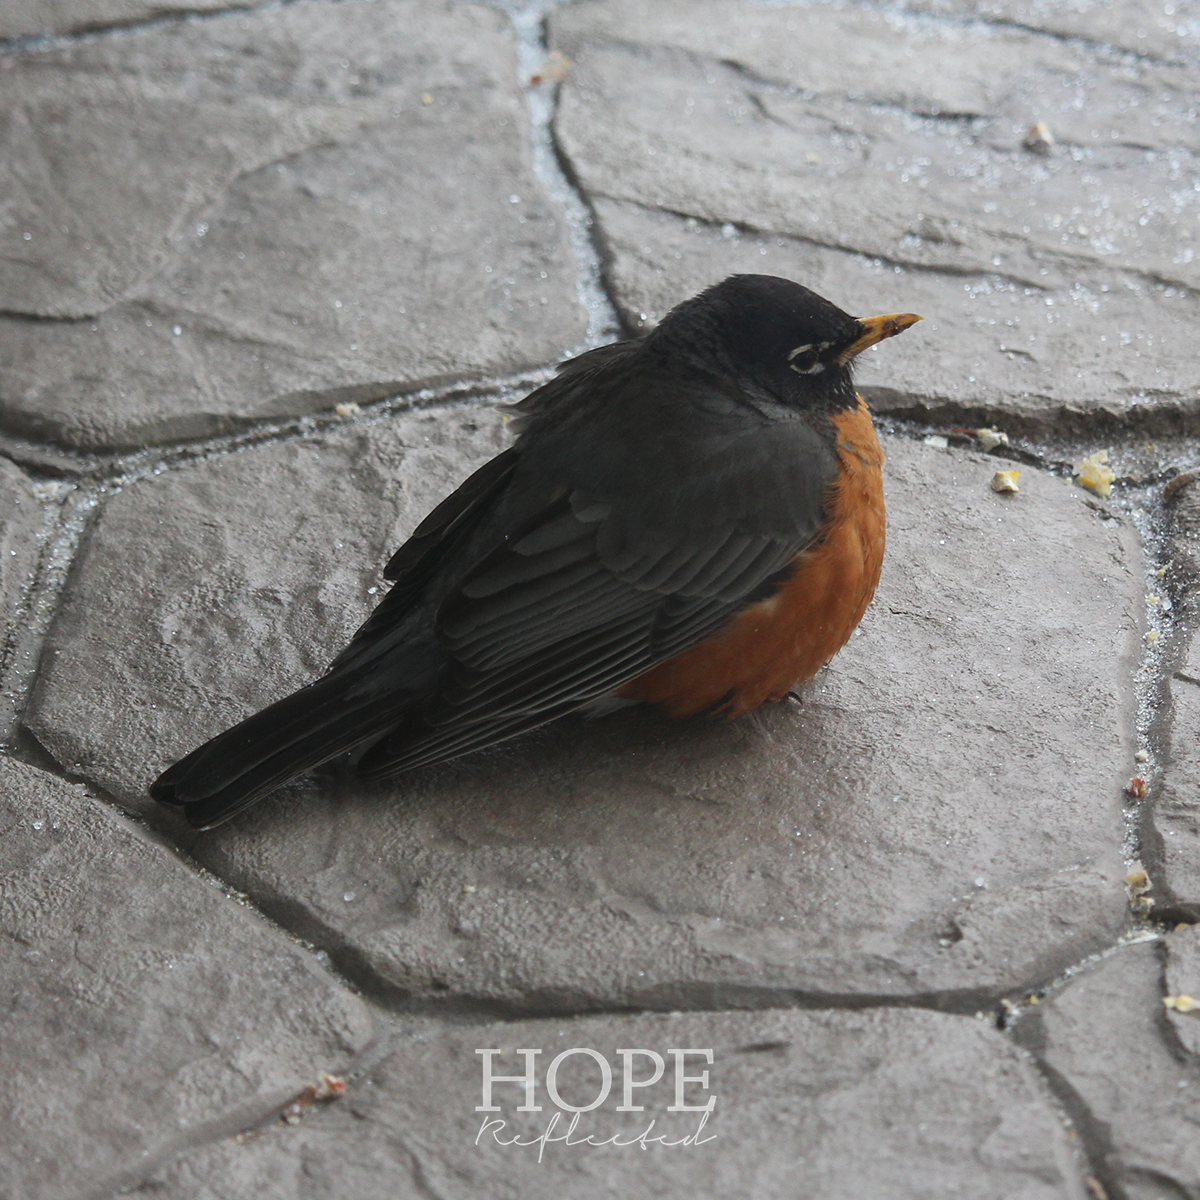
- It’s a misconception that robins only eat worms. Robins also enjoy various types of berries, and they’ll even eat cracked corn. If you have robins in your yard, set out some berries to help the little guys get through this cold spell: Blueberries, strawberries, raspberries, raisins, and even apple chunks are favourites.
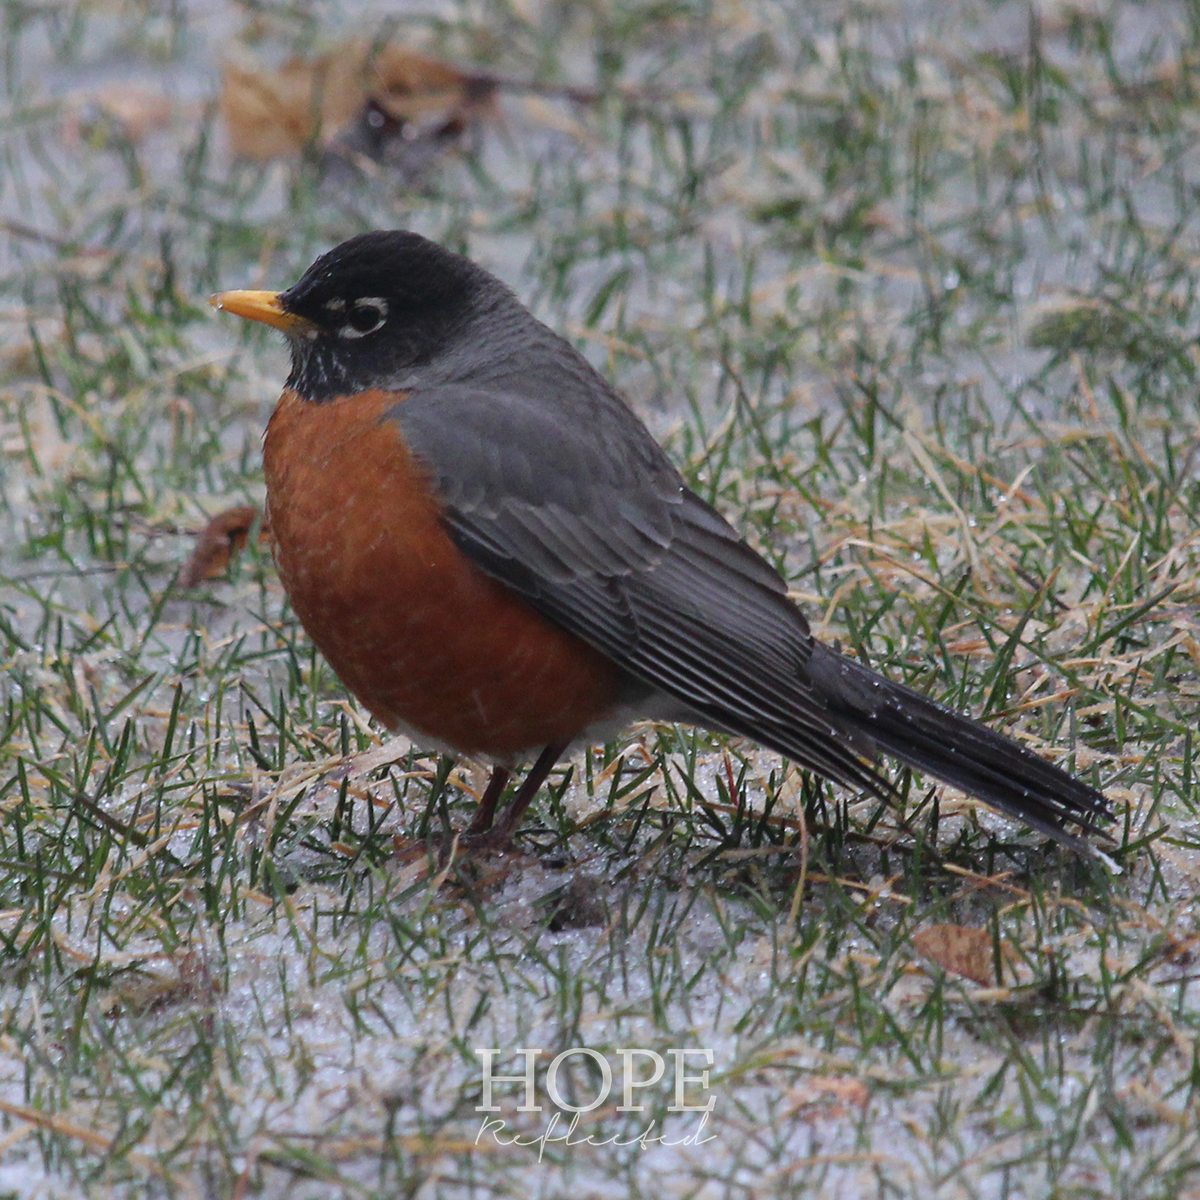
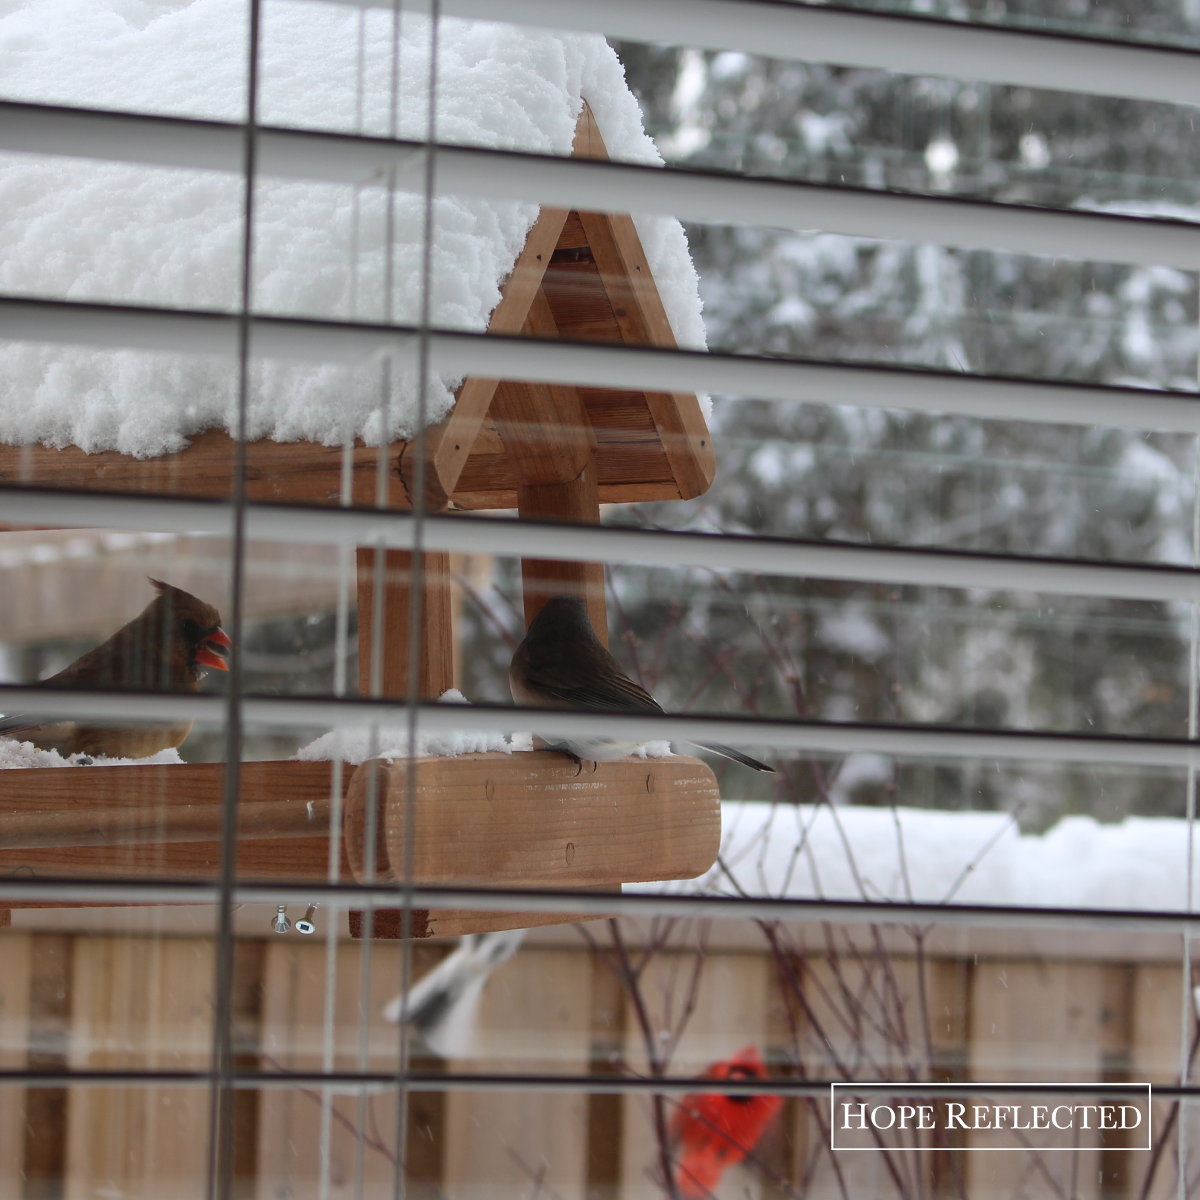
- Fresh water. You may think that we’ve got enough precipitation, however even in these cold and freezing temperatures, it’s important for robins (and other birds) to stay hydrated and have a fresh source of water for keeping clean.
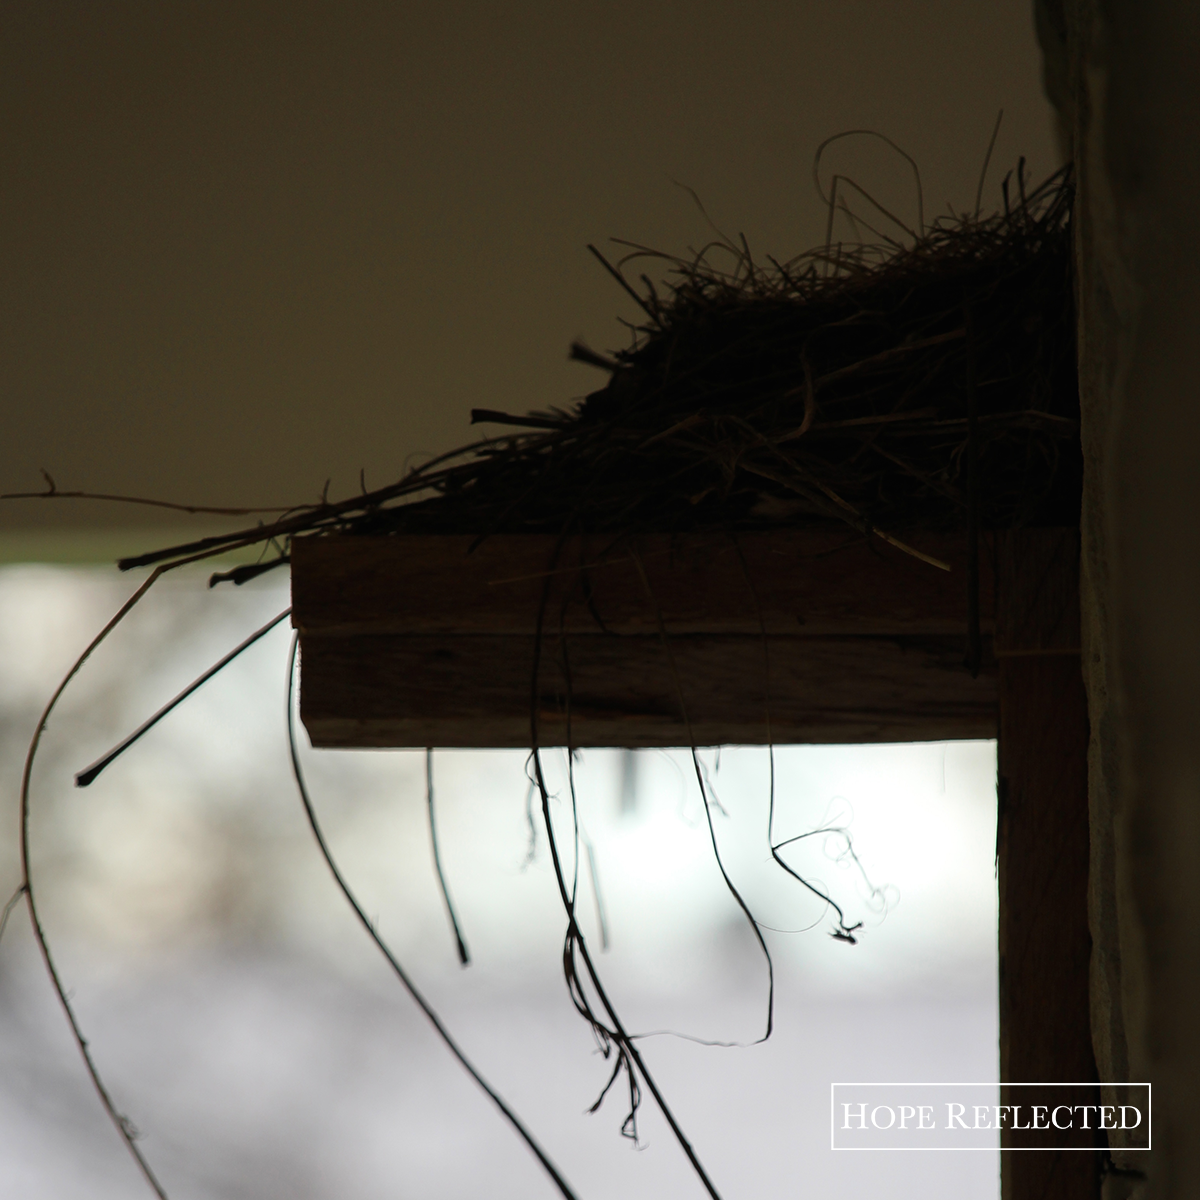
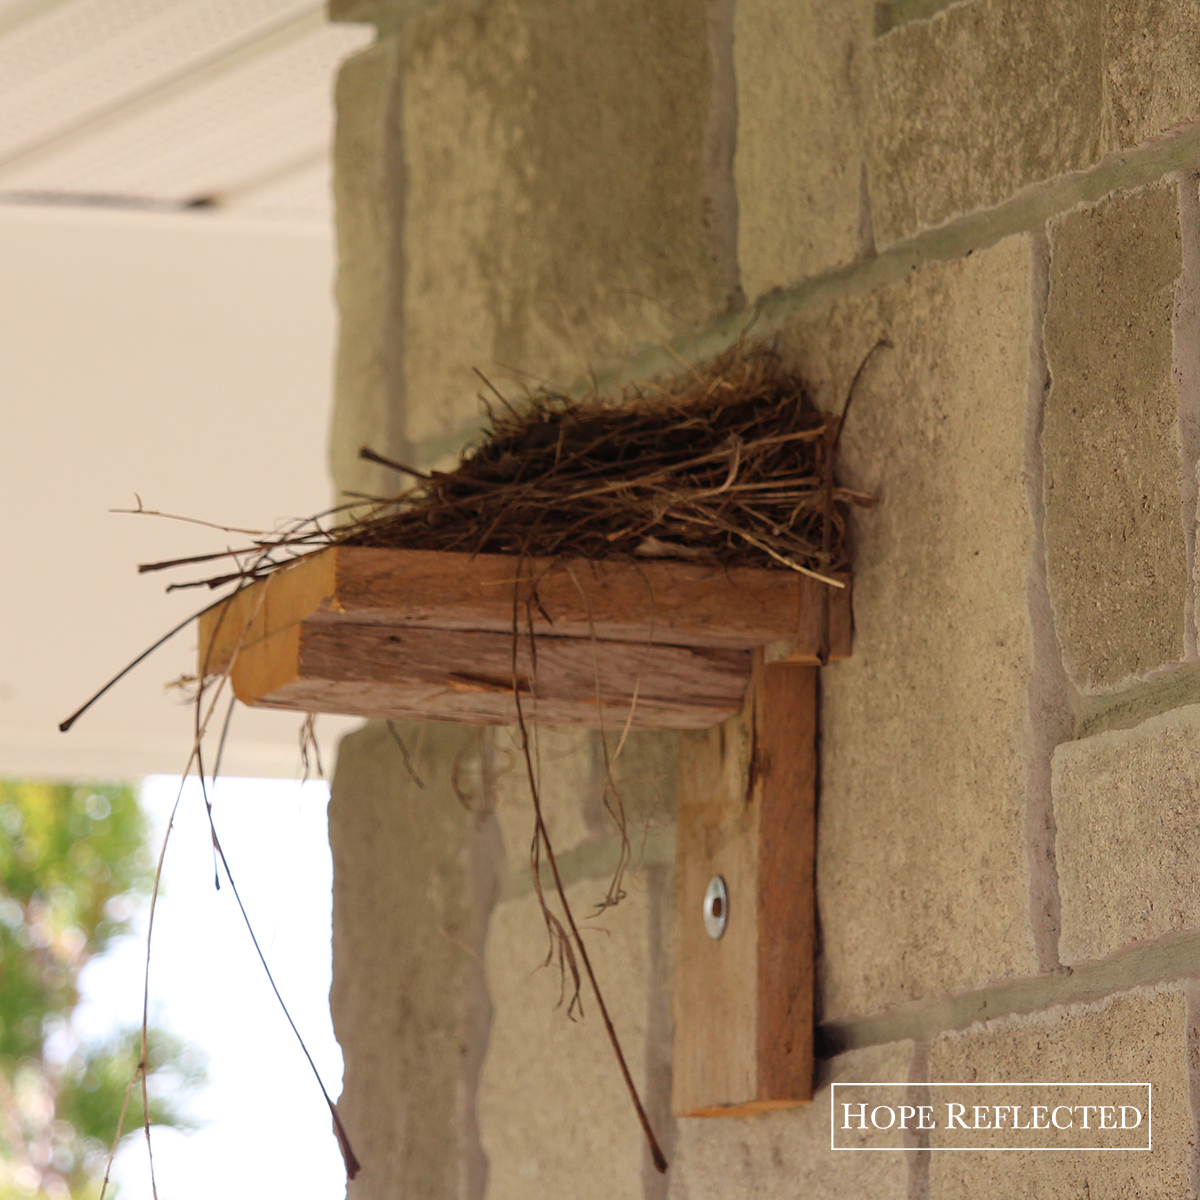
- Ground to forage. This one is tough, especially with that layer of ice that seems to be covering everything, however if you’re able to clear a spot on the ground, robins are creatures who love to forage. You’ve likely noticed them along the sides of your house, or in any place where there’s a clearing (like on the sides of highways and streets).
- Don’t panic. We have this notion that robins can’t survive cold temperatures or that since they’ve migrated north after all winter that they’re not accustomed to or can’t handle winter weather. They can! But that doesn’t mean we can’t help them out.
For more information about robins, visit Living With Wildlife.


![Matthew Henry wrote of these verses that "Now his patience is waiting on us, his word is calling to us, and his Spirit striving with us. Let us now improve our advantages and opportunities; for now is the accepted time."
Seeking after Christ will not always be easy, nor will it always be convenient, but it is the right thing to do.
.
.
.
You can read more of "Seeking after Christ" on hopereflected.com [link in bio]
.
.
.
#seekingJesus #SeekingChrist #pursuitofGod #church #Bible #hopereflected](https://www.hopereflected.com/wp-content/plugins/instagram-feed/img/placeholder.png)