Planning Your Spring Garden
Written by H, Posted in Gardening
The middle of winter is a great time to get dreaming about your spring garden! Wes and I have already started planning our outdoor projects for the warmer weather, and we are so excited for gardening this year. You may be wondering how to start planning your spring garden, or where to start, so here are some tips to get a head start on planning your outdoor living oasis.
Planning your spring garden doesn’t have to be hard, in fact, quite the opposite! It should be a fun experience; a time to take note of the outdoor projects you want to complete, and narrow down a list of what’s actually realistic for one season.
Tips on planning your spring garden:
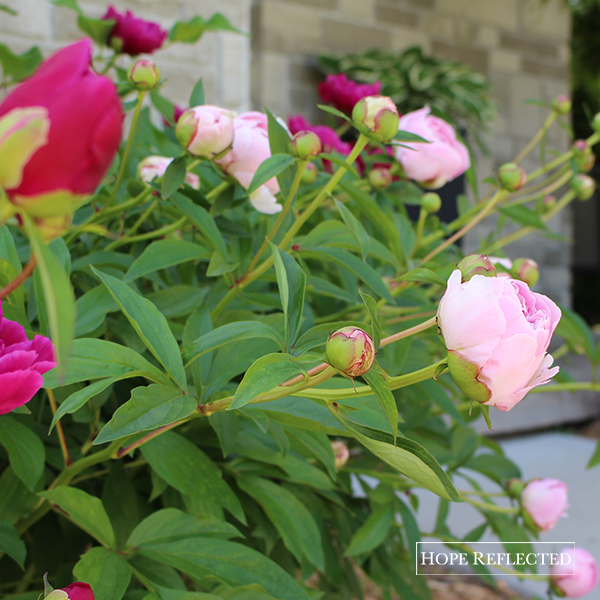
1. Take note of the perennials already in your garden. This will help you determine what (if any) new varieties you want to introduce in the spring. Keep in mind that some perennials — such as hostas or peonies — expand and grow year after year. Unless you catch the peonies before they go to seed, expect more peonies this spring (and that’s a beautiful thing)!
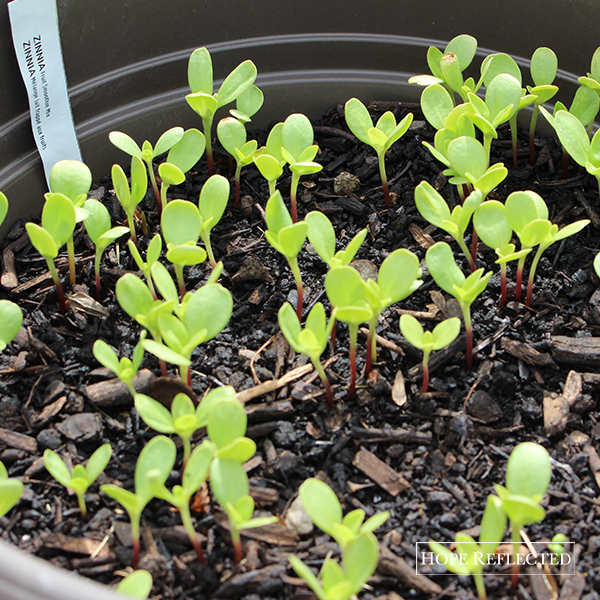
2. Determine what annuals you want to include in your garden. This can be as easy as looking online, browsing local seed catalogues, and figuring out what’s going to work for your outdoor space. Depending on the annual, you’ll want to get your seeds early, and possibly even start them indoors before the thaw. Last year, Wes and I tried our hand at a few different annuals. While our zinnias started out strong, in the end only the bachelor buttons survived. Prepare yourself by getting any potting supplies you’ll need for spring (we like to pot our annuals, as it makes for a portable garden).
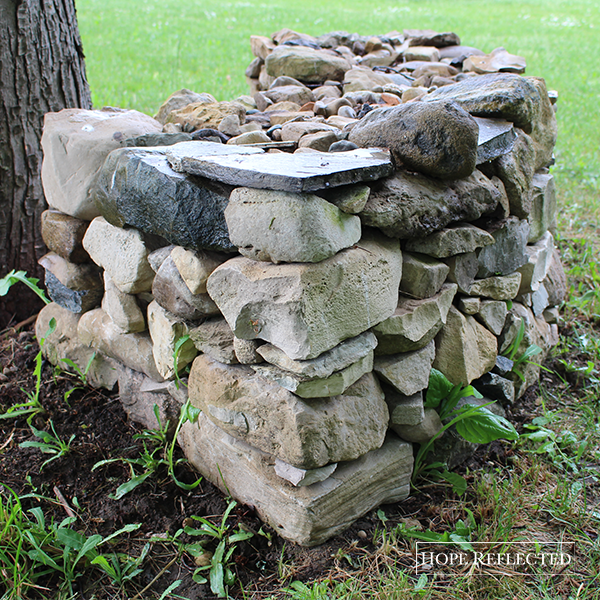
3. Start preparing for any major outdoor projects now. Many people have a misconception that planning your spring garden involves solely plants. Not so! If you’ve got dreams of building an outdoor patio or outdoor living area, get your plans completed now so when the weather breaks you can start strong! Last summer, Wes built a few dry lay stone benches, and also completed a dry lay border around our gardens. We had the supplies in hand long before the outdoor work actually got started.
4. Cultivate what you already have. It can be tempting when spring rolls around to get all excited about new plants and making changes to your property, and rightfully so! However, keep in mind while planning your spring garden that you need to care for what you have already planted. Cultivating a full and lush garden involves a lot of manual work, and consistent maintenance makes that work a little easier to manage. Did you trim back any perennials in the fall and do a final weed? If not, get ready to weed your garden and trim back any old growth before your plants come out of dormancy.
If you’re looking for more tips on how to get planning your spring garden, head over to my Pinterest and check out my Gardening board.






![False friends or counterfeit kindness; whatever you want to call it, the world is filled with people who will say one thing to your face and then another behind your back; people who will woo you in order to get something from you.
It’s sad, but it’s true.
The Bible provides us with examples from Joab to Judas, and yet, we’re surprised when we find ourselves deceived and hurt by someone else.
So what are some of the hallmarks of a true friend?
You can read more about this on hopereflected.com [Link in profile]
.
.
.
#friends #friendship #kindness #counterfeitkindness #hurt #proverbs #truefriends #hopereflected #blog #blogpost](https://www.hopereflected.com/wp-content/plugins/instagram-feed/img/placeholder.png)