Hope Reflected

Encouragement and Hope from God's Word

gardening Archive

Tuesday

19

September 2017

Hope’s How-To | Dry Lay Stone Border

Written by , Posted in Gardening, Hope's How-To

Several of you have asked why we haven’t shared any photos of what we’ve been working on in our garden and yard so far this year. Well, friends, it’s been a full summer! Wes and I have both commented to each other several times that we feel that we’ve hardly had any time to be at home this summer and just… be. Anyone else with us?!

How to build a stone border | See our latest garden stone border at hopereflected.com

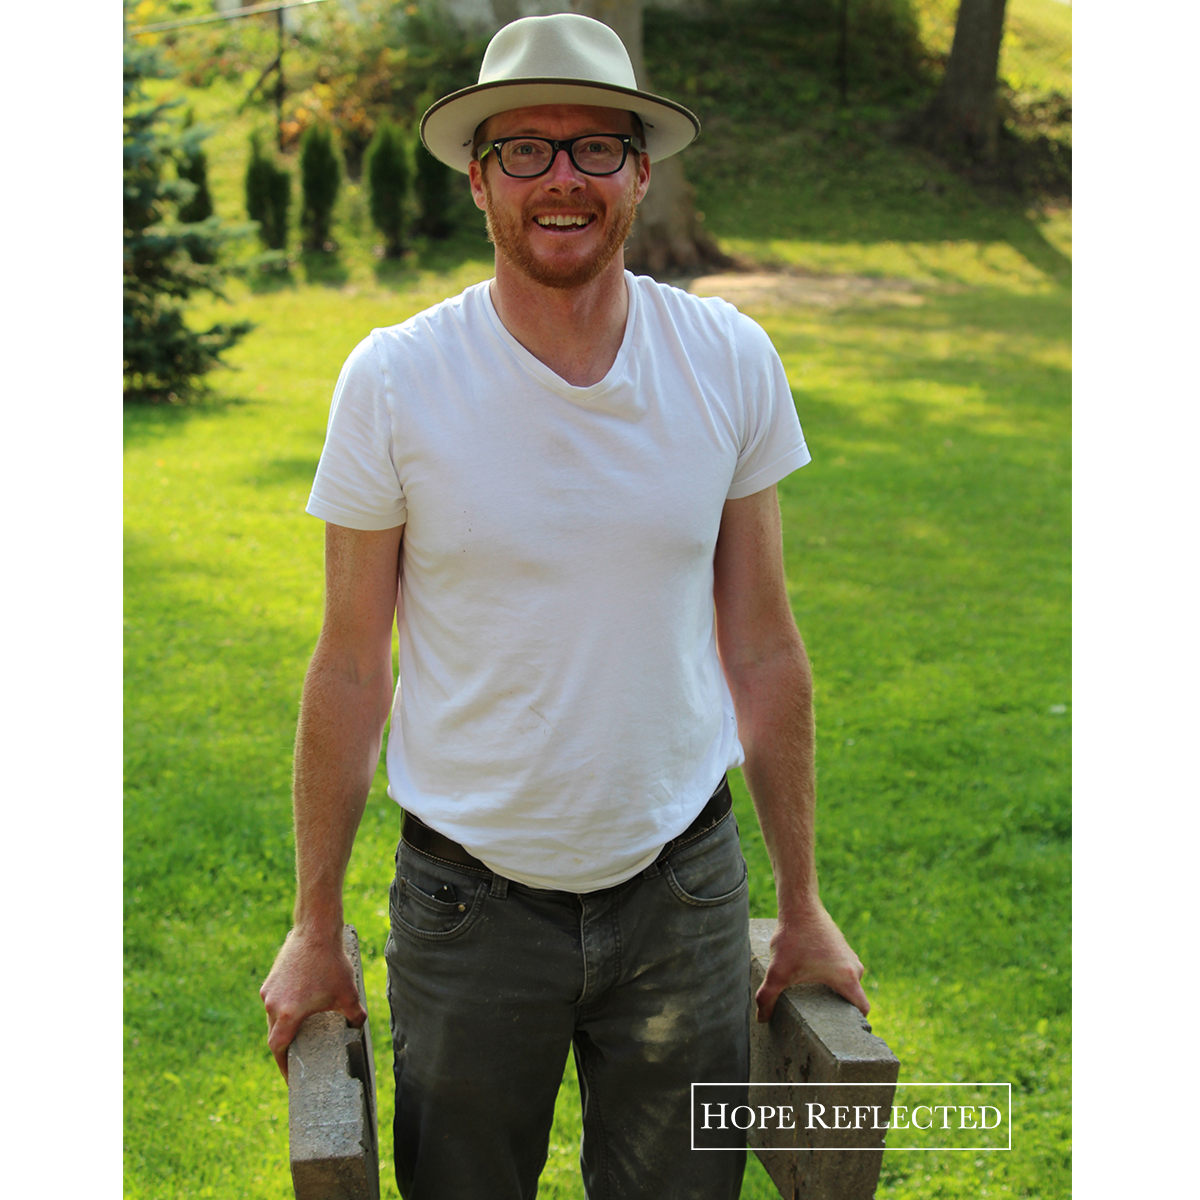
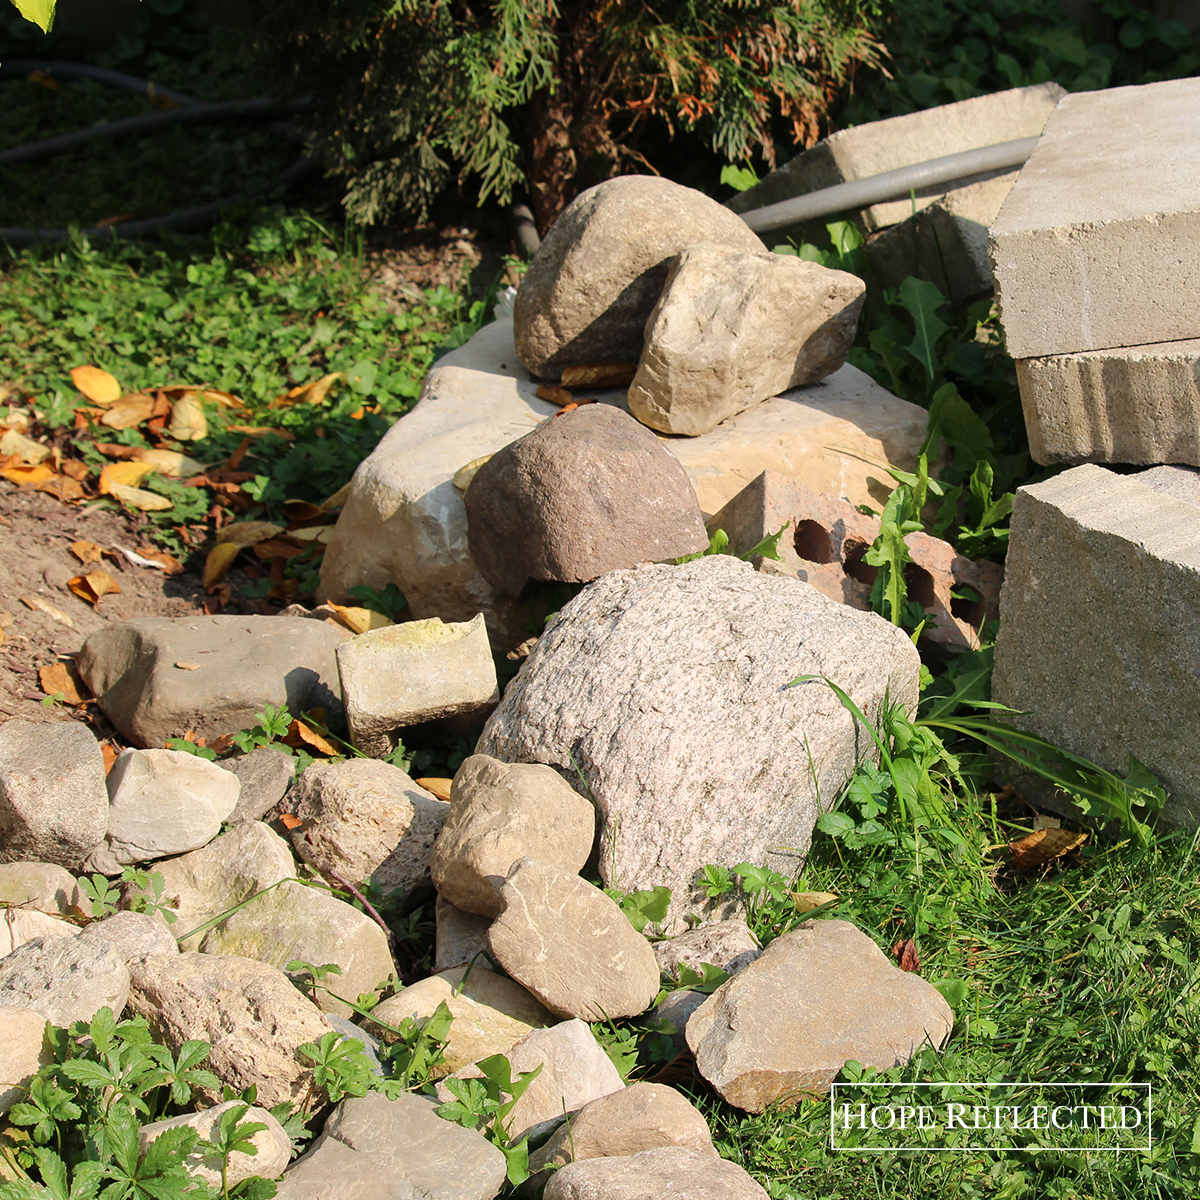
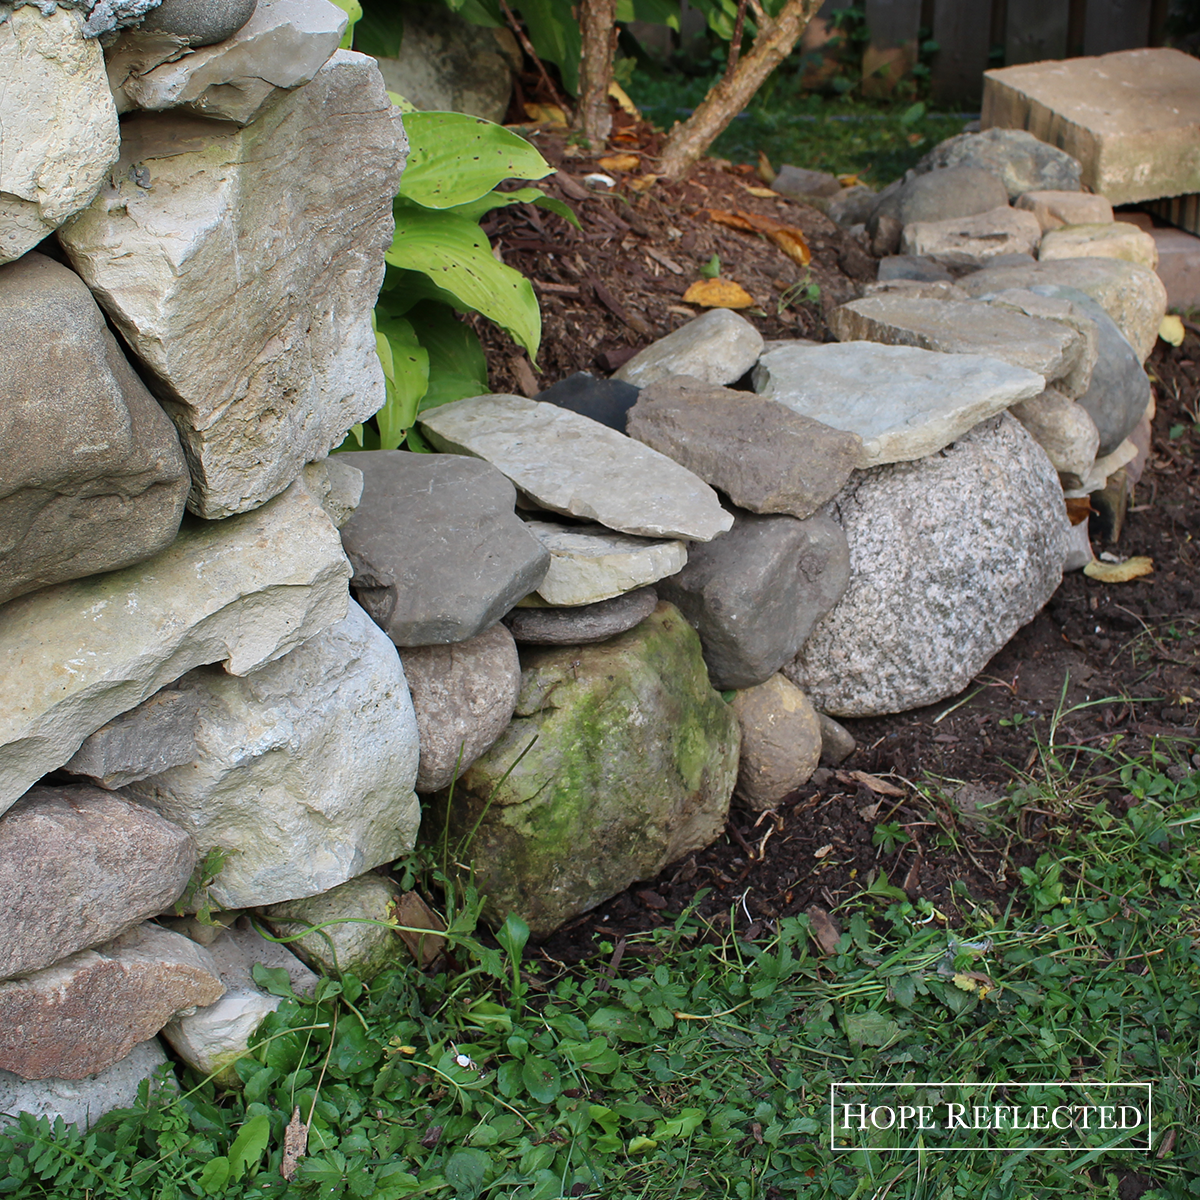
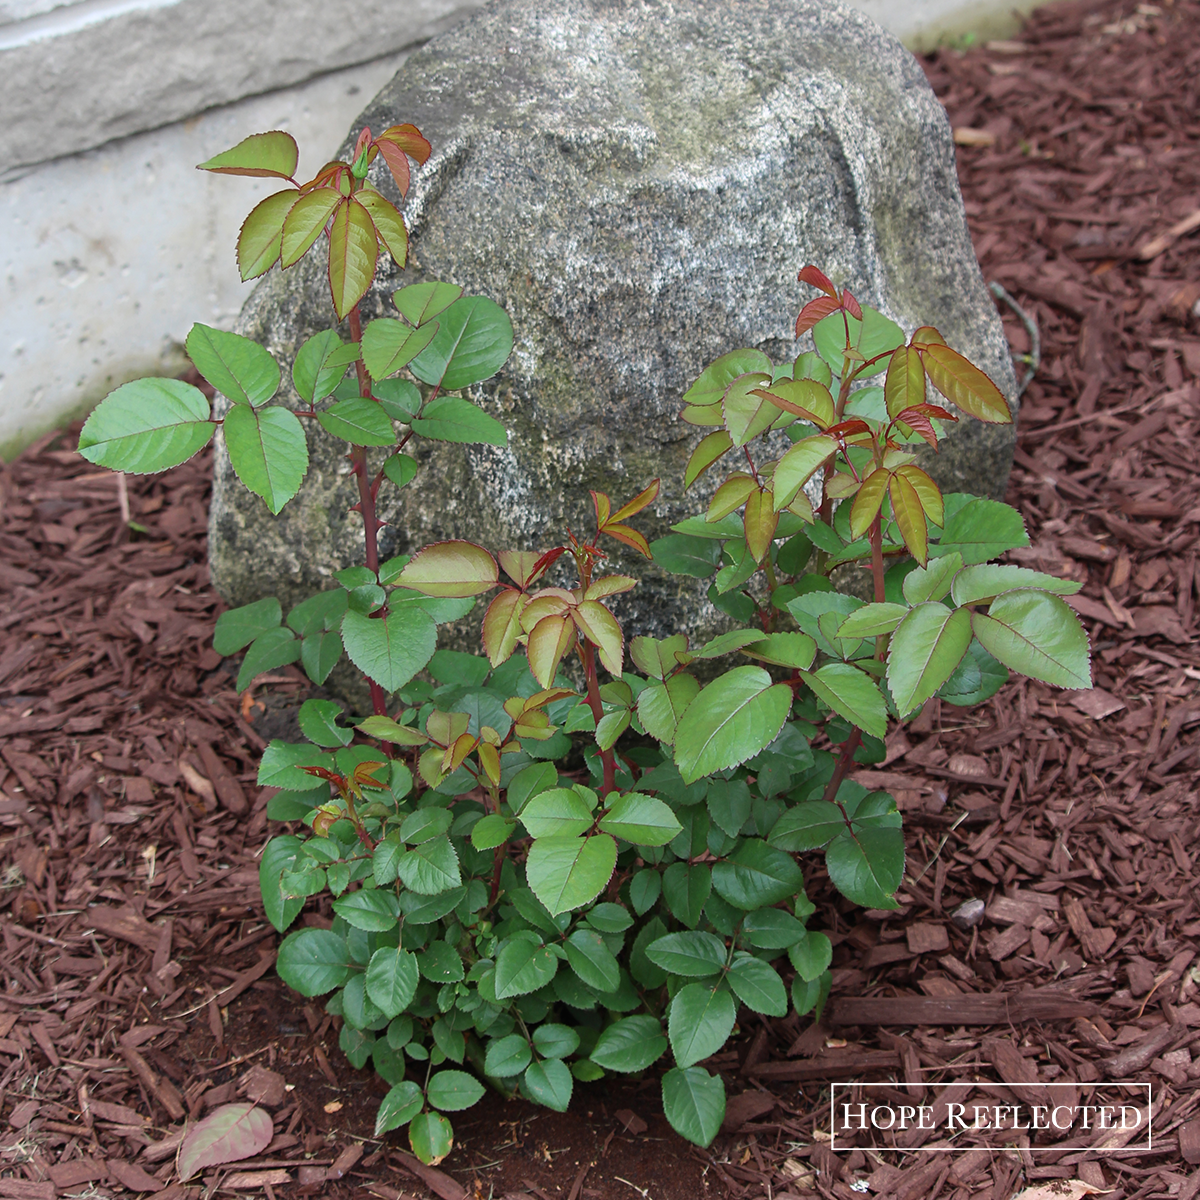
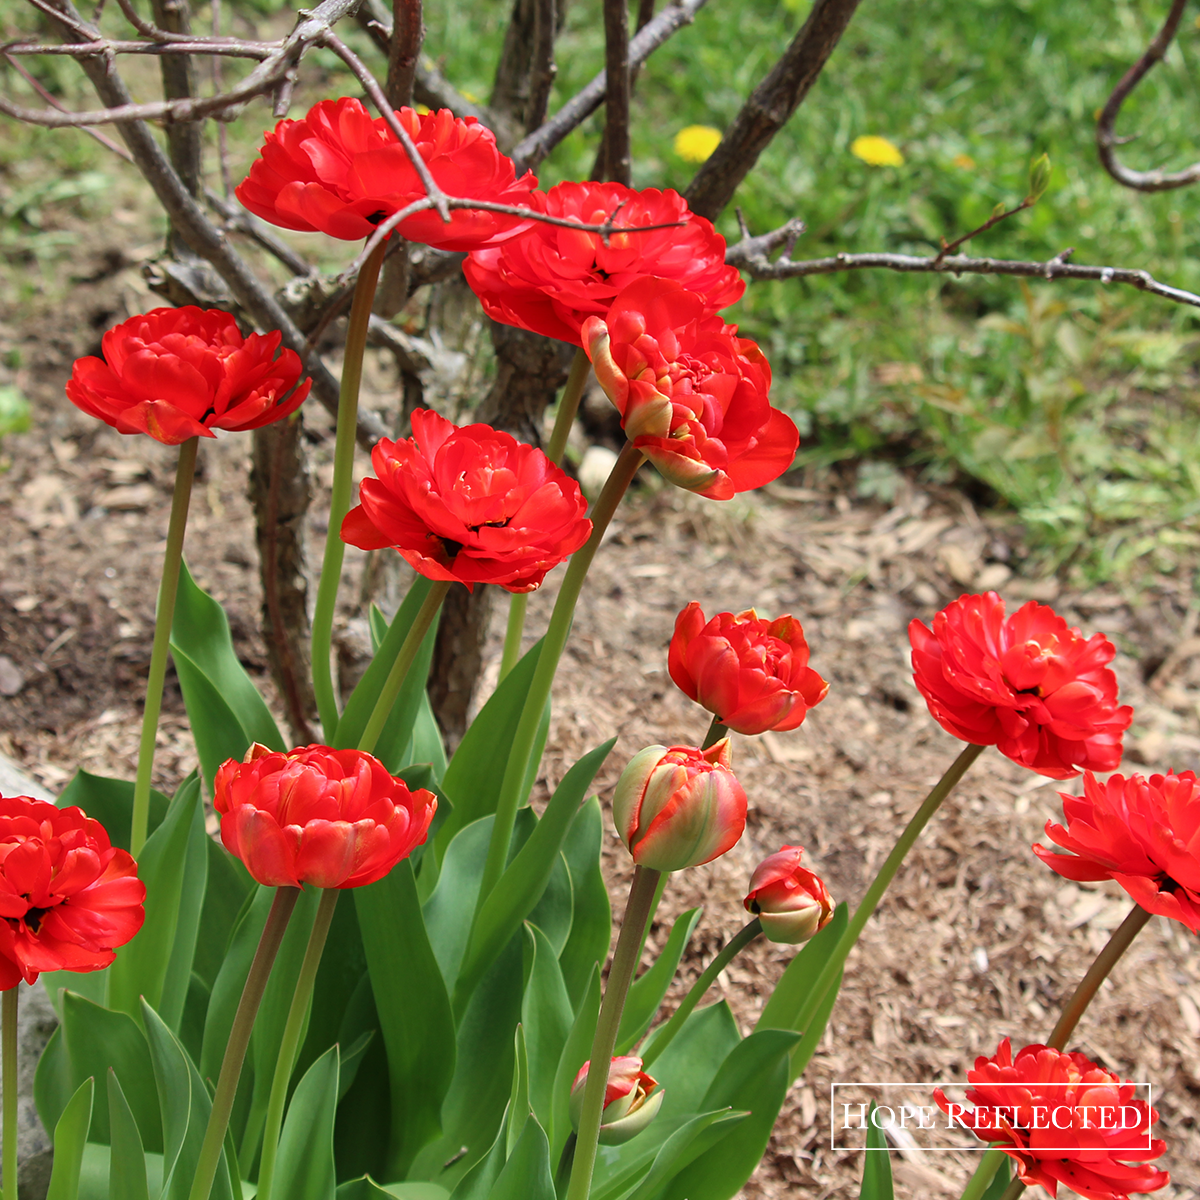
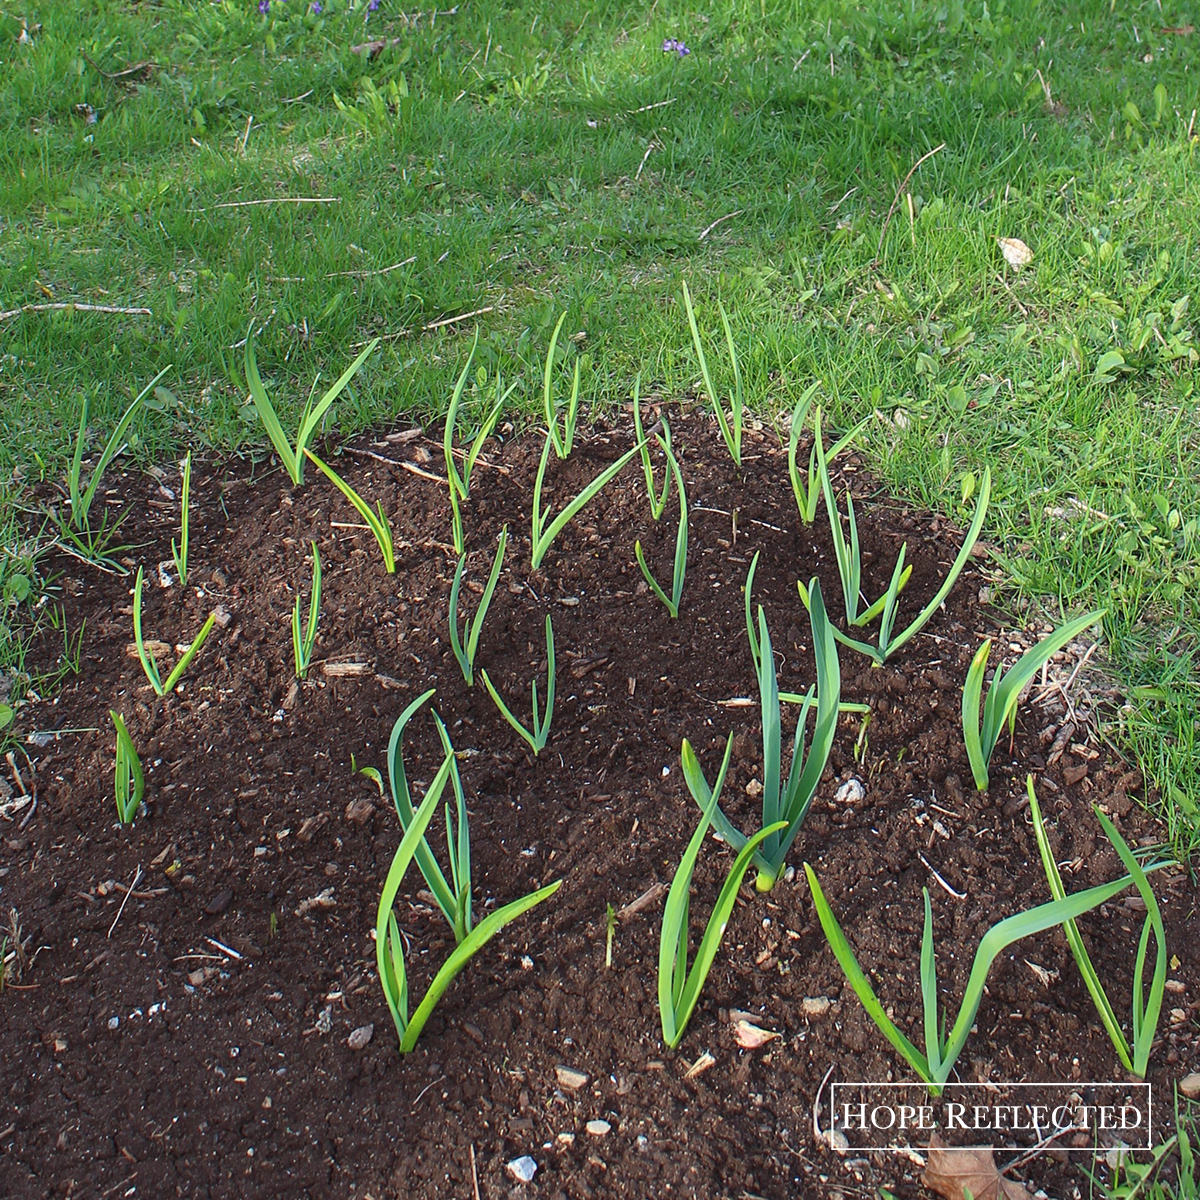
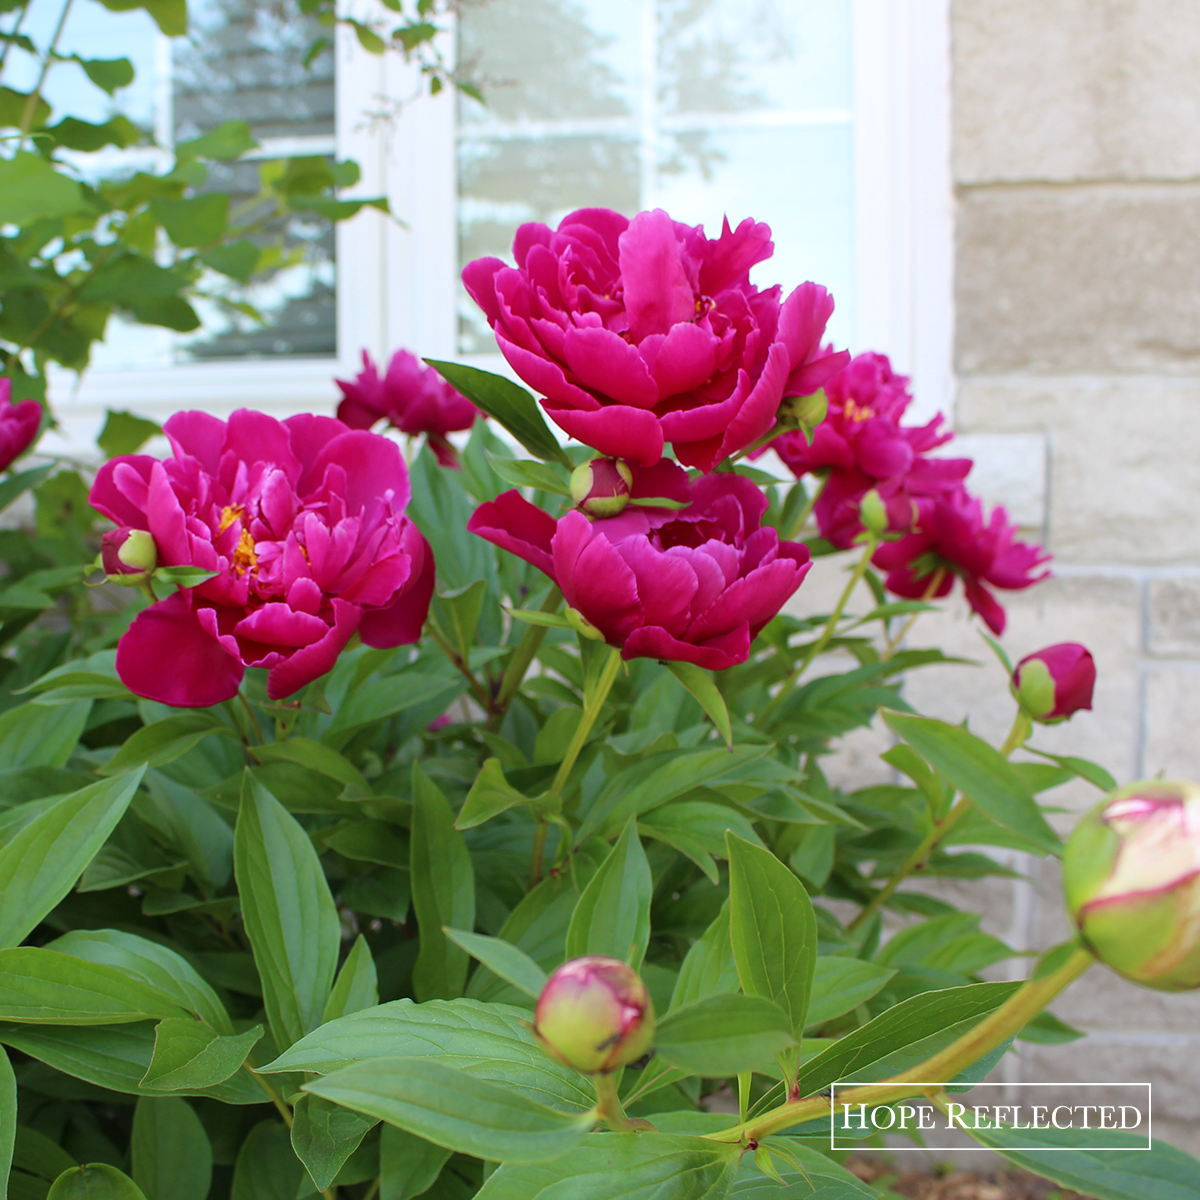
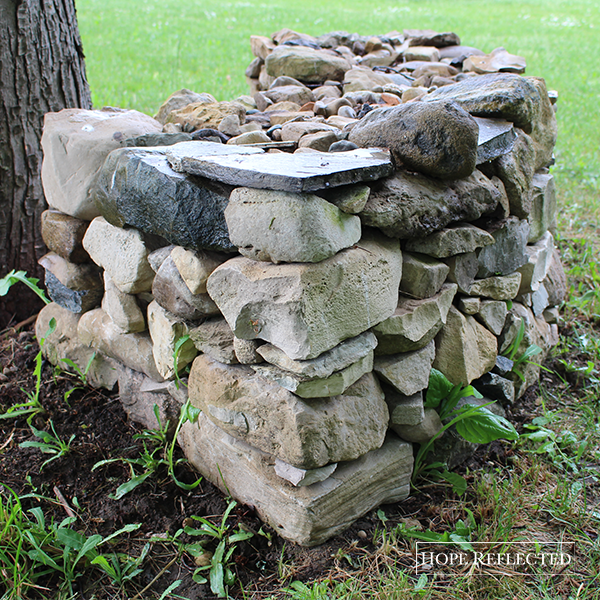
This past weekend, we were able to enjoy a brief respite from the world and spend some time outside in the garden and yard. Wes was able to get started on the next stone border in our garden, and I must say, it’s looking so beautiful I just had to share some pictures. Check out the “before” photo below.

Our latest garden stone border is on the blog! | See more at hopereflected.com

If you’ve been following along with our blog, you’ve already seen photos of the garden stone border that Wes completed last summer. Well, this summer, between concentrating on our hedge and planting more cedars, we’ve had little time to dedicate to finishing the dry lay stone border on the south side of our garden.

This past weekend, Wes went to work sorting stones and carving out the foundation for our latest dry lay stone border around the garden.

Our latest garden stone border is on the blog! | See more at hopereflected.com

Our latest garden stone border is on the blog! | See more at hopereflected.com

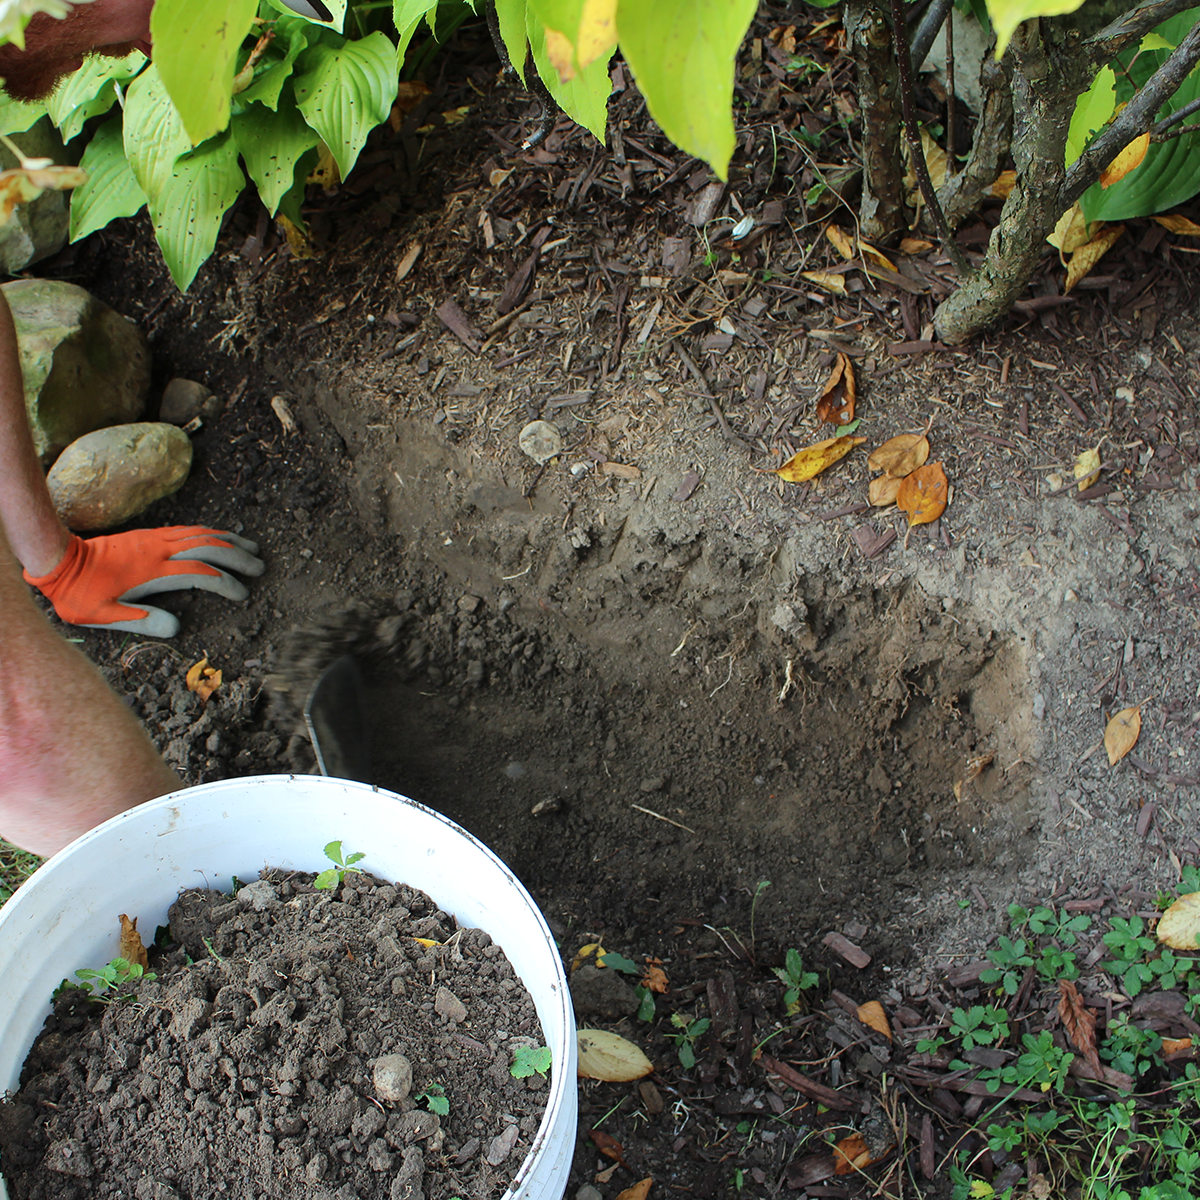
Wes started by cutting back the dirt bank about 10 inches to accommodate for the dry lay stone border. He dug out at an angle so there was positive slope towards the flower bed, which ensures that the stone actually sits into the bed rather than leaning out from the flower bed.

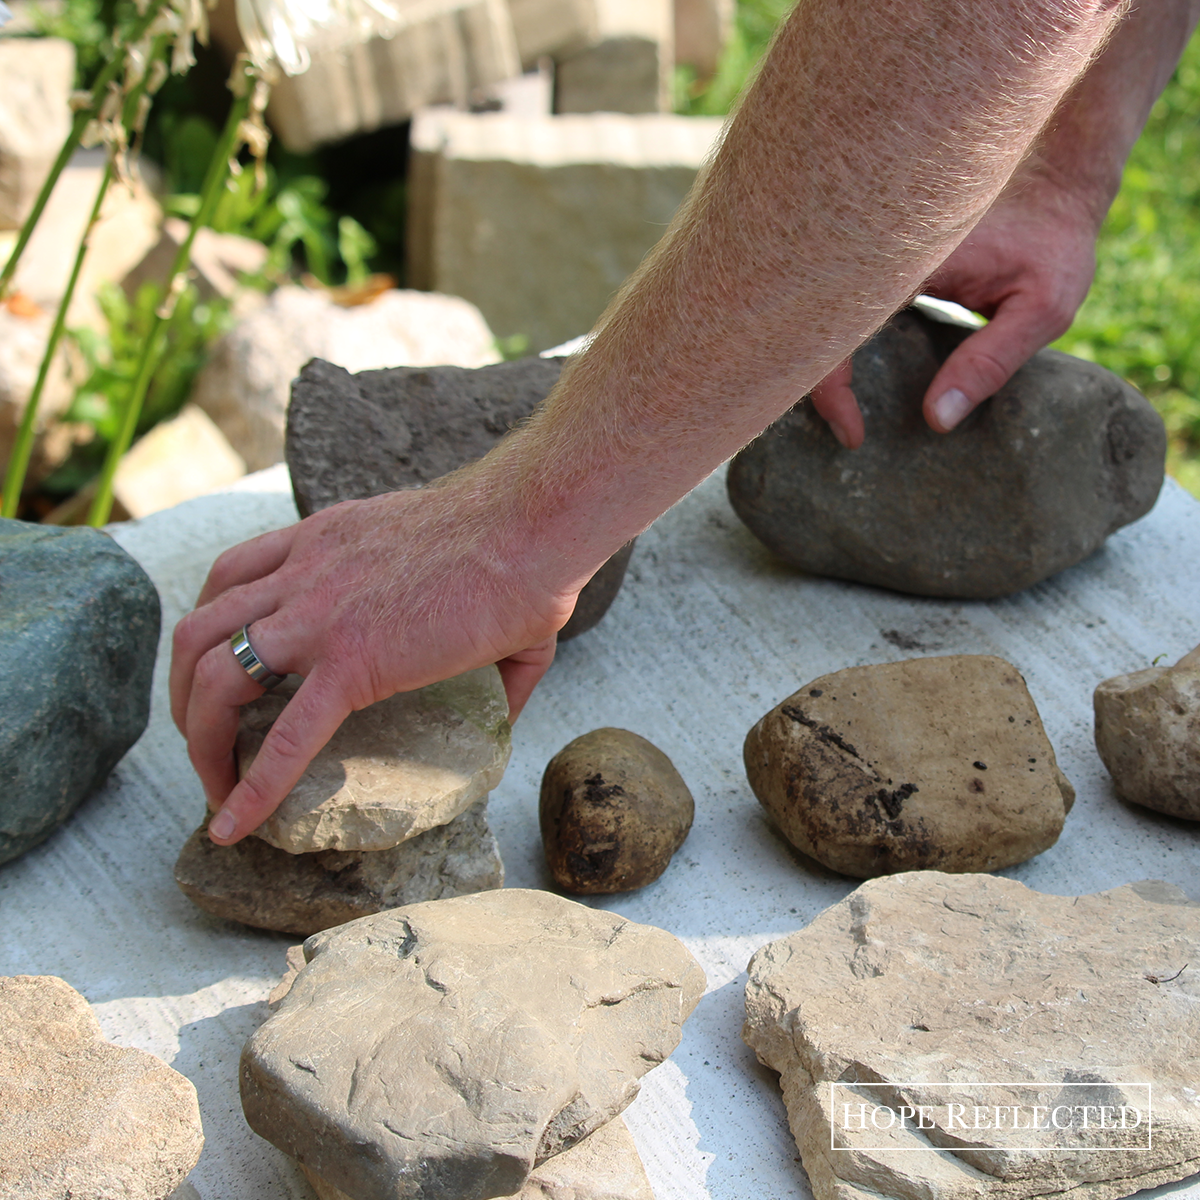
He placed the larger stones after taking a full inventory of the stones he had to work with (see photo above), and went to great lengths to place them evenly throughout the border wall. There was definitely some trial and error involved with creating the dry lay stone border. As Wes noted, the nice thing about this kind of application is that it does not have to be permanent; stones can be adjusted and moved if you get looking at them and feel you don’t that you don’t like the placement. In fact, areas can be entirely dismantled and reassembled to your liking. That’s the beauty of creating a dry lay stone bench or stone border for your garden! Wes says to think of the stones that you already have in your possession as pieces to your puzzle. There will be stones that sit better together; you just have to take the time to find them and to make the pieces work.

Our latest garden stone border. | See more at hopereflected.com

Our latest garden stone border. | See more at hopereflected.com

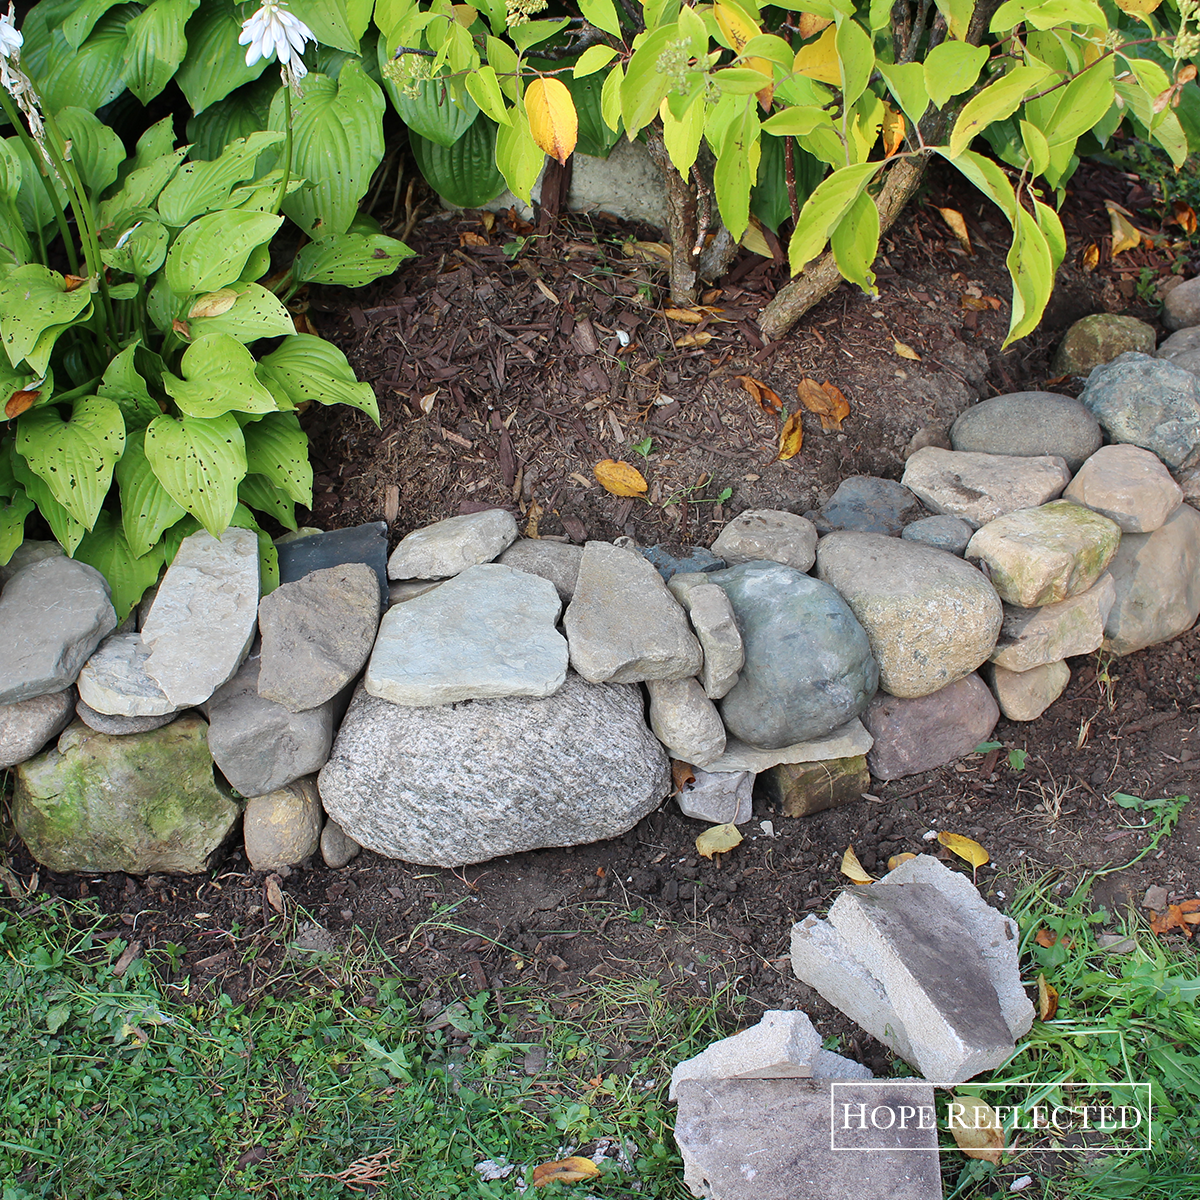
For us, this latest garden stone border project already makes a beautiful addition to our yard. Our latest border helps balance out the rest of the border around the garden. I love how Wes placed some of the larger stones evenly throughout the first level, and how he was so careful with the colour placement of the stones as well. I can’t wait to see the finished product!

Check out more photos of our DIY stone projects, stone garden benches, and stone borders and let us know what you think!


Thursday

22

June 2017

Gardening | Peonies

Written by , Posted in Gardening

Gardening | Beautiful peonies | Best perennials | Hope Reflected

Our peonies have officially been in bloom for one week! This year, Wes and I really wanted to document the full process of the various plants in our garden and keep a photo journal so we can look back year after year and enjoy our progress.

We’ve got three peony plants in our front yard, and throughout the fleeting weeks of June, we love watching our peony plants grow and blossom.

Gardening | Beautiful peonies | Best perennials | Hope Reflected

For the first time, we opted to use tomato cages around our peony plants to ensure that once at their full maturity for the season, the heavy balls of fluff didn’t just flop over due to their weight. The cages have been relatively successful, however we know for next year that the light pink peonies require the cage to come up just a bit higher (as you can see from these photos).

Gardening | Beautiful peonies | Best perennials | Hope Reflected

Do you have peonies planted in your garden? If so, what are your tips for best practices for the colourful perennials?

Some of our tips for keeping peonies:

  • Early on in the season, use tomato cages to provide support around your peony plants. This will encourage the plants long, thin stems to grow straight, and also provide support for when the peony petals bloom (they’re a top-heavy plant).
  • Let the peony seeds drop if you want a fuller plant year after year. Many people opt to collect their peony seeds before they drop, however if you want your plant to continue to thicken, let the seeds fall naturally.
  • Plant any seeds you do collect in the fall. If you plant peony seeds in the spring, chances are your peonies will not grow and bloom until the following spring. Like garlic, peonies do best if they’re planted in the fall.
  • Don’t forget to enjoy your blooms! The season for peonies is a short one, so don’t forget to cut some of your peony blooms and enjoy them; they work wonders in brightening up a table setting — or someone’s day!

Gardening | Beautiful peonies | Best perennials | Hope Reflected

If you’d like to see pictures of our peonies from last year, check out this post about why I think peonies are some of the best perennials for your garden.

Gardening | Beautiful peonies | Best perennials | Hope Reflected

Gardening | Beautiful peonies | Best perennials | Hope Reflected


Thursday

15

June 2017

Roses: Rosa Hybrid Pink Promise Tea Rose

Written by , Posted in Gardening

Last year, Wes and I planted our first four rose bushes. While roses are delicate and relatively high-maintenance, we enjoyed our experience with the beautiful blooms so much last year that we planted a fifth rose bush (rosa hybrid pink promise rose) early on this season (beginning of May).

pink promise roses

Planted in a different location of our garden than the other bushes, we were impressed with the rich green foliage of the Pink Promise hybrid tea rose from the very beginning. The pink promise rose bush was already about two feet tall when we purchased it, and with the addition of blooms, it continues to grow (this hybrid tea rose bush grows to be about 4 feet tall at it’s maximum).


While initially I was so excited that the latest addition to our rose garden seemed healthy, it wasn’t long before we noticed some clusters on the bush. After some research and polling my #gardenchat friends on Twitter, we realized we were dealing with aphids. You may know aphids as “plant lice”, and whatever you call them, they’re a total pest and they feed on new plant growth.


The good news is that a swift blast of water on the leaves and bloom of our pink promise rose bush seemed to get rid of the aphids. The problem is that they tend to come back. We’ve been keeping an eye on the pest situation, and we think we may be dealing with more than just aphids, as now we’ve got almost transparent spots on the leaves of our pink promise rose bush. From the experience with our other four hybrid rose bushes last year, I’m fairly sure we are dealing with sawfly larvae again.

pink promise roses

Besides the potential for pests, hybrid rose bushes are some of the most beautiful and rewarding plants to enjoy in your garden. There is something so satisfying about watching the development of new blooms on a rose bush that is both beautiful and inspiring.

Our pink promise hybrid rose bush has just produced its first bloom, and we are looking forward to many more throughout the summer.

The pink promise hybrid tea rose requires 6+ hours of daily sunlight, which makes it a perfect fit for our front garden. The elegant pink flowers have a creamy white centre, and are a classic choice for cut roses (they work well in a floral arrangement or as a standalone bloom).

While we were promised that the pink promise rose is incredibly disease and pest-resistant, I’ve got to say between the aphids and the sawfly larvae that we put them in the same category as our other rose bushes: Delicate and high-maintenance.

For more on our experience with roses, check out these posts on the other rose bushes in our garden: Our bolero floribunda roses, singin’ in the rain roses, ten-ten hybrid tea roses, and our beloved Oscar Peterson roses.

Tuesday

23

May 2017

Gardening: Double Late Tulips

Written by , Posted in Gardening

tulips double late tulips

A few years ago at Savour the Flavours, I purchased a brown bag of tulip bulbs. Planted late in the fall that year, these tulips have added a burst of colour each spring season since.

I trimmed the tulips and gave them as a floral arrangement, and there were several comments about how much the blooms looked like peonies. Interestingly enough, while there are tulip-peony hybrid flowers, these blooms are indeed tulips. Double late tulips, to be exact.

An excellent reproducer, these double late tulip blooms are beautiful, low-maintenance, and love the sun — perfect for a garden that gets 6+ hours of sun each day. This year, I documented their growth from first blooms to cut flowers (check out the photos below).

Double late tulips are also known as peony-flowered tulips. They’re called double late because their flower is double the average tulip (in size and leaf). Typically, double late tulips bloom in the late spring (ours sprouted up late April, with blooms showing in early May).

Double late tulips prefer lots of sun. LOTS of sun. They require very little maintenance, and make excellent cut flowers. If you’re looking to plant your own double late tulips, do so in the fall, before the first hard frost.

Did you know that there are more than 3,000 registered tulip varieties?

tulips double late tulips

tulips double late tulips

tulips double late tulips

tulips double late tulips


tulips double late tulips


tulips double late tulips

tulips double late tulips

tulips double late tulips

tulips double late tulips


Tuesday

16

May 2017

Gardening: How to grow garlic

Written by , Posted in Gardening

how to grow garlic growing garlic

Last fall, we shared some tips about when to plant garlic in your garden as well as how to plant garlic. Now that the winter is over and we’re well into spring, we’d like to share some helpful and realistic tips on how to grow garlic.

This is the first year that Wes and I are attempting to grow our own garlic. We planted the cloves last fall in an area of our yard that gets full sun. Now that warmer weather is upon us, we’re seeing the garlic shoots grow more and more each day. The photos shared in today’s post were taken about three weeks ago.

The varieties of garlic that we planted last fall will all harvest mid-summer, and we’re looking forward to enjoying the fruits of our labour later this season!

how to grow garlic growing garlic

Today, I’d like to share some practical advice with you when it comes to growing your own garlic. If you’re contemplating how to grow garlic, here’s what we’ve learned so far:

  • Record which variety of garlic is planted in which row of your garlic garden. I told you last fall that we were keeping track and were going to label each row of garlic in the spring, and do you think I can find our list anywhere?! The consolation is that we only planted four garlic varieties, and Wes and I are both confident the garlic is planted alphabetically (Israeli, Persian star, Sicilian, with a row of elephant garlic at the end) so we have that going for us.
  • Make sure you leave enough space between each clove of garlic. We heard from a seasoned source that if you plant your garlic cloves too close together, they can cluster. Wes and I spaced our rows of garlic about 6 inches apart, with about 4 to 6 inches between each clove. As you can see from the photos in today’s post, the shoots aren’t necessarily growing up evenly.
  • Depending on your taste preferences, you will want to water your garlic garden regularly. The more you water your garlic as it grows, the more mellow it will taste when you harvest it. On the other hand, the drier the season or the less you water your garlic, the more potent it will taste when you harvest it.

More to come as the season moves along! If you’re a seasoned gardener, what are your best practices for growing garlic?

how to grow garlic growing garlic

Tuesday

14

March 2017

Outdoor Living | Birds of Winter

Written by , Posted in Gardening

bird feeders

While it’s no secret that Wes and I love birds (you’ll recall that last Spring we welcomed a family of robins to our patio) this winter we’ve had some issues attracting more feathered friends to our yard.

At first we thought maybe it was the feed, then we thought perhaps it could be our timing (we waited until well into December before we set up our winter feeders), and then we discovered it was really just the bird feeder placement.

We’ve got three bird feeders:

  • A tube feeder (metal, enclosed hanging feeder that feeds seed out at ports with perches) which is store-bought,
  • A suet feeder (metal/wood construction with spots to hold two suet cakes),
  • Our favourite is featured in today’s post. A handmade cedar tray feeder which we bought from one of our neighbours (he constructs them as a hobby).

bird feeder

We started our cedar tray bird feeder out on one of our stone benches, but found the only creatures it attracted were squirrels. Last weekend, Wes relocated the tray feeder so it now hangs outside one of our kitchen windows, and after repositioning the bird feeder to eye level, voila! We’ve got birds, people!

Likely a combination of the location of the feeder, as well as its proximity to the fence, our cedars, and our Japanese maple tree, we have a real community of birds visiting our bird feeder once again.

I’ve yet to capture some decent images, so for now you’ll have to enjoy these quick snaps. In the past few days, we’ve enjoyed watching cardinals (both male and female), dark-eyed juncos, slate-coloured juncos (according to our bird book, the slate-coloured junco is a rare variety), as well as house sparrows. (Wes is somewhat concerned with the territorial nature of the house sparrows, as they have been known to extremely aggressive against other birds.)

What birds are frequenting your feeder this winter?

bird feeder


Thursday

23

February 2017

For the Home | 3 Outdoor Living Spaces to Make You Swoon

Written by , Posted in Gardening

There’s just something about an outdoor living space with comfortable, fluffy chairs, a welcoming layout, and a warm fireplace that I just LOVE. If you follow me on Pinterest, you’ve seen some of the inviting spaces that inspire me. Today, I’m sharing 3 outdoor living spaces to make you swoon. Complete with all the essentials — lots of cushions, covering, and greenery surrounding, — these outdoor spaces are sure to inspire your outdoor living area this spring and summer season.


1. Ode to tradition. There’s something about an outdoor living space that’s completely covered and yet completely open that is absolutely beautiful. I can picture summer Saturdays spent in this space reading and summer evenings spent lounging by candlelight with family and friends.

outdoor living spaces

img src athomearkansas.com


2. So many spots to sit. Especially when you’re looking to entertain outdoors, having more than one sitting area is an appealing (and functional!) idea. This space has a great layout: A fireplace at the helm, a casual lounge area under a shade pergola, and a more formal dining space.

outdoor living spaces

img src Architectural Digest


3. A firm foundation. While this look wouldn’t work in every yard, this outdoor living space is anchored by four strong, sturdy, white pillars that really complement the other elements of this set up. The fireplace in this space is equally as strong, and acts as a focal point in this gorgeous garden space.

outdoor living spaces

img src Traditional Living

Looking for more inspiration for your own outdoor living space? Be sure to follow my Outdoor Living board on Pinterest for fresh ideas!

Tuesday

14

February 2017

Gardening | How to cut roses

Written by , Posted in Gardening

how to cut roses gardening

Singin’ in the Rain Floribunda rose | Img src Hope Reflected

There are thousands of rose varieties in the world. Some natural, some hybrids, roses can be separated into three groups: Species roses, old garden roses, and modern garden roses. Species roses are natural, old garden roses were cultivated before 1867, and modern garden roses were cultivated after 1867.

how to cut roses gardening

White Bolero Floribunda rose | Img src Hope Reflected

In our garden, Wes and I have started a collection of hybrid roses, each of a different colour and variety. A hybrid rose is created by the cross-breeding of two types of roses. While some hybrids are more hearty than others, hybrid roses make for a beautiful addition to any garden in full or partial sun.

how to cut roses gardening

White Bolero Floribunda roses | Img src Hope Reflected

If you’re looking to trim back your garden roses to enjoy indoors or to give away, there are some steps you’ll want to take to ensure you get the most out of your cut roses.

Tips for how to cut roses:

  1. Make sure your garden shears are clean. This can affect the quality of your cut roses. If you’ve been working with plants in your garden that have disease or bacteria, you don’t want that to spread to your rose bush (either the cut rose or the rose bush that remains in the ground).
  2. Cut the roses at the right stage. A good rule of thumb is to cut roses from your garden just after they’ve matured from a bud to a flower, when the petals are starting to blossom. This can vary depending what variety of rose you’re working with.
  3. Cut your roses first thing in the morning. If you can’t cut your roses before 9:00am, the second best time would be in the evening after the sun has gone down. You want to catch the rose bush when it’s still cool and holding water. This will not only make your cut roses last longer, it will also assist the remaining rose bush in recovery and regrowth.
  4. Cut your roses at the right angle and place. Don’t cut the rose stem straight across, you’ll want to trim the bush at a 45 degree angle. This will assist in drinking when you put the cut roses in a vase. Cut the stems as close to the base of the rose bush as possible.
  5. Remove any leaves that will fall below the water line. A good rule of thumb for any cut flower (not just roses) is to remove any leave that could potentially sit in the water of your vase. It’s important to leave some leaves higher up on the stem to assist the flower in drinking water, however any leaves that would fall below the water line should be removed before you put the roses in the vase.
how to cut roses gardening

Red Ten-Ten hybrid tea rose | Img src Hope Reflected


Tuesday

7

February 2017

Best Perennials for your garden | Peonies

Written by , Posted in Gardening

peonies peony plants gardening

“A rare fusion of fluff and majesty, the peony is now coming into bloom.” {Henry Mitchell}

The peony has long been one of my favourite flowers; a relatively low maintenance perennial, peonies look pretty, emit a delicate fragrance, and require relatively little attention (unless you want to trim them and enjoy the peonies from your garden indoors, then you have to deal with ants, which we’ll get to later in this post).

peonies peony plants gardening

If you’re in the midst of planning your spring garden, peonies should definitely be on your list of perennials to include in your garden design.

Looking to include peonies in your garden this year? Here are some gardening tips to consider when planting peonies:

  • Your best bet is plant peonies in the fall. I know, I know, we’re coming in to spring, but this is a very important fact to consider. We transplanted a peony plant year before last in the spring, and it was basically a season behind the other peony plants already in the garden.

peonies peony plants gardening

  • Peonies love full sun. They also require regular watering.
  • Some magazines and websites will tell you that peonies should be planted on their own; we’ve got our cluster planted at the foot of a hybrid lilac tree, and they thrive. No competition there.

peonies peony plants gardening

  • If you’re looking to trim your peonies to enjoy indoors, but run into “ants” tucked away under the peony petals, don’t panic! The ants are actually eating the nectar and have been known to keep peony plants free from disease. A good rule of thumb if you’re looking to trim your peonies and bring them indoors is to prepare a bowl of warm water with Dawn soap (the blue works best) and then dunk each bloom. The ants should come right off in the water, and the Dawn soap won’t hurt your peonies.
  • Popular varieties of the peony plant include the firelight (pale pink blossoms that bloom relatively early), Karl Rosenfield (large dark pink or crimson blossoms that bloom later than the other varieties), and early scouts (magenta/bright red that bloom early in the season).

peonies peony plants gardening

Tuesday

31

January 2017

Planning Your Spring Garden

Written by , Posted in Gardening

The middle of winter is a great time to get dreaming about your spring garden! Wes and I have already started planning our outdoor projects for the warmer weather, and we are so excited for gardening this year. You may be wondering how to start planning your spring garden, or where to start, so here are some tips to get a head start on planning your outdoor living oasis.

Planning your spring garden doesn’t have to be hard, in fact, quite the opposite! It should be a fun experience; a time to take note of the outdoor projects you want to complete, and narrow down a list of what’s actually realistic for one season.

Tips on planning your spring garden:

1. Take note of the perennials already in your garden. This will help you determine what (if any) new varieties you want to introduce in the spring. Keep in mind that some perennials — such as hostas or peonies — expand and grow year after year. Unless you catch the peonies before they go to seed, expect more peonies this spring (and that’s a beautiful thing)!

planning your spring garden


2. Determine what annuals you want to include in your garden. This can be as easy as looking online, browsing local seed catalogues, and figuring out what’s going to work for your outdoor space. Depending on the annual, you’ll want to get your seeds early, and possibly even start them indoors before the thaw. Last year, Wes and I tried our hand at a few different annuals. While our zinnias started out strong, in the end only the bachelor buttons survived. Prepare yourself by getting any potting supplies you’ll need for spring (we like to pot our annuals, as it makes for a portable garden).

planning your spring garden


3. Start preparing for any major outdoor projects now. Many people have a misconception that planning your spring garden involves solely plants. Not so! If you’ve got dreams of building an outdoor patio or outdoor living area, get your plans completed now so when the weather breaks you can start strong! Last summer, Wes built a few dry lay stone benches, and also completed a dry lay border around our gardens. We had the supplies in hand long before the outdoor work actually got started.

planning your spring garden


4. Cultivate what you already have. It can be tempting when spring rolls around to get all excited about new plants and making changes to your property, and rightfully so! However, keep in mind while planning your spring garden that you need to care for what you have already planted. Cultivating a full and lush garden involves a lot of manual work, and consistent maintenance makes that work a little easier to manage. Did you trim back any perennials in the fall and do a final weed? If not, get ready to weed your garden and trim back any old growth before your plants come out of dormancy.

planning your spring garden

If you’re looking for more tips on how to get planning your spring garden, head over to my Pinterest and check out my Gardening board.