Dry Lay Stone Bench, Patio Edition, Part 1
Written by H, Posted in Gardening
If you’ve been following along, earlier this Spring, Wes built the most beautiful DIY dry lay stone bench by one of the large trees in our yard. You can see the progress here and here, and now, he’s working on another stone bench, this time by our patio.
When he suggested the idea, I was all for it. Wes and I both love the old European, timeless feel of a dry lay stacked stone bench. There’s something so captivating about the ancient art of dry laying stones. Wes has a real talent in this area, and I can’t wait to show you the finished product.
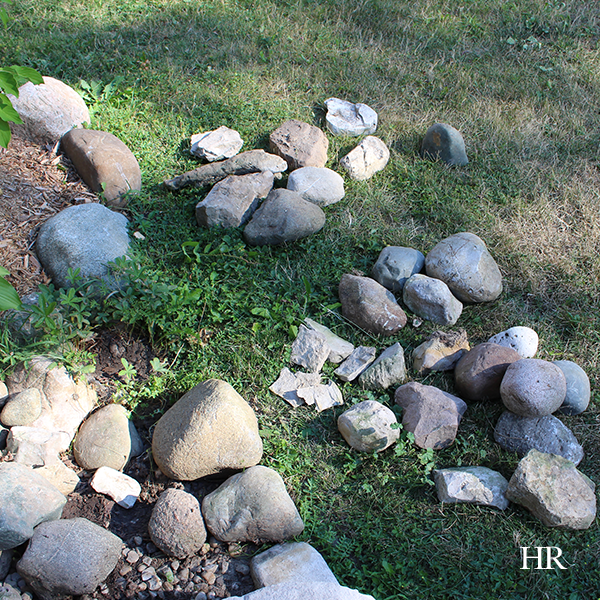
Since we already had a pile of stones by the patio, Wes took some time to reconsolidate the collection according to their shape (and use) and prepare the foundation. He kept the larger, more flat rocks on the bottom to support the overall bench (like a float).

The art of dry lay stone stacking involves using smaller wedge-shaped (pins) stones to pin up the larger boulders. If you’re planning to try a DIY project like this in your own yard, best practice is to always prep your foundation first (level out dirt, add smaller gravel, pebbles, and then test which stones will work best in the system).
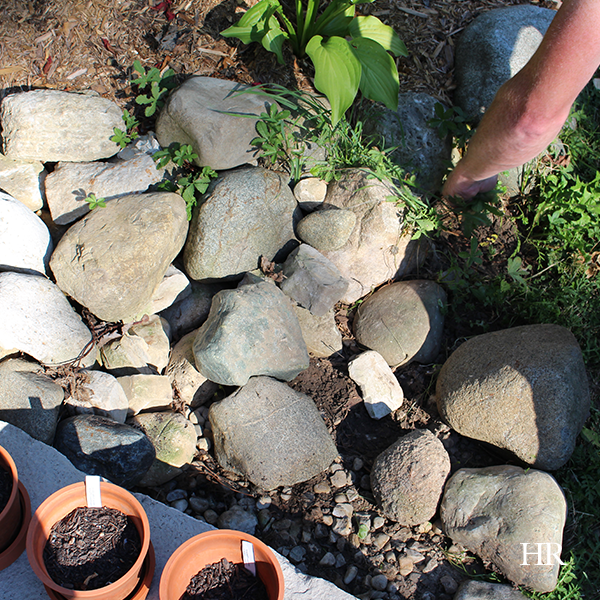
A good rule of thumb to remember when building a dry lay stone bench is that every rock or stone has its place. In the photo above, to the right of Wes’s hand, is a long stone called a through. Throughs stabilize the wall by tying the exterior weight to the interior weight of the stone system. (The longer the better.)
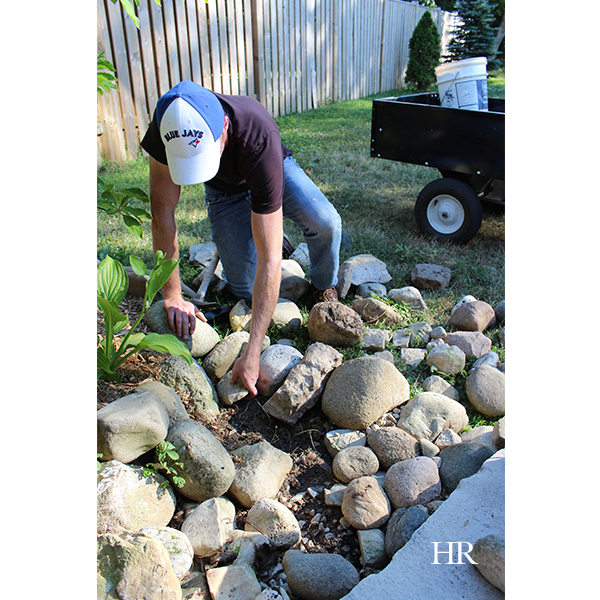
When he’s building a dry lay stone structure, Wes puts emphasis on the positive slope of the stones leaning in to one another towards the centre of the wall (or in this case, bench). This way, the bench or wall is always leaning into itself. Walls created from a dry lay or “drystone” lay have stood for hundreds of years in Europe and are still standing today. You just require the right foundation on which to build.
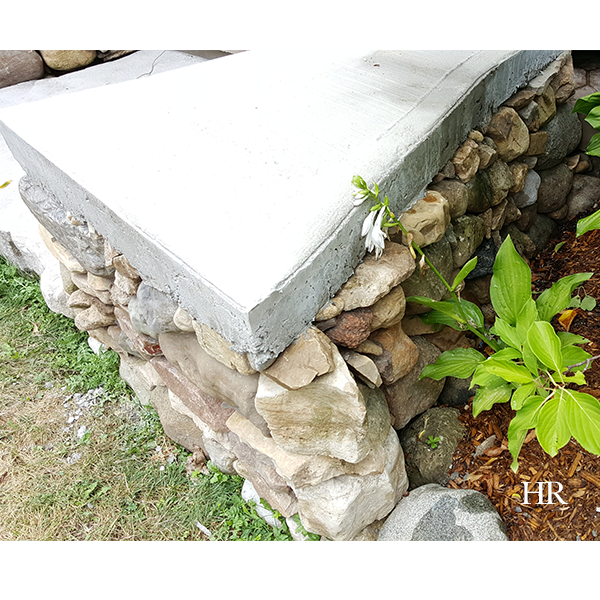
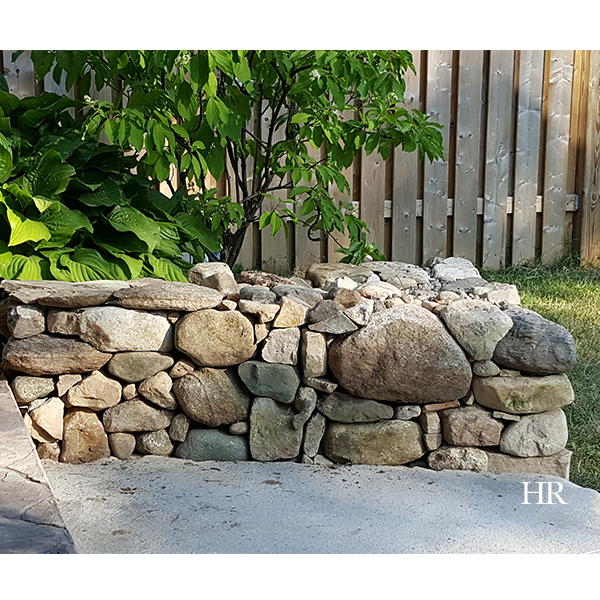
How you complete your DIY dry lay stone wall or bench is personal preference. Because of the location of proximity to the sitting area on our patio, we thought it wise to complete our dry stack stone bench with a cement cap. Bonus: Extra seating when company comes over! If you are planning to pour a concrete cap, be sure to “hoard” materials between the top stones on your wall that are round. This will prevent any concrete from running and will preserve a clean edge for your cap.

![False friends or counterfeit kindness; whatever you want to call it, the world is filled with people who will say one thing to your face and then another behind your back; people who will woo you in order to get something from you.
It’s sad, but it’s true.
The Bible provides us with examples from Joab to Judas, and yet, we’re surprised when we find ourselves deceived and hurt by someone else.
So what are some of the hallmarks of a true friend?
You can read more about this on hopereflected.com [Link in profile]
.
.
.
#friends #friendship #kindness #counterfeitkindness #hurt #proverbs #truefriends #hopereflected #blog #blogpost](https://www.hopereflected.com/wp-content/plugins/instagram-feed/img/placeholder.png)