Hope Reflected

Encouragement and Hope from God's Word

outdoor projects Archive

Tuesday

31

January 2017

Planning Your Spring Garden

Written by , Posted in Gardening

The middle of winter is a great time to get dreaming about your spring garden! Wes and I have already started planning our outdoor projects for the warmer weather, and we are so excited for gardening this year. You may be wondering how to start planning your spring garden, or where to start, so here are some tips to get a head start on planning your outdoor living oasis.

Planning your spring garden doesn’t have to be hard, in fact, quite the opposite! It should be a fun experience; a time to take note of the outdoor projects you want to complete, and narrow down a list of what’s actually realistic for one season.

Tips on planning your spring garden:

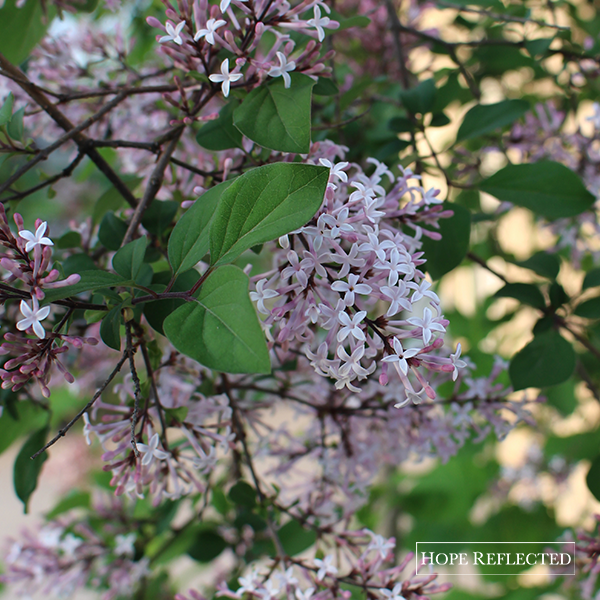
1. Take note of the perennials already in your garden. This will help you determine what (if any) new varieties you want to introduce in the spring. Keep in mind that some perennials — such as hostas or peonies — expand and grow year after year. Unless you catch the peonies before they go to seed, expect more peonies this spring (and that’s a beautiful thing)!

planning your spring garden


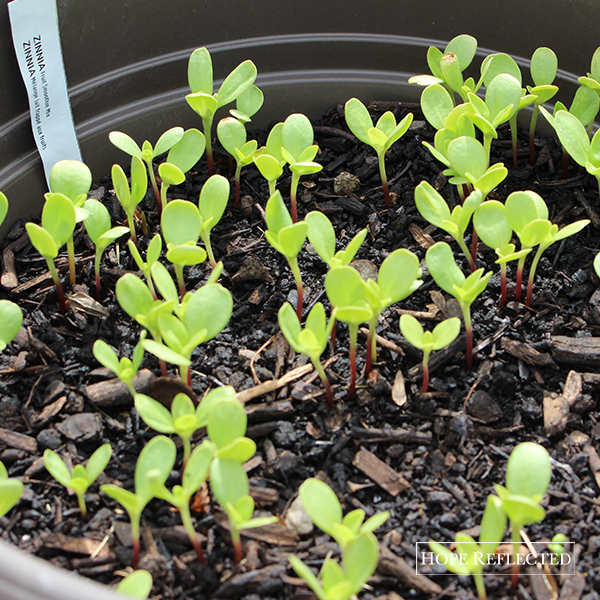
2. Determine what annuals you want to include in your garden. This can be as easy as looking online, browsing local seed catalogues, and figuring out what’s going to work for your outdoor space. Depending on the annual, you’ll want to get your seeds early, and possibly even start them indoors before the thaw. Last year, Wes and I tried our hand at a few different annuals. While our zinnias started out strong, in the end only the bachelor buttons survived. Prepare yourself by getting any potting supplies you’ll need for spring (we like to pot our annuals, as it makes for a portable garden).

planning your spring garden


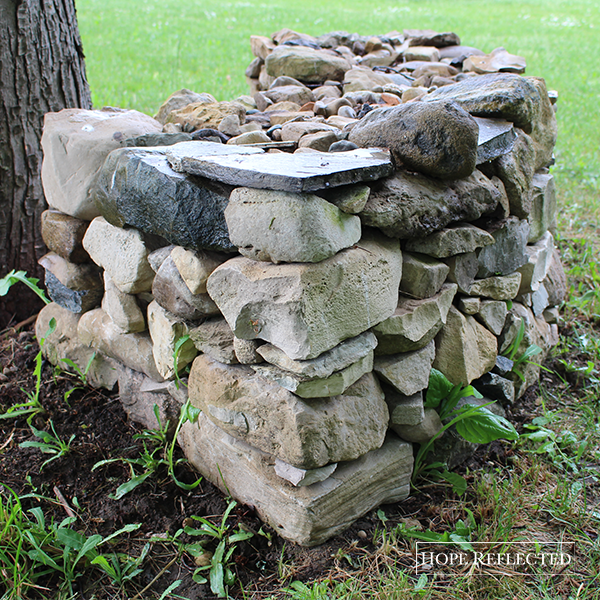
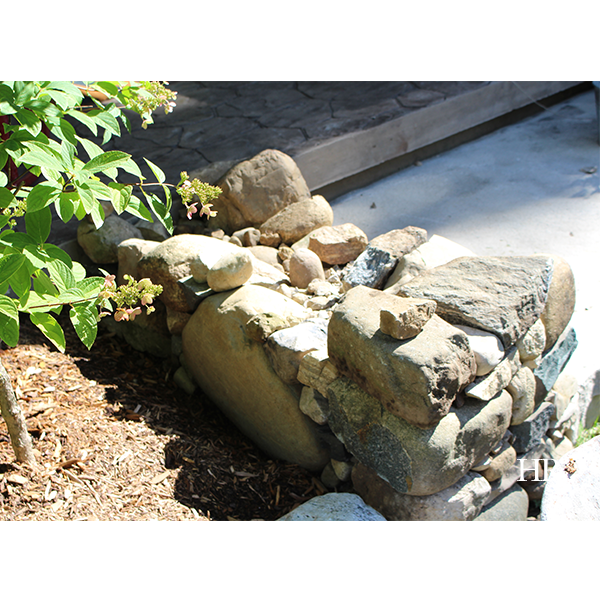
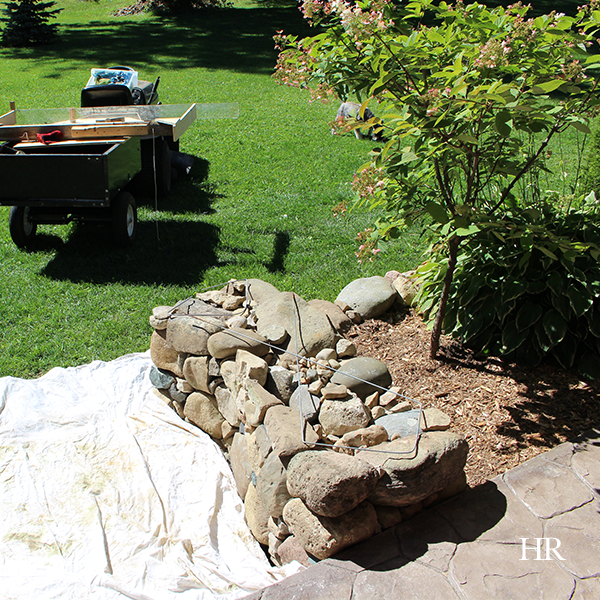
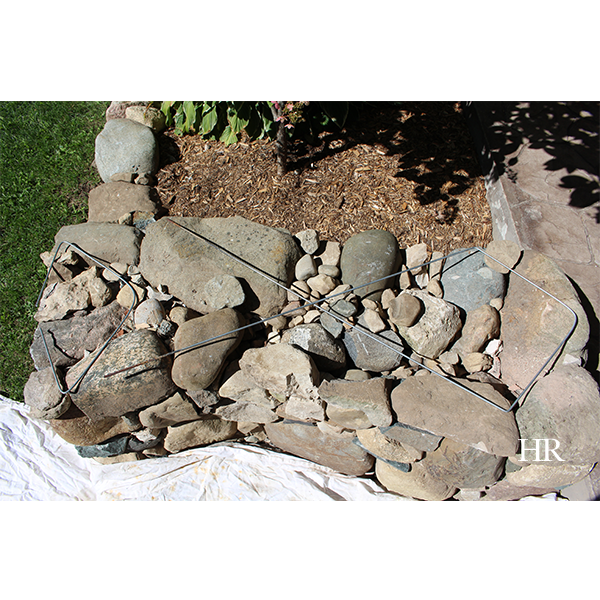
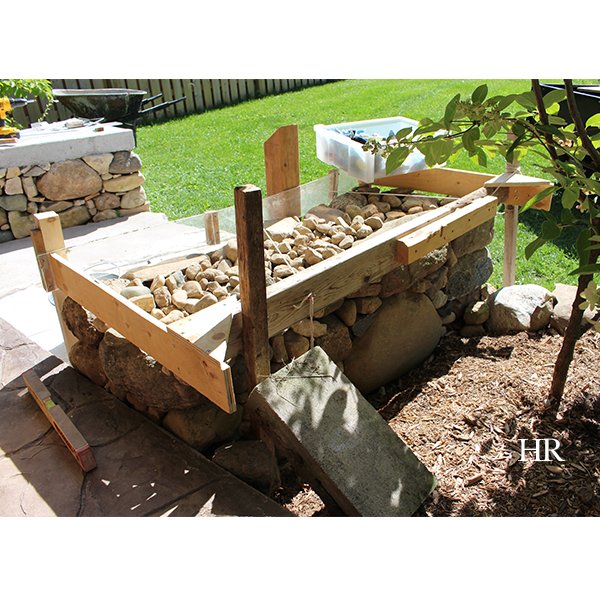
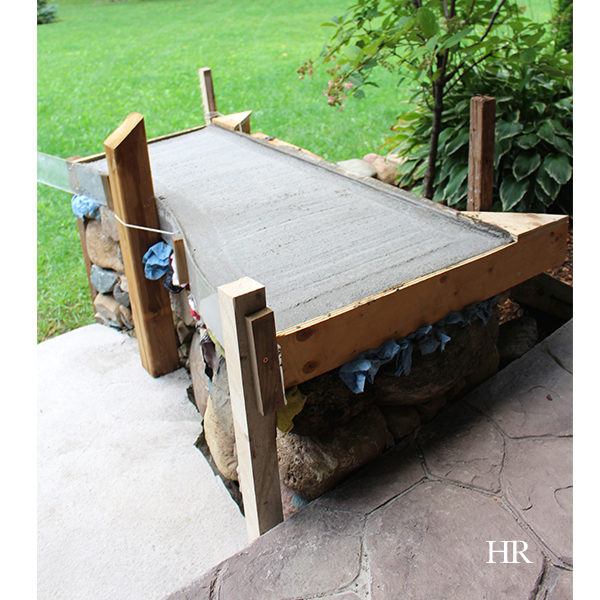
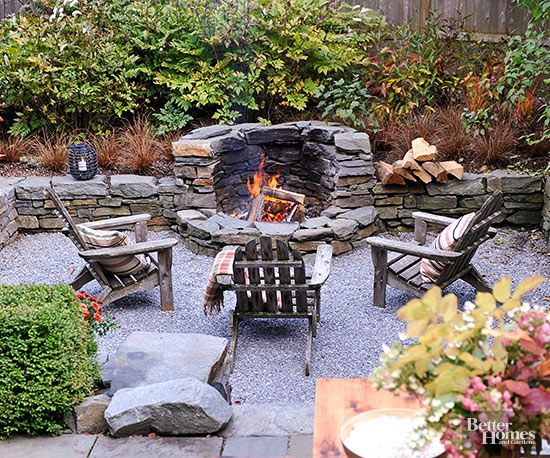
3. Start preparing for any major outdoor projects now. Many people have a misconception that planning your spring garden involves solely plants. Not so! If you’ve got dreams of building an outdoor patio or outdoor living area, get your plans completed now so when the weather breaks you can start strong! Last summer, Wes built a few dry lay stone benches, and also completed a dry lay border around our gardens. We had the supplies in hand long before the outdoor work actually got started.

planning your spring garden


4. Cultivate what you already have. It can be tempting when spring rolls around to get all excited about new plants and making changes to your property, and rightfully so! However, keep in mind while planning your spring garden that you need to care for what you have already planted. Cultivating a full and lush garden involves a lot of manual work, and consistent maintenance makes that work a little easier to manage. Did you trim back any perennials in the fall and do a final weed? If not, get ready to weed your garden and trim back any old growth before your plants come out of dormancy.

planning your spring garden

If you’re looking for more tips on how to get planning your spring garden, head over to my Pinterest and check out my Gardening board.

Tuesday

27

September 2016

Hope’s How-To: Build a Dry Lay Stone Bench, Part 2

Written by , Posted in Gardening, Hope's How-To

Hope's how-to: Build your own dry lay stone bench

As you’ve read previously, Wes has completed two dry lay stone bench projects in our yard. In August, he started working on a third, just off our patio, and we’re finally getting around to posting more photos of the whole process. The photo above shows the dry lay bench when the yard-facing end was complete. Wes notes that if you’re building your own dry lay stone bench, it’s important to consider that each layer of the bench should be completed at the same time for structural strength.

dry lay stone bench

This is a photo from our patio vantage point, looking at the completed dry lay bench, just before Wes poured the concrete cap. Wes was very careful to maintain the angle of the bench, taking into consideration which way we want the water to run off the bench (away from our home and patio). During the building of the bench and pouring of the concrete cap, our patio stone was covered to prevent any staining or damage.

dry lay stone bench

In preparation for pouring the concrete cap, Wes utilized some old wire from a sign in substitution for rebar and to reinforce the strength of the concrete cap. We debated whether we actually wanted to pour a cap on this bench, or just leave it as an entirely natural lay, and in the end we opted to pour a cap for a couple of reasons: 1. So the look of our patio would be symmetrical, and 2. A poured concrete cap = extra outdoor seating for entertaining in the summer months!

dry lay stone bench with form

It required a lot of patience to build the form for the concrete. Wes ensured the run off angles were accurate by using a level every step of the way. He also used string to pull in the plexiglass side of the form to create the curved side of the concrete cap. He made several adjustments along the way as setting up the form was tedious work.

dry lay stone bench

As you can see from the photo above, Wes used plexiglass for the one side of the form as we wanted to create a curved side that runs parallel with the natural shape of our patio stone. If you’re planning a project like this on your own property, we’d recommend ensuring that for your concrete cap you use the right ratio of water to cement. Add the water slowly to your mix. After the concrete cap was poured, Wes used a broom to create the brushed effect in the centre of the concrete, and used an edger to create the finished border.

Stay tuned for more pics of the finished product and our patio!


Tuesday

5

July 2016

5 Inspiring Outdoor Fire Pits to Add to Your Back Yard

Written by , Posted in Gardening

With Summer in full swing, we’re spending as much time outdoors as possible. One thing on the horizon is a fire pit, if ever we can find the time! We’re big fans of natural stone, so planning our fire pit does not involve any kind of pre-fab “kit”. Rather, we’re considering a dry lay, similar to the dry lay stone bench that Wes has been working on. Check out my Outdoor Living board on Pinterest for more fire pit inspiration, and in the meantime, these are 5 amazing fire pits that have really got me feeling inspired!

1. Fire Pit by the water. I’m not a huge fan of pea gravel, but I do love the set up of this fire pit. The sectioned-off area creates definite separation from the grass, and I absolutely love the dry lay of the actual fire pit. Accented with some fantastic colonial red chairs and log side tables, this fire pit is sure to be a spot for making memories.

fire pit

img via Fieldstone Hill Design Darlene Weir

2. Fire pit and bench. Outdoor seating doesn’t always have to be done with chairs, so it makes complete sense that this fire pit has a complementary surround in the same style. Again, I’m not a huge fan of gravel, but in this situation it works.

fire pit

img via indulgy.com

3. Dry lay fire pit. This fire pit is amazing! Check out the intricate details that went into this fire pit. It features some detailed arches and bottom vents to keep air flowing and fire glowing. Absolutely love this set up, and I think it would look great with a flagstone surround.

fire pit

img via Jessica Little House Big Heart

4. Flat and flush fire pit. While I’m more a fan of a fire pit that really stands out, I also appreciate the simplicity of this fire pit, which lays almost flush with the interlocking stone surround. There’s something to be said of this circular set-up, and I especially like that it’s at the end of a walk out with one stone step. Complementary landscaping around finishes the look and adds privacy.

fire pit

img via sunlitspaces.com

5. Built in fire pit. Speaking of privacy, this fire pit is actually built into a stone wall surround with some serious foliage behind. For a property on the road or bordering another home, this set up would be ideal. The stone wall surround means extra seating, and the open front of this fire pit provides plenty of heat.

fire pit

img via Better Homes and Gardens