Hope’s How-To: Build a Dry Lay Stone Bench, Part 2
Written by H, Posted in Gardening, Hope's How-To
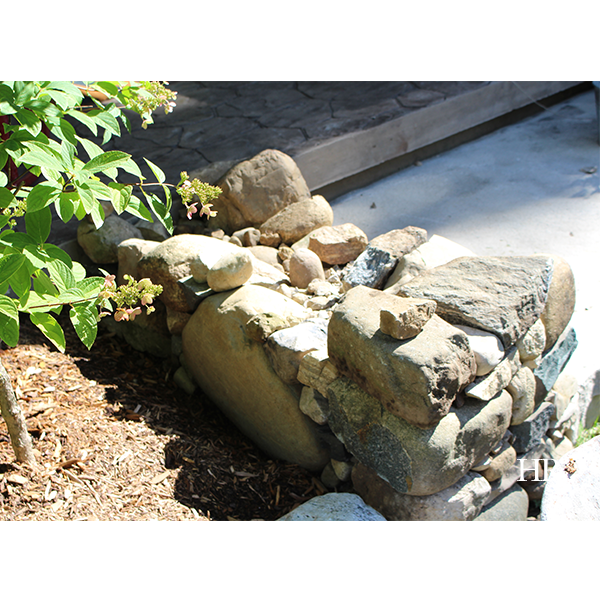
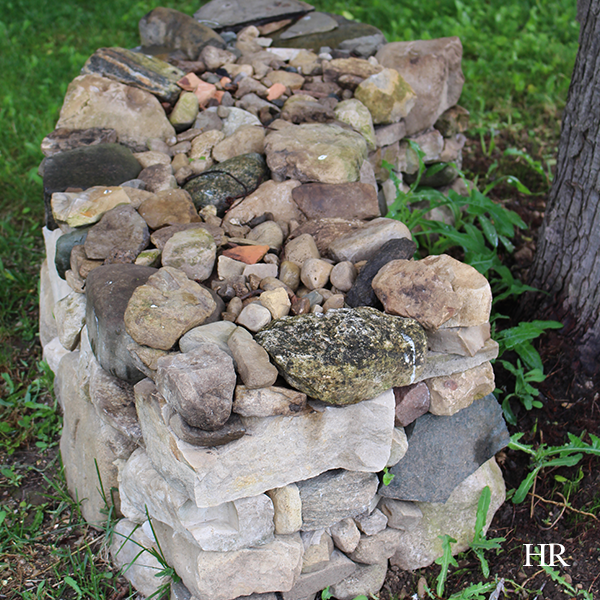
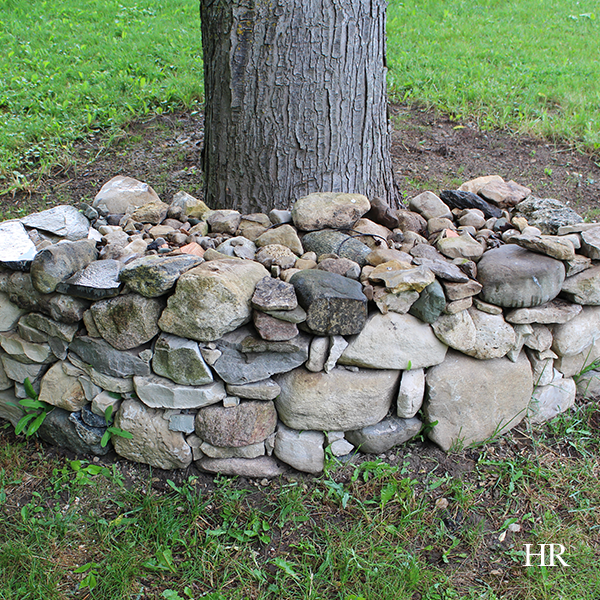
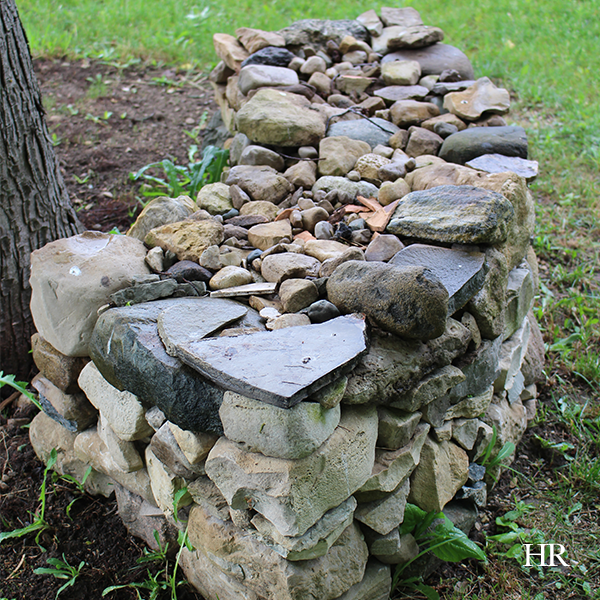
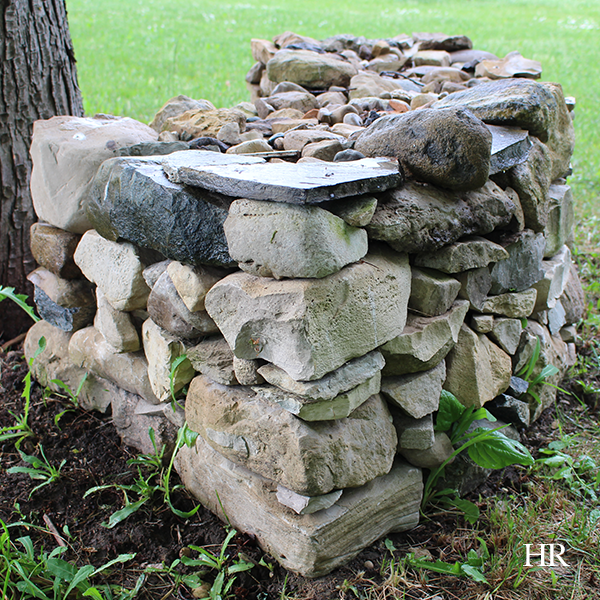
As you’ve read previously, Wes has completed two dry lay stone bench projects in our yard. In August, he started working on a third, just off our patio, and we’re finally getting around to posting more photos of the whole process. The photo above shows the dry lay bench when the yard-facing end was complete. Wes notes that if you’re building your own dry lay stone bench, it’s important to consider that each layer of the bench should be completed at the same time for structural strength.
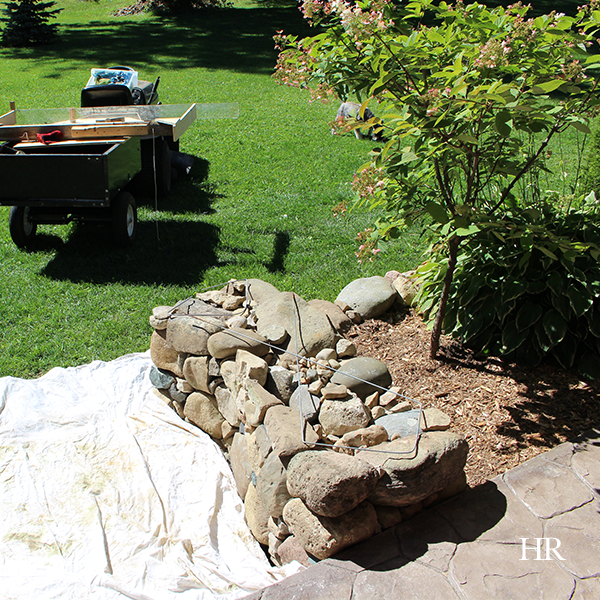
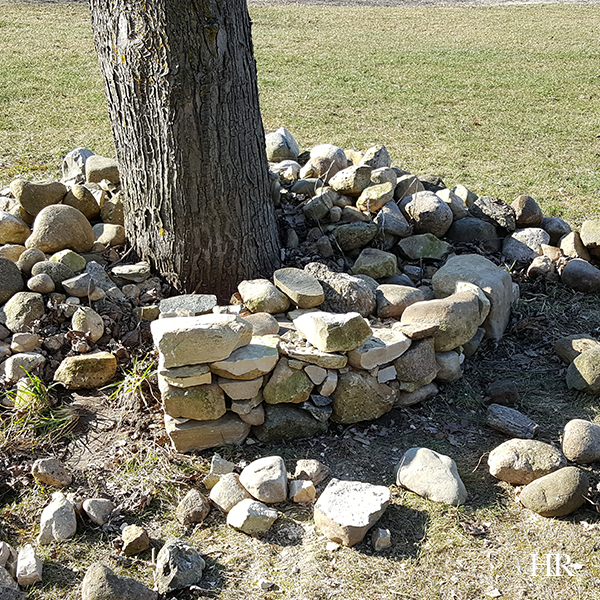
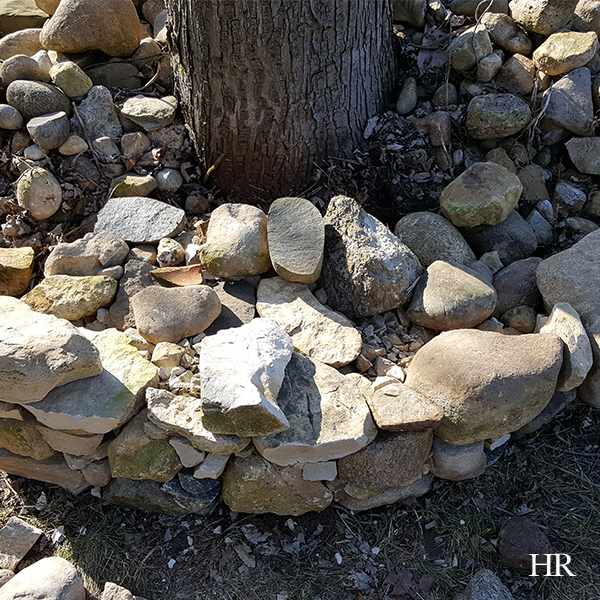
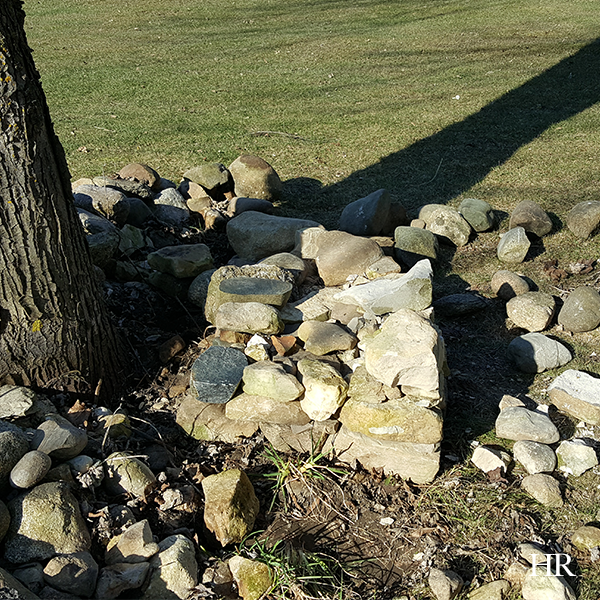
This is a photo from our patio vantage point, looking at the completed dry lay bench, just before Wes poured the concrete cap. Wes was very careful to maintain the angle of the bench, taking into consideration which way we want the water to run off the bench (away from our home and patio). During the building of the bench and pouring of the concrete cap, our patio stone was covered to prevent any staining or damage.
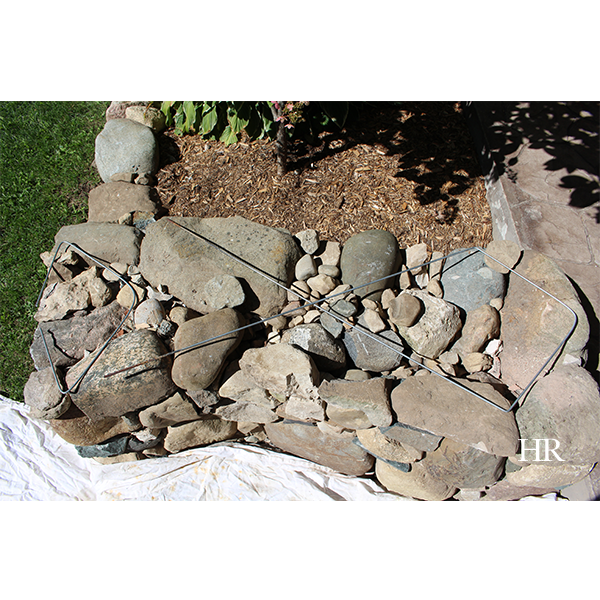
In preparation for pouring the concrete cap, Wes utilized some old wire from a sign in substitution for rebar and to reinforce the strength of the concrete cap. We debated whether we actually wanted to pour a cap on this bench, or just leave it as an entirely natural lay, and in the end we opted to pour a cap for a couple of reasons: 1. So the look of our patio would be symmetrical, and 2. A poured concrete cap = extra outdoor seating for entertaining in the summer months!
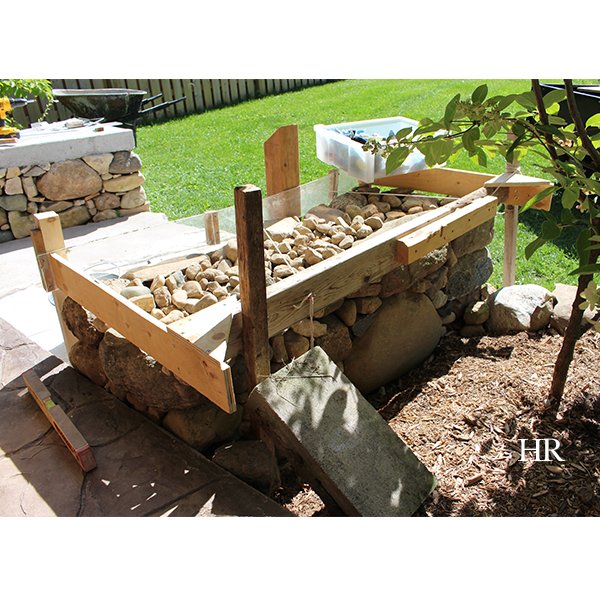
It required a lot of patience to build the form for the concrete. Wes ensured the run off angles were accurate by using a level every step of the way. He also used string to pull in the plexiglass side of the form to create the curved side of the concrete cap. He made several adjustments along the way as setting up the form was tedious work.
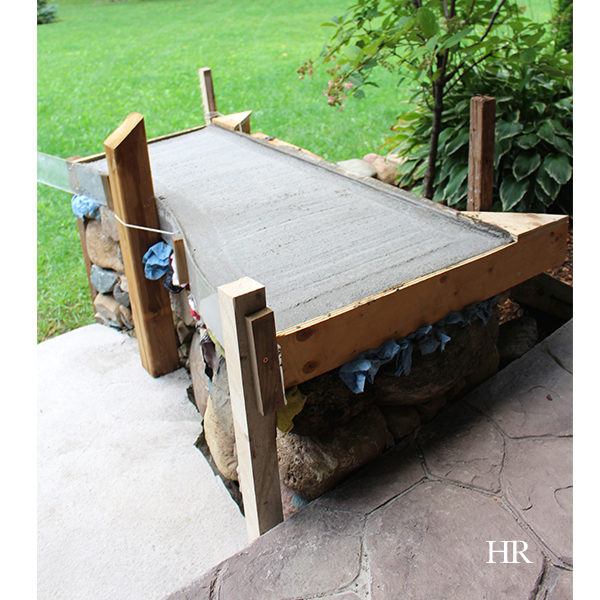
As you can see from the photo above, Wes used plexiglass for the one side of the form as we wanted to create a curved side that runs parallel with the natural shape of our patio stone. If you’re planning a project like this on your own property, we’d recommend ensuring that for your concrete cap you use the right ratio of water to cement. Add the water slowly to your mix. After the concrete cap was poured, Wes used a broom to create the brushed effect in the centre of the concrete, and used an edger to create the finished border.
Stay tuned for more pics of the finished product and our patio!
![False friends or counterfeit kindness; whatever you want to call it, the world is filled with people who will say one thing to your face and then another behind your back; people who will woo you in order to get something from you.
It’s sad, but it’s true.
The Bible provides us with examples from Joab to Judas, and yet, we’re surprised when we find ourselves deceived and hurt by someone else.
So what are some of the hallmarks of a true friend?
You can read more about this on hopereflected.com [Link in profile]
.
.
.
#friends #friendship #kindness #counterfeitkindness #hurt #proverbs #truefriends #hopereflected #blog #blogpost](https://www.hopereflected.com/wp-content/plugins/instagram-feed/img/placeholder.png)