Hope Reflected

Encouragement and Hope from God's Word

plants Archive

Thursday

22

June 2017

Gardening | Peonies

Written by , Posted in Gardening

Gardening | Beautiful peonies | Best perennials | Hope Reflected

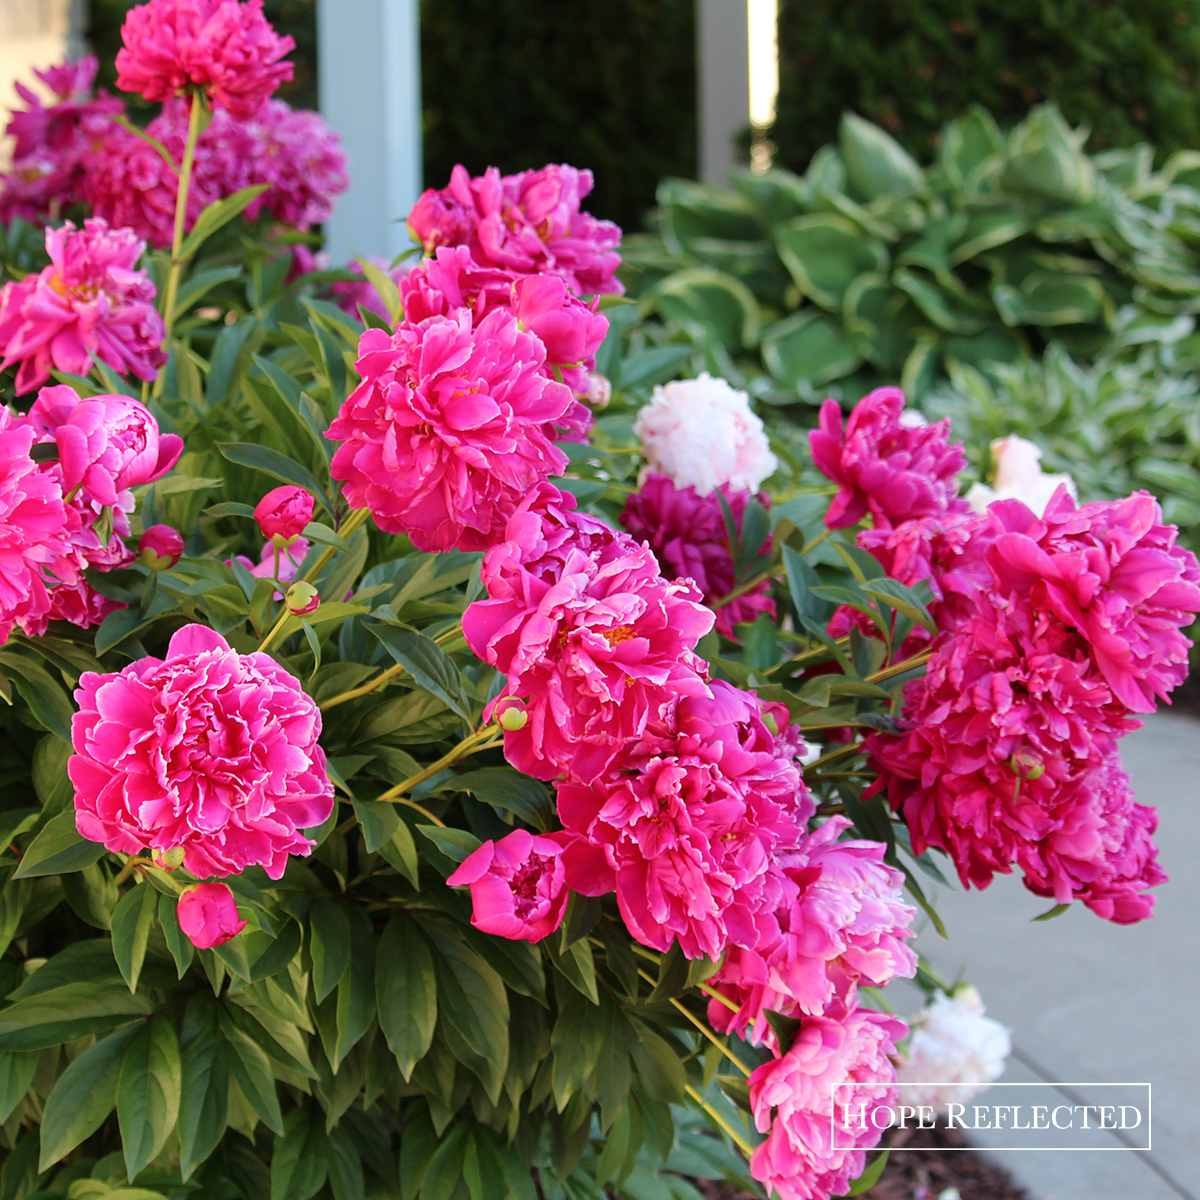
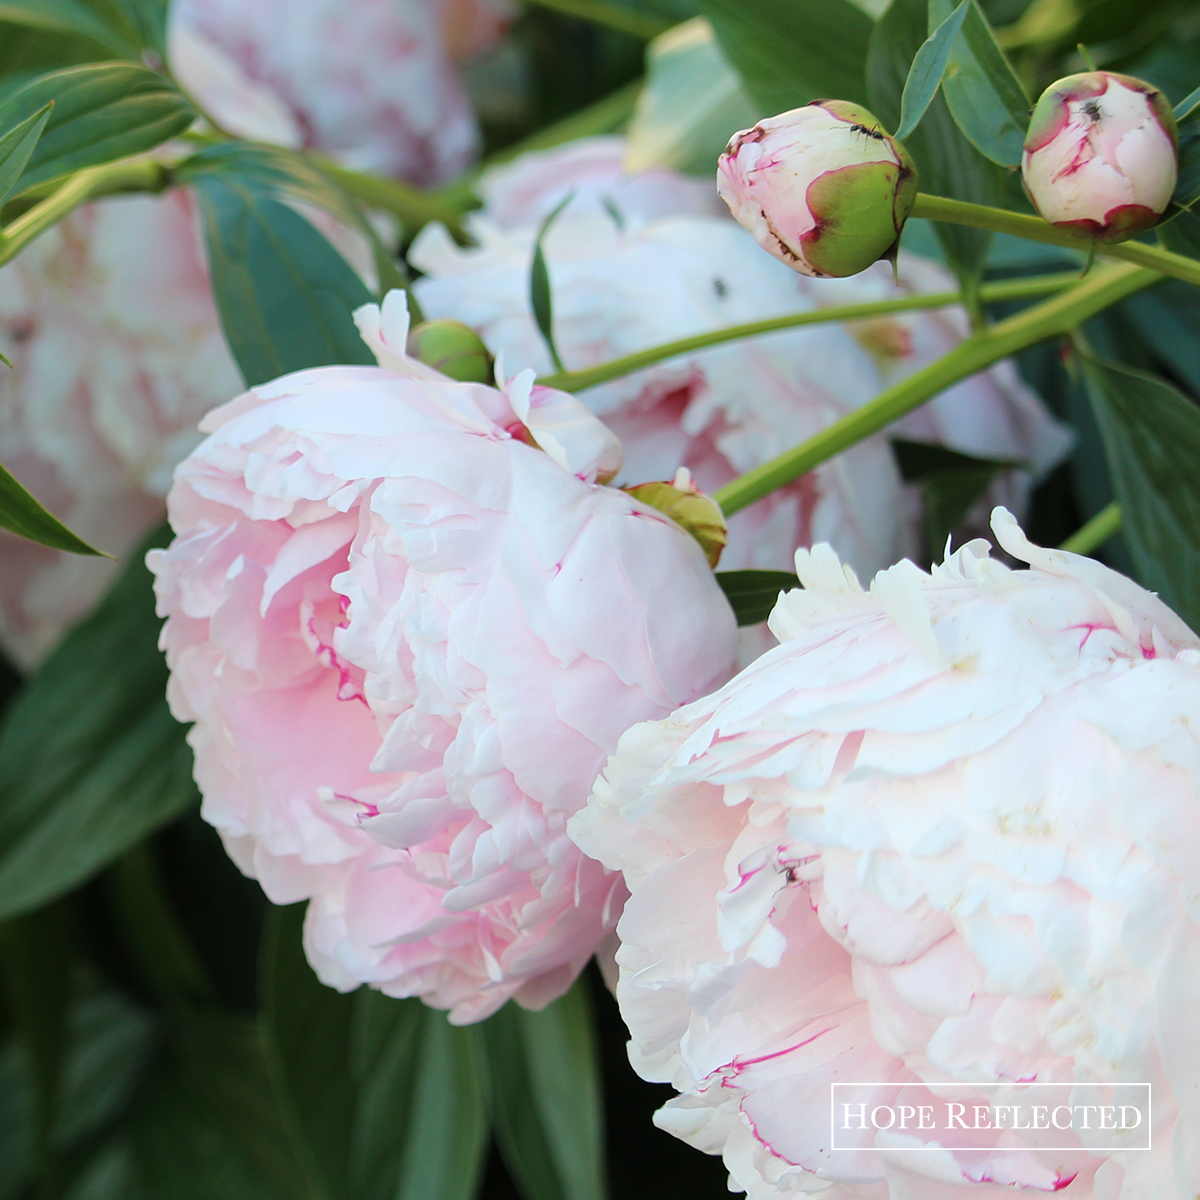
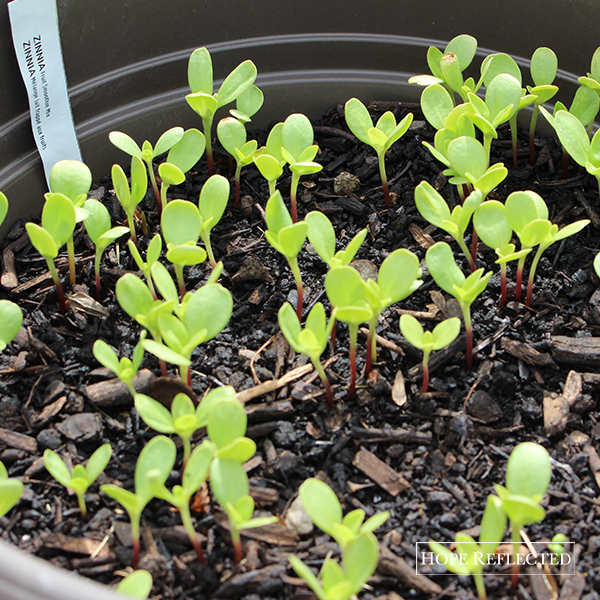
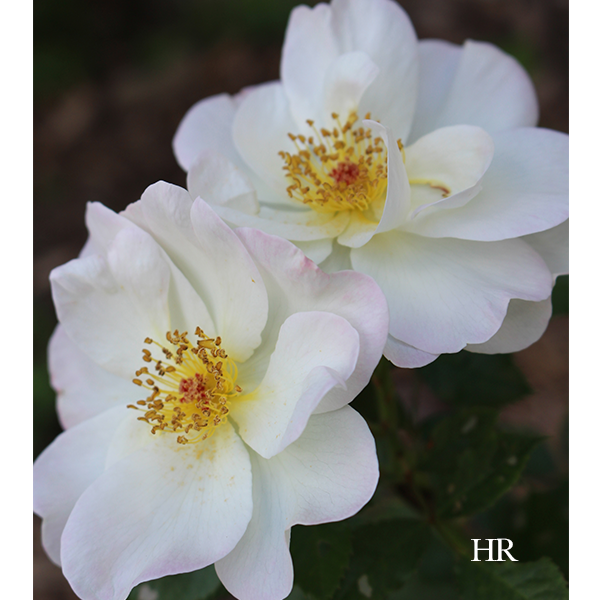
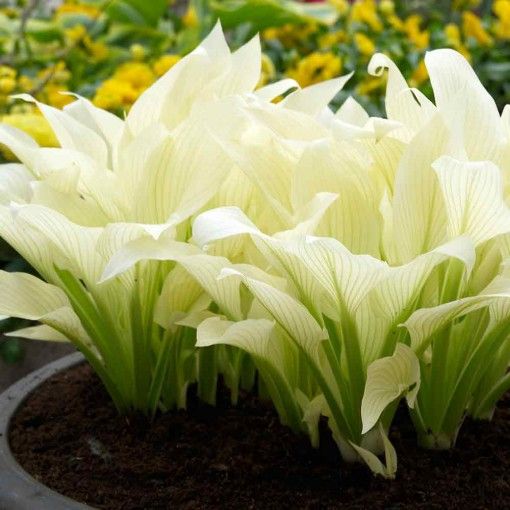
Our peonies have officially been in bloom for one week! This year, Wes and I really wanted to document the full process of the various plants in our garden and keep a photo journal so we can look back year after year and enjoy our progress.

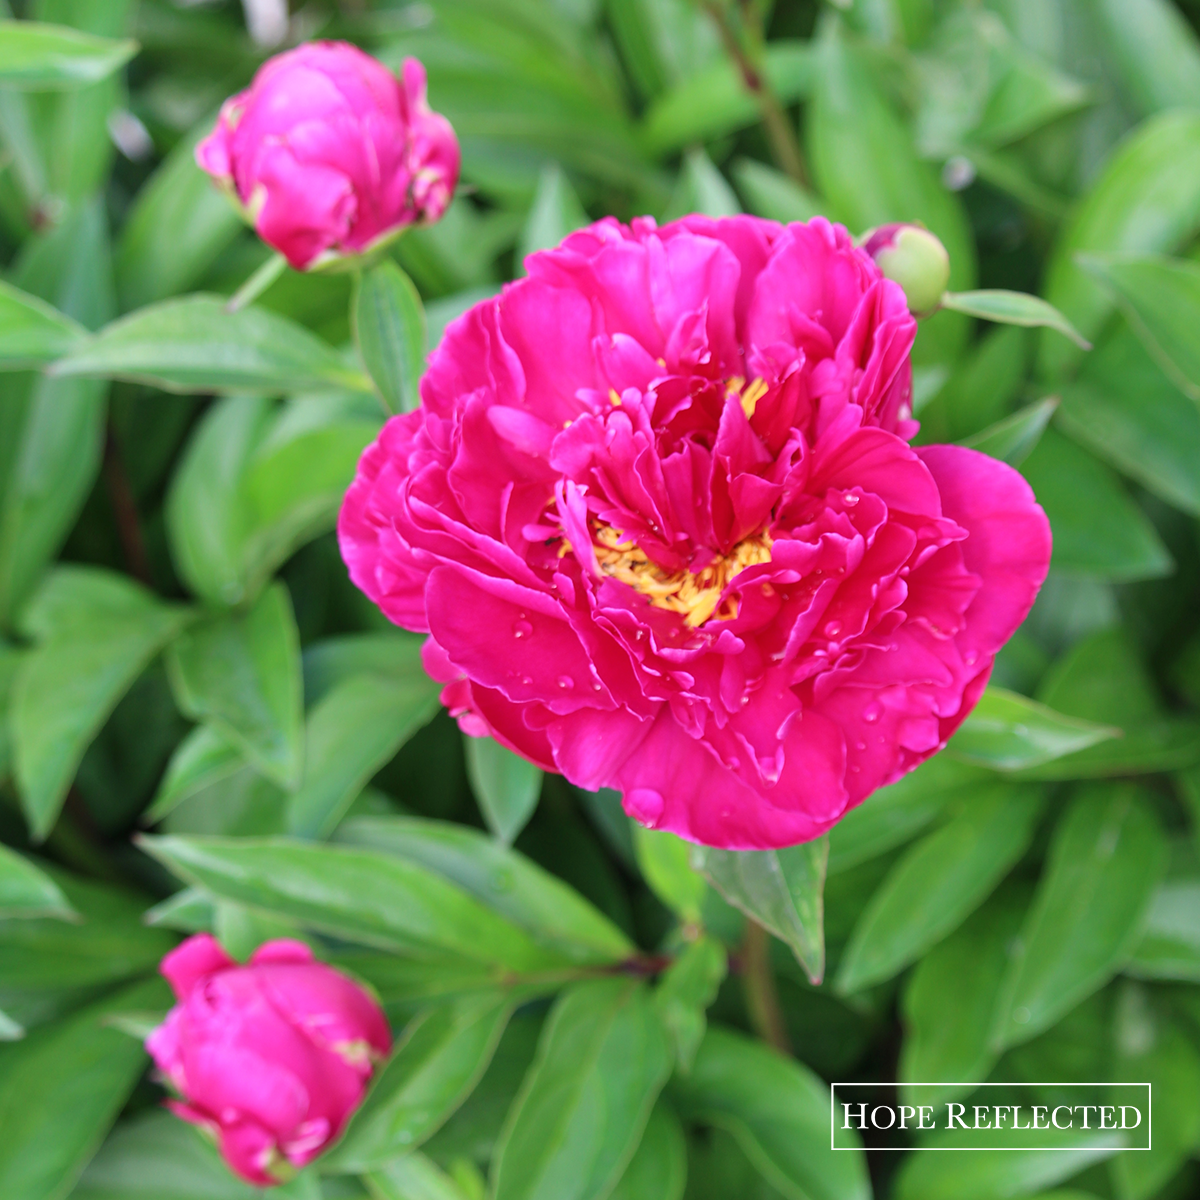
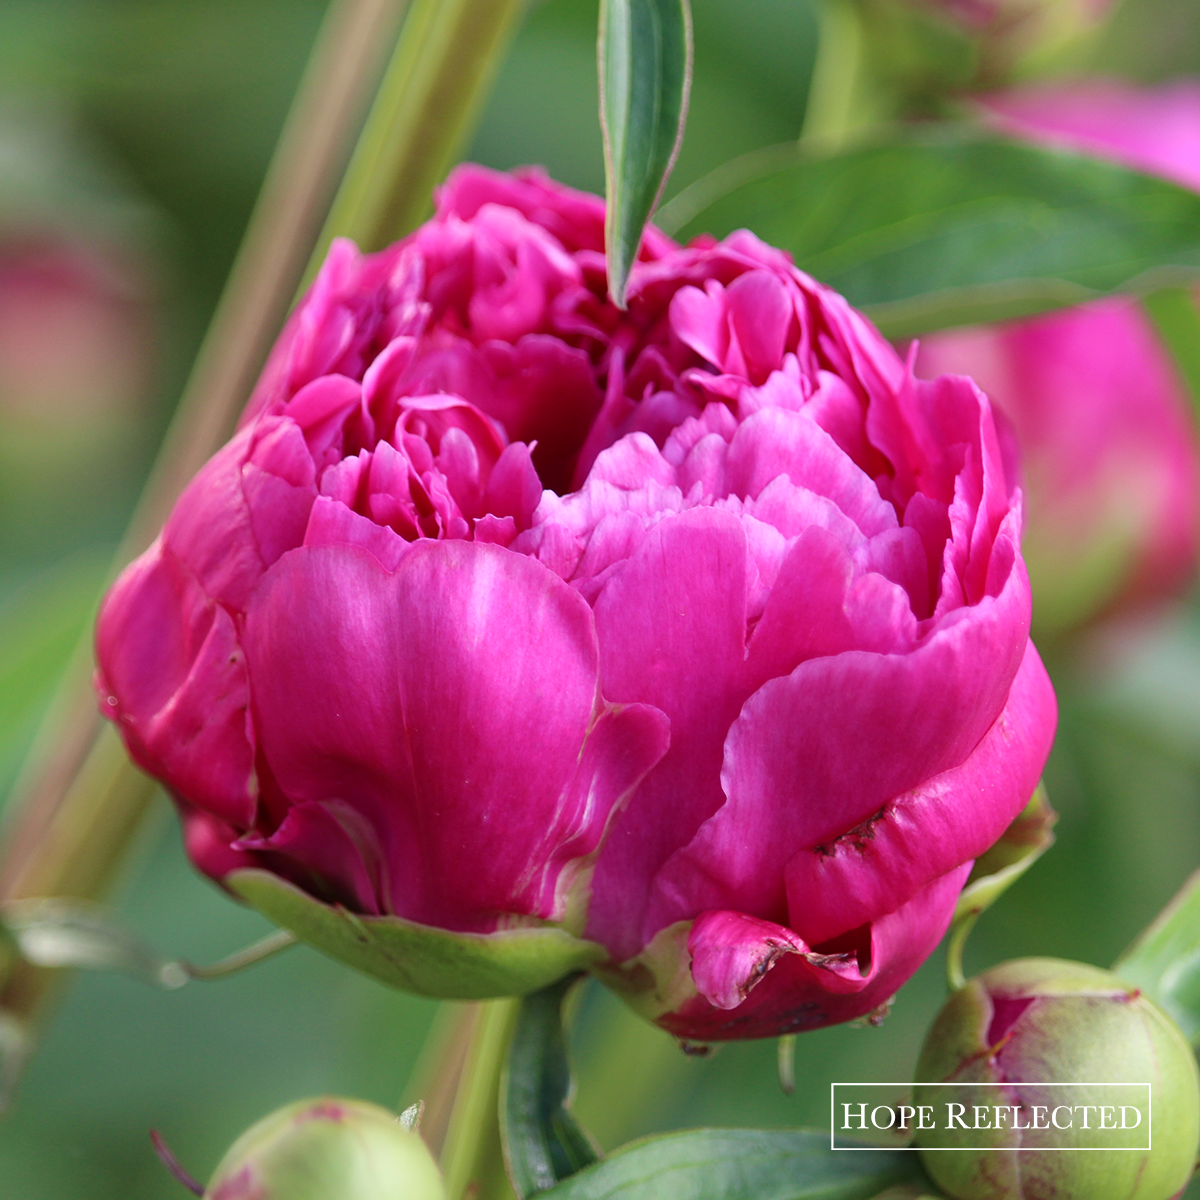
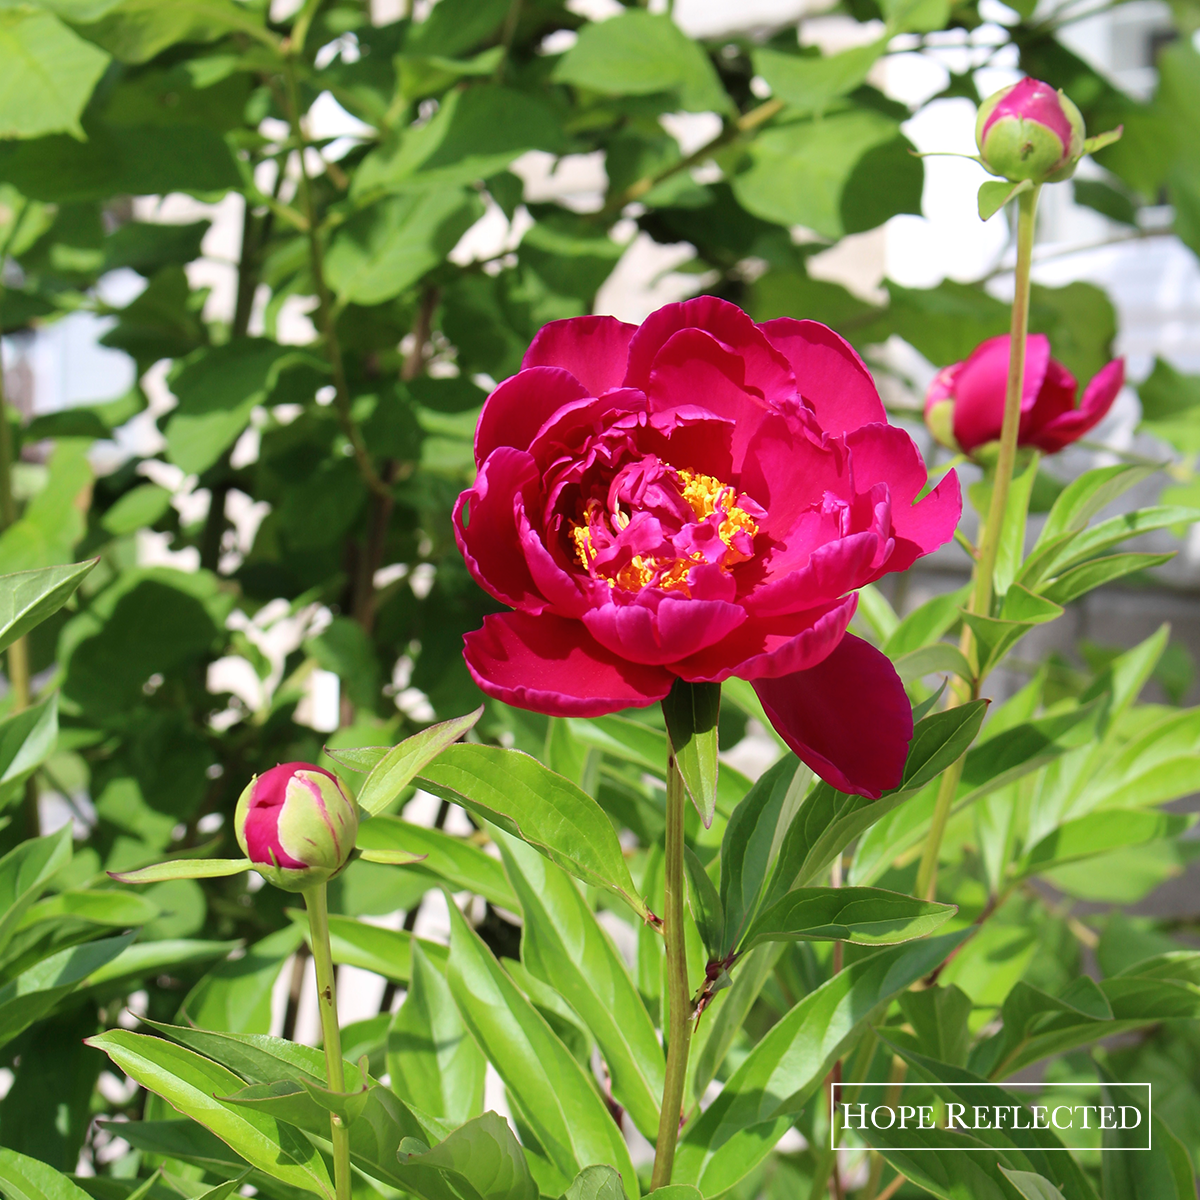
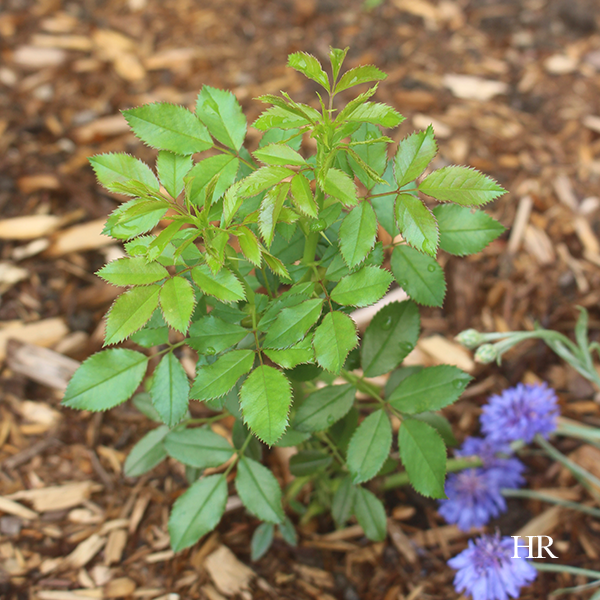
We’ve got three peony plants in our front yard, and throughout the fleeting weeks of June, we love watching our peony plants grow and blossom.

Gardening | Beautiful peonies | Best perennials | Hope Reflected

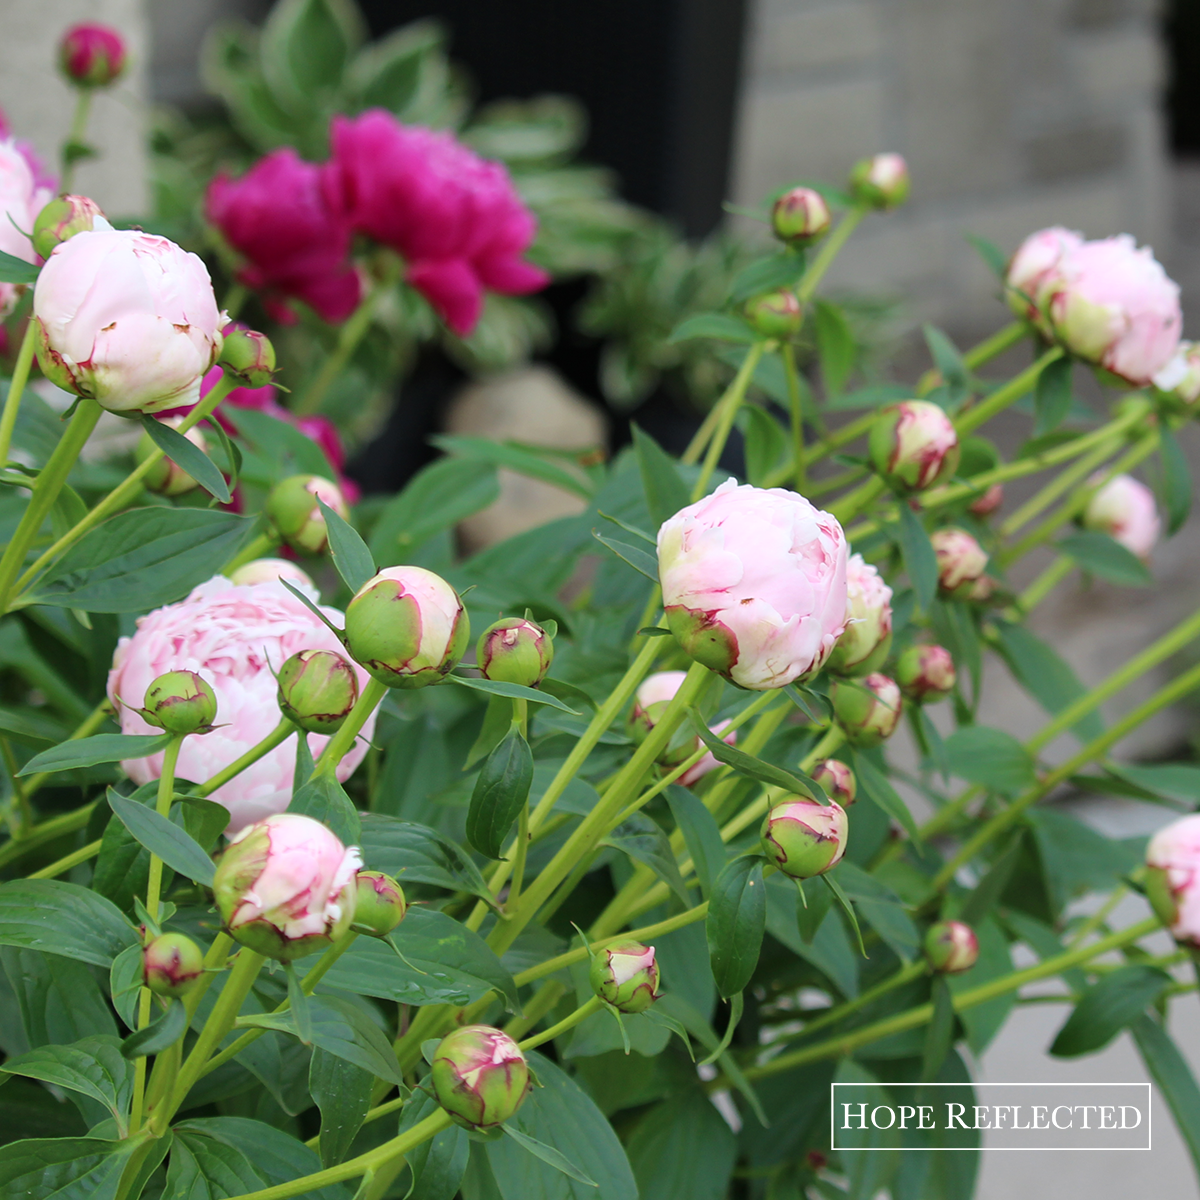
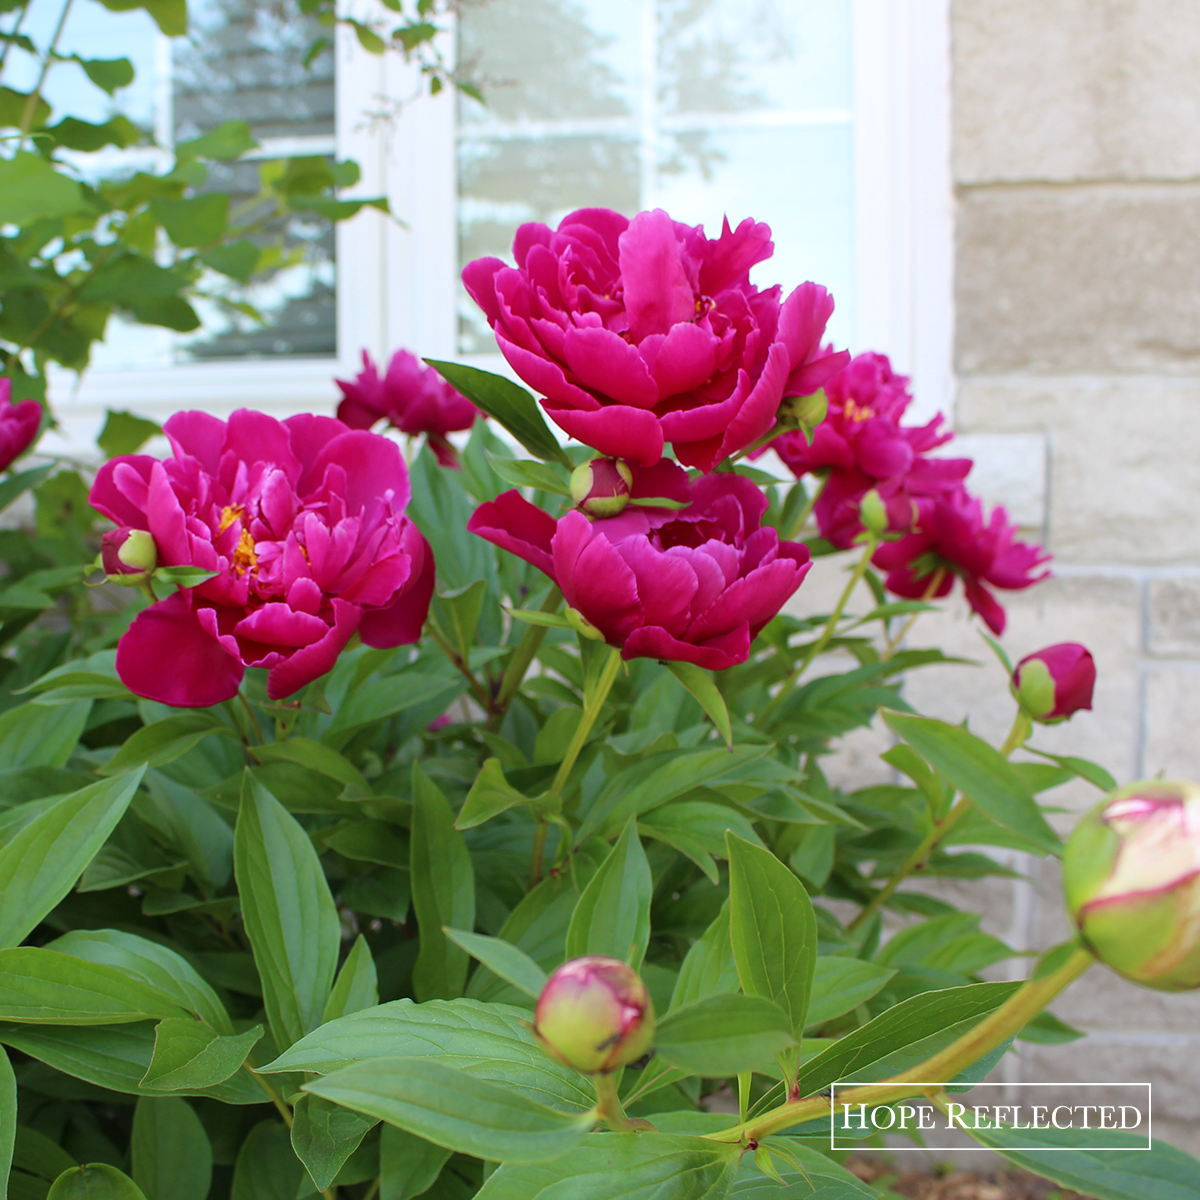
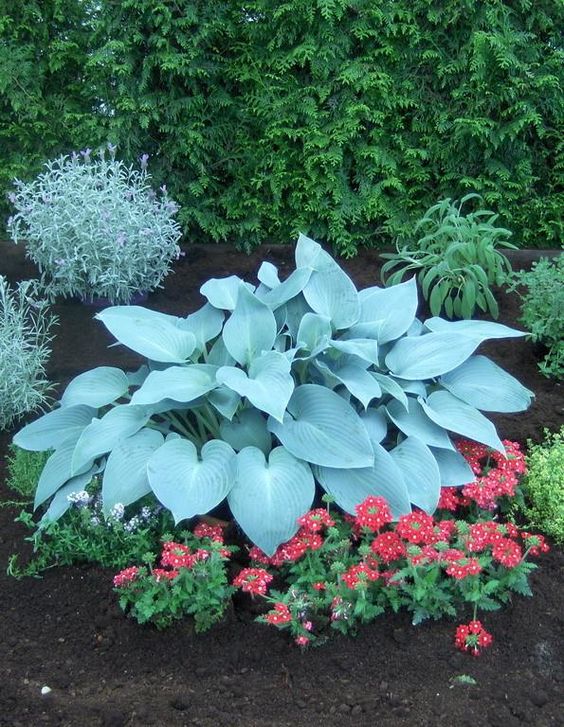
For the first time, we opted to use tomato cages around our peony plants to ensure that once at their full maturity for the season, the heavy balls of fluff didn’t just flop over due to their weight. The cages have been relatively successful, however we know for next year that the light pink peonies require the cage to come up just a bit higher (as you can see from these photos).

Gardening | Beautiful peonies | Best perennials | Hope Reflected

Do you have peonies planted in your garden? If so, what are your tips for best practices for the colourful perennials?

Some of our tips for keeping peonies:

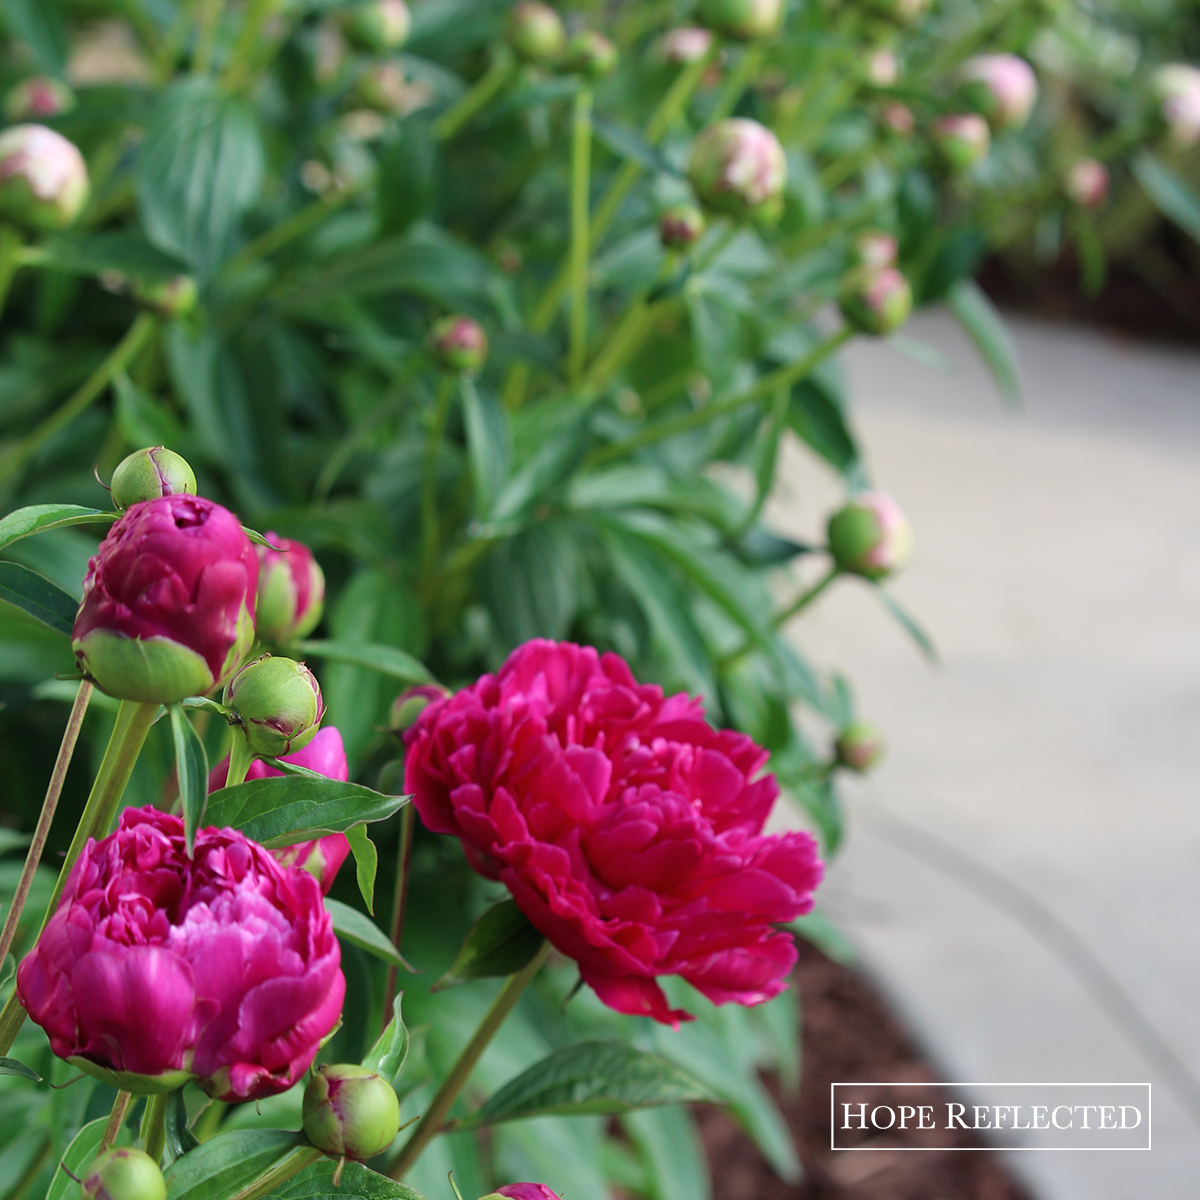
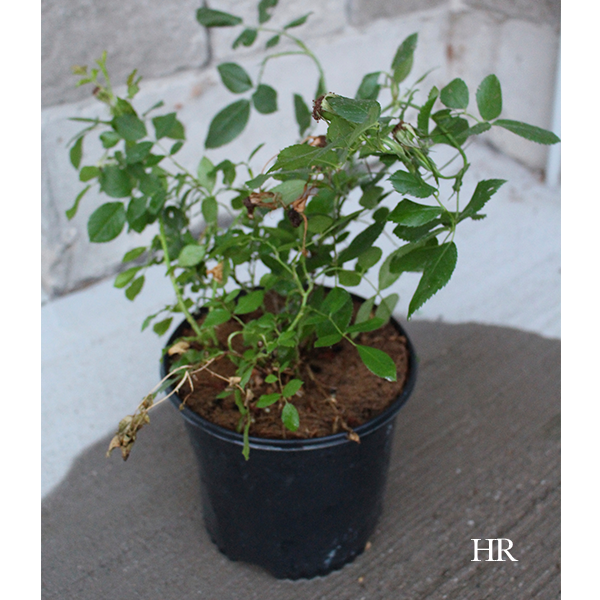
  • Early on in the season, use tomato cages to provide support around your peony plants. This will encourage the plants long, thin stems to grow straight, and also provide support for when the peony petals bloom (they’re a top-heavy plant).
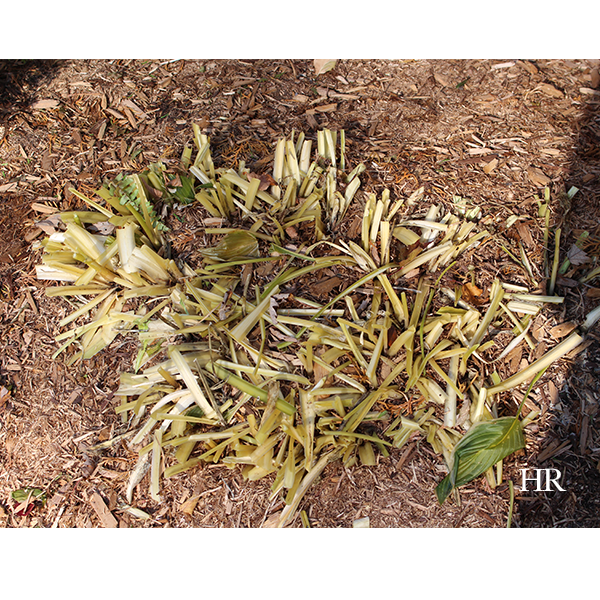
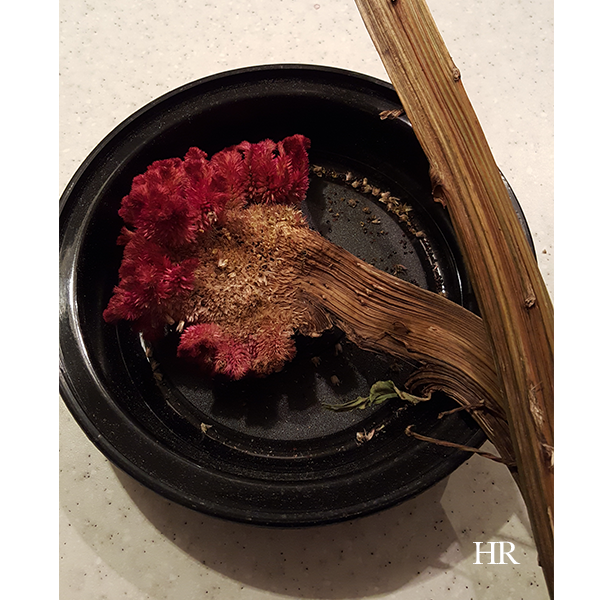
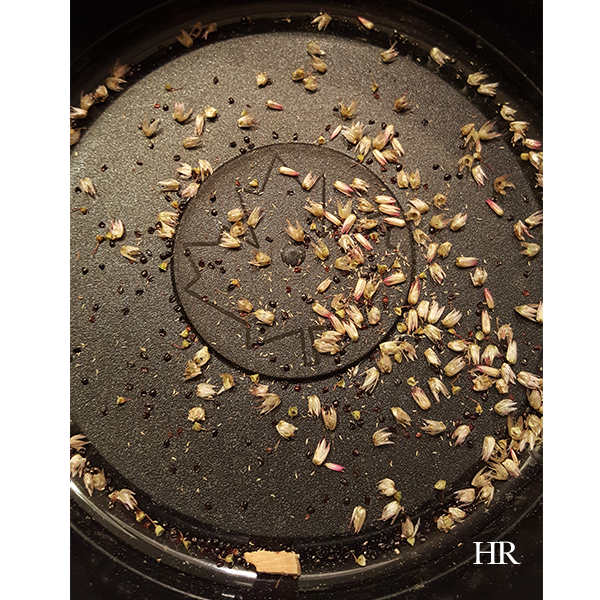
  • Let the peony seeds drop if you want a fuller plant year after year. Many people opt to collect their peony seeds before they drop, however if you want your plant to continue to thicken, let the seeds fall naturally.
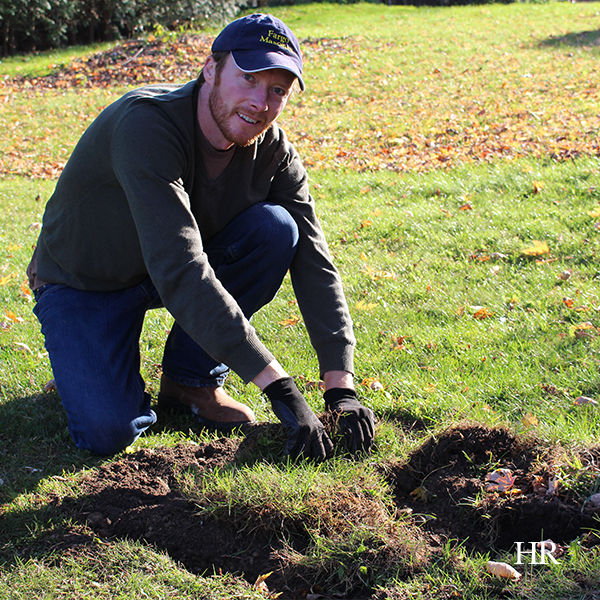
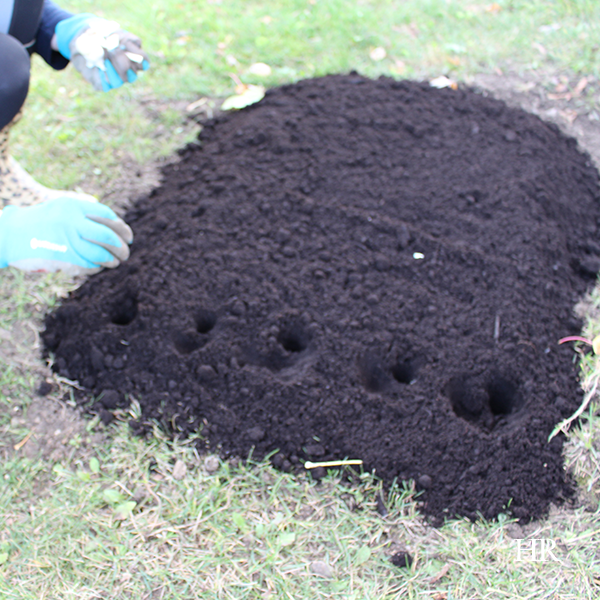
  • Plant any seeds you do collect in the fall. If you plant peony seeds in the spring, chances are your peonies will not grow and bloom until the following spring. Like garlic, peonies do best if they’re planted in the fall.
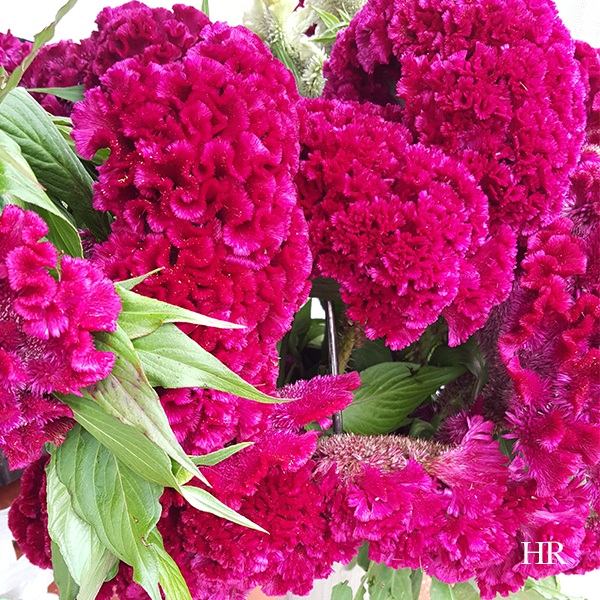
  • Don’t forget to enjoy your blooms! The season for peonies is a short one, so don’t forget to cut some of your peony blooms and enjoy them; they work wonders in brightening up a table setting — or someone’s day!

Gardening | Beautiful peonies | Best perennials | Hope Reflected

If you’d like to see pictures of our peonies from last year, check out this post about why I think peonies are some of the best perennials for your garden.

Gardening | Beautiful peonies | Best perennials | Hope Reflected

Gardening | Beautiful peonies | Best perennials | Hope Reflected


Tuesday

7

February 2017

Best Perennials for your garden | Peonies

Written by , Posted in Gardening

peonies peony plants gardening

“A rare fusion of fluff and majesty, the peony is now coming into bloom.” {Henry Mitchell}

The peony has long been one of my favourite flowers; a relatively low maintenance perennial, peonies look pretty, emit a delicate fragrance, and require relatively little attention (unless you want to trim them and enjoy the peonies from your garden indoors, then you have to deal with ants, which we’ll get to later in this post).

peonies peony plants gardening

If you’re in the midst of planning your spring garden, peonies should definitely be on your list of perennials to include in your garden design.

Looking to include peonies in your garden this year? Here are some gardening tips to consider when planting peonies:

  • Your best bet is plant peonies in the fall. I know, I know, we’re coming in to spring, but this is a very important fact to consider. We transplanted a peony plant year before last in the spring, and it was basically a season behind the other peony plants already in the garden.

peonies peony plants gardening

  • Peonies love full sun. They also require regular watering.
  • Some magazines and websites will tell you that peonies should be planted on their own; we’ve got our cluster planted at the foot of a hybrid lilac tree, and they thrive. No competition there.

peonies peony plants gardening

  • If you’re looking to trim your peonies to enjoy indoors, but run into “ants” tucked away under the peony petals, don’t panic! The ants are actually eating the nectar and have been known to keep peony plants free from disease. A good rule of thumb if you’re looking to trim your peonies and bring them indoors is to prepare a bowl of warm water with Dawn soap (the blue works best) and then dunk each bloom. The ants should come right off in the water, and the Dawn soap won’t hurt your peonies.
  • Popular varieties of the peony plant include the firelight (pale pink blossoms that bloom relatively early), Karl Rosenfield (large dark pink or crimson blossoms that bloom later than the other varieties), and early scouts (magenta/bright red that bloom early in the season).

peonies peony plants gardening

Tuesday

31

January 2017

Planning Your Spring Garden

Written by , Posted in Gardening

The middle of winter is a great time to get dreaming about your spring garden! Wes and I have already started planning our outdoor projects for the warmer weather, and we are so excited for gardening this year. You may be wondering how to start planning your spring garden, or where to start, so here are some tips to get a head start on planning your outdoor living oasis.

Planning your spring garden doesn’t have to be hard, in fact, quite the opposite! It should be a fun experience; a time to take note of the outdoor projects you want to complete, and narrow down a list of what’s actually realistic for one season.

Tips on planning your spring garden:

1. Take note of the perennials already in your garden. This will help you determine what (if any) new varieties you want to introduce in the spring. Keep in mind that some perennials — such as hostas or peonies — expand and grow year after year. Unless you catch the peonies before they go to seed, expect more peonies this spring (and that’s a beautiful thing)!

planning your spring garden


2. Determine what annuals you want to include in your garden. This can be as easy as looking online, browsing local seed catalogues, and figuring out what’s going to work for your outdoor space. Depending on the annual, you’ll want to get your seeds early, and possibly even start them indoors before the thaw. Last year, Wes and I tried our hand at a few different annuals. While our zinnias started out strong, in the end only the bachelor buttons survived. Prepare yourself by getting any potting supplies you’ll need for spring (we like to pot our annuals, as it makes for a portable garden).

planning your spring garden


3. Start preparing for any major outdoor projects now. Many people have a misconception that planning your spring garden involves solely plants. Not so! If you’ve got dreams of building an outdoor patio or outdoor living area, get your plans completed now so when the weather breaks you can start strong! Last summer, Wes built a few dry lay stone benches, and also completed a dry lay border around our gardens. We had the supplies in hand long before the outdoor work actually got started.

planning your spring garden


4. Cultivate what you already have. It can be tempting when spring rolls around to get all excited about new plants and making changes to your property, and rightfully so! However, keep in mind while planning your spring garden that you need to care for what you have already planted. Cultivating a full and lush garden involves a lot of manual work, and consistent maintenance makes that work a little easier to manage. Did you trim back any perennials in the fall and do a final weed? If not, get ready to weed your garden and trim back any old growth before your plants come out of dormancy.

planning your spring garden

If you’re looking for more tips on how to get planning your spring garden, head over to my Pinterest and check out my Gardening board.

Tuesday

10

January 2017

Gardening: 5 Benefits of Evergreen Trees

Written by , Posted in Christian Living, Gardening

benefits of evergreen trees

By definition, an evergreen is a plant or tree that maintains its leaves throughout the year. Whatever the season, the leaves of an evergreen are always green (hence the name, ‘evergreen’). The opposite of an evergreen plant or tree is a deciduous plant or tree, which by definition is a plant that loses its foliage during the fall, winter, or dry months.

benefits of evergreen trees

Did you know that there are more than 100 species of evergreen conifers throughout North America? It’s true! While Wes and I only have four species in our yard, the possibilities and styles are endless if you’re looking to incorporate evergreens into your property landscape.

benefits of evergreen trees

While some prefer more challenging trees with which to landscape their property, Wes and I both are fans of easy-maintenance evergreen trees for several reasons:

  1. Evergreen trees provide colour and character year-round. While deciduous trees lose their leaves, evergreens maintain their green colour all year long. In the middle of winter, when everything else is looking dull, evergreens bring some much-needed colour and character to your property.
  2. Evergreen trees provide an excellent wind-break. While this fact may be of more interest if you live in an area of the country that experiences harsh winters, wind-breaks are not only effective in protecting your home from wind and snow, they can also help conserve energy. Alternatively, evergreens also provide shade in the summer, which again, can help conserve energy.
  3. Evergreen trees provide a home for birds and other wildlife. You may not be an avid birder, however there’s something so special about watching birds flit about your yard. If you’re looking to attract birds to your yard, evergreen trees are certainly a suggestion, and you should also have a feeder equipped with food for whatever variety of bird you’re looking to attract.
  4. Evergreen trees are low maintenance. I’m all about plants that look good but that don’t require a whole lot of maintenance. Wes and I have a few different varieties of cedars in our yard, and we love them. We love them not just because they look good, but because they don’t require a lot of maintenance.
  5. Evergreen trees are great for the environment. Not only does one acre of trees provide enough oxygen for up to 18 people, trees also clean the air, save water, and even prevent soil erosion.

benefits of evergreen trees

benefits of evergreen trees

Tuesday

15

November 2016

Gardening | How to Prepare Hostas for Winter

Written by , Posted in Gardening

This past weekend, Wes and I were finally (finally!) able to get out and complete some much-needed yard work in preparation for the cooler months ahead. Mainly, we (Wes) were able to clean up the blowing leaves, trim back the hostas, and trim back the peonies for winter.

how to prepare your hostas for winter

As you can see, we’ve got lots of hostas around our home. We love them; in the summer, hostas are one of the most easy, low-maintenance plants you can get. They require very little attention, and they look fantastic. All. Summer. Long. We’ve been fortunate this year in that our hostas looked good well into October. Each year, we take care to cut them back before the snow flies, and so far, our methodology of how to prepare our hostas for winter seems to work (each year they come back stronger).

how to prepare hostas for winter

If you’re wondering how to prepare hostas for winter, here are a few tips:

  1. Trim the hostas back after the first frost. Try to do this before the leaves of the hostas get too wet and start to rot. Using shears or scissors (I used scissors), cut the hostas back and remove the leaves. I usually leave a good 3 inches or so on the stem.
  2. Dispose of the old leaves. For some reason, hostas seem to be attractive to slugs and snails. By trimming back the leaves and properly disposing of them (don’t leave them laying in your garden), you remove any protection or ‘home’ for the slugs. I’ve also heard from several avid gardeners that leaving a small bowl of beer out in the garden around your hostas is a great way to rid the garden of slugs and snails.
  3. Make plans to divide your hostas. Typically, gardeners recommend dividing hostas every few years. I was extremely fortunate, as all our existing hostas were gifted by our generous neighbours. Our hostas are coming into year four, and Wes and I need to decide which varieties we’ll divide next Spring. Dividing hostas is best done in the Spring.

preparing hostas for winter

Some people may choose to cover their remaining hostas stems with mulch; I’ve read mixed reviews on this method of preparing your hostas winter. In the photo above, you can see how Wes and I leave our hostas for the winter. We don’t cover them with mulch, we don’t do anything other than trim them back and get rid of the old leaves, and so far we haven’t been disappointed.

Any other tips you use for preparing hostas for winter? I’m interested to know!

Tuesday

8

November 2016

Gardening: How to Plant Garlic

Written by , Posted in Gardening

Last week, we shared some tips about when to plant garlic in your garden. We thought it would be neat to share our experience of planting our first garlic garden, and provide some tips on how to plant garlic (and then next Summer we’ll follow up and see if it worked).

how to plant garlic

First things first, we had to find the right spot in our yard. Good advice when you’re selecting a spot in your garden or yard to plant a garlic garden, choose a location that gets full sun. Wes removed the sod and worked the dirt, before adding black earth to the garden. You want your soil to be dug over. If you’re working with land that’s sandy or clay-like, that’s OK!

how to plant garlic

As we mentioned last week, garlic does best if you plant it in the Fall. In the garden, we created small pockets 4 to 6 inches apart. We also dedicated each row in the garden to a specific variety of garlic (more on that below).

how to plant garlic

Wes and I did some research before hand to see best practices on how to plant garlic. While some experts advise you should break your garlic cloves apart several days before planting, others advise that breaking the cloves apart too early will cause the cloves to dry out. Up to you, but we opted to wait until just before planting to break the cloves apart. Also, don’t peel the husk, leave the paper on the garlic cloves for planting.

how to plant garlic

When planting your garlic, place each clove about 2 to 4 inches deep in the ground. You’ll want to make sure the flat root is at the bottom, with the stem of the garlic clove facing up. Again, we planted our garlic, dedicating each row to a different variety. Rows should be about 6 inches apart, with about 4 to 6 inches between each clove.

how to plant garlic

Another important tip when considering how to plant garlic in your garden, is the fact that you shouldn’t plant just any garlic. We heard from several seasoned sources how garlic bought at the grocer’s doesn’t grow well (or sometimes at all) in the garden. The varieties of garlic that Wes and I planted this year were all purchased at the Stratford Garlic Festival.

Here’s some information about the different garlic varieties we planted:

  • Israeli garlic: A hard-neck garlic that harvests mid summer, Israeli garlic has white skin with purple flushes. Israeli garlic has up to 10 cloves per bulb.
  • Persian star garlic: A hard-neck garlic that harvests mid summer, Persian star garlic has purple-striped skin. Persian star garlic usually has about 8 cloves per bulb.
  • Sicilian garlic: A soft-neck garlic that harvests mid summer, Sicilian garlic has white skin. Sicilian garlic can have up to 14 cloves per bulb.

We documented which row each garlic variety is planted, and next Spring we’ll label the rows so we can keep track of which varieties thrive and grow best.

how to plant garlic


Tuesday

1

November 2016

Gardening: When to Plant Garlic

Written by , Posted in Gardening

when to plant garlic

Wondering when to plant garlic in your garden? While garlic can be planted in spring or fall, traditionally in our neck of the woods fall is the time to get those bulbs in the ground. We’ve had such a mild fall so far, which is great for those of us who are late getting our garlic in the ground!

when to plant garlic

If you take the time to plant garlic in the fall, typically before the first hard frost, you’ll see the greatest reward next summer, as bulbs planted in the fall tend to grow larger and with more flavour when harvested the following summer.

Back in September, Wes and I attended the Stratford Garlic Festival, and it was an incredible way to learn from local farmers about their best practices, what to do and what not to do when planting garlic, and also what different varieties of garlic mean for growing.

when to plant garlic

Here are some tips if you’re planting garlic in your garden this fall:

  • Break the garlic cloves apart before you put them in the ground (don’t peel the cloves before you plant them);
  • Plant your garlic about one month before the ground freezes for winter;
  • Garlic grows well in the sun, so keep this in mind when selecting a location in your garden;
  • Cloves can be placed 4 to 6 inches apart, and about 2 inches in the ground;
  • Plant your garlic cloves with the pointed end facing up. The root should face the earth.

More to come as Wes and I plant our garlic and get it growing!

when to plant garlic

Tuesday

25

October 2016

Gardening: How to Grow Cockscomb

Written by , Posted in Gardening

cockscomb

Low maintenance, fragrant, and absolutely vibrant, cockscomb are a flower oft-overlooked and taken for granted. Cockscomb, also known as Wool Flowers, or even Brain Celosia (because that sounds appealing), are beautiful blooming annuals that grow to be 12-30 inches in height.

Wes and I first came across these beauties at Stratford’s Garlic Festival this past September, and, you guessed it; we’re growing cockscomb next year!

While Stratford’s Garlic Festival is most widely known for its garlic (obviously), one of the booths we passed by was selling cockscomb stems for $1.00 each. Needless to say, after hearing a bit about the blooms and how you can save the seeds and plant the following seeding season, we purchased two with the intent of including them in our Spring 2017 garden.

Since mid-September, we’ve had our cockscomb blooms hanging upside down in a dry place, with a bowl beneath. After drying, the seeds fall from the cockscomb bloom, and can be planted the following season.

cockscomb

As you can see from the photo above, after a month and a half of drying, the cockscomb drops its seeds (the seeds come from the part of the plant beneath the coloured bloom but before the stem).

Cockscomb flowers usually come in four colour varieties: Yellow, pink, orange, and white. Interestingly, the name cockscomb comes from the similarity to a cock’s comb on a rooster’s head.

cockscomb

Aspiring gardener tip: When you’re drying your cockscomb, make sure you place a bowl beneath the plant in which to let the seeds fall. As you can see from the photo above, after about a month and a half, there are plenty of seeds collected or our garden next Spring. (Note: The seeds are the round black pieces, the lighter pieces are the seed casing or shells.)

cockscomb

I am very excited to see what happens next Spring when we plant the seeds rom our first-ever cockscomb plants. Cockscomb flowers are beautiful annuals, and it will be interesting to see how our latest gardening experiment turns out!

If you’re planning to plant your own cockscomb seeds next Spring, here are some tips:

  • Plant your cockscomb flower seedlings into moist soil in late spring.
  • You may opt to start your seedlings indoors about 6 to 8 weeks before your region’s last frost.
  • Outdoors, plant your seedlings about 8 inches apart.
  • Cockscomb seedlings grow best in full sun.

Tuesday

20

September 2016

Oscar Peterson Roses

Written by , Posted in Gardening

Earlier this Summer, I got an amazing deal on some roses that were listed as clearance at a local store. Marked down to less than half price, I couldn’t resist purchasing a bush of Oscar Peterson roses, part of the Canadian Artists series. It wasn’t necessarily the quality and good condition of the rose bush that sold me, it was more the fact that these were Oscar Peterson roses! (If you know Wes and I, you know our obsession with all things jazz music). Naturally, the Oscar Peterson roses seemed like they’d be a perfect fit for our front garden.

oscar peterson roses

As you can see from the photo above, our rose bush was in need of some tender love and care. We planted it as is, and trimmed off the dead blooms, and we also fertilized. Not discouraged, I thought it might help new growth if we trimmed the entire rose bush back. Sure enough, the plant grew back, however after about one month there were still no blooms.

oscar peterson roses

It looked good and appeared healthy, however nearer the end of August, our Oscar Peterson rose bush still had no blooms. It could have been related to the fact that we experienced a cooler period in the weather, or the fact that we trimmed back the entire rose bush. That being said, last week, after two months of no blooms, our Oscar Peterson rose bush finally produced the most beautiful, delicate blooms!

oscar peterson rose bush

Aren’t they absolutely lovely? We are loving these roses. As a mature flower, the Oscar Peterson rose features vivid white petals and a yellow stamen. The two roses pictured above were our first two blooms of the season, followed by two additional blooms that haven’t quite opened.

oscar peterson roses

As you can see, the blooms above are the roses before they’ve fully bloomed. The Oscar Peterson rose variety begins its life as a very soft yellow rose, and as it opens becomes a bright white. We’re thinking the two yellow blooms could be due to the cooler weather we experienced last week, and are looking forward to later this week when the roses totally open up.

The unfortunate thing about our Oscar Peterson roses is that since we’ve trimmed the bush back, the plant regrew and appeared healthy, however once the roses started blooming, we noted the leaves have taken on a spotted appearance, where the skin of the leaves actually takes on a transparent appearance. [#Gardenchat friends, any advice here would be appreciated.]

oscar peterson roses

Wes and I are looking forward to adding additional roses from the Canadian Artists Roses Consortium to our garden next year. If you’re not familiar with Canadian Artist roses, more than 1,000 original hybrids were made in the development of this series. 35 of these made the final selection list, and in 2007, two varieties (the Felix LeClerc rose and the Emily Carr rose) were introduced; in 2012, the Bill Reid rose was introduced; in 2014, the Campfire rose (named in honour of Group of Seven artist Tom Thomson) was introduced; and this year, in 2016, the Oscar Peterson rose was introduced.

If you’re looking for a unique flower for your garden, we would definitely recommend checking out the Canadian Artist rose series. Each bloom is beautiful, a different colour, and tells a story you can share in your garden for years to come. For more information, visit the Canadian Artists Roses website.

“In the plant world, none is more revered than the elegant rose, a symbol of true love for millennia, a flower of singular beauty with no equals.”


Thursday

1

September 2016

3 Hostas to Add to Your Garden

Written by , Posted in Gardening

I’m a huge fan of low maintenance plants, so it’s no surprise that hostas are one of my favourite perennials. Requiring little maintenance, hostas can grow just about anywhere, and besides watering, they’re some of the most low maintenance plants for your garden. If you’re looking for some hostas to plant in your garden, check out my Hosta Pinterest board for some inspiration!

Here are 3 hosta varieties to add to your garden that will definitely stand out:

1. White Feather Hosta. White feather hosts plants are characterized by their large, pure white leaves that emerge in late spring/early summer. Throughout the summer, you may notice green streaks developing on the foliage, and lavender flowers.

white feather hosta

img src jparker


2. Inniswood Hosta. What I love about the Inniswood hosta variety is the distinct texture on the leaves. While the colour of this hosta is similar to other varieties, the texture on the leaves gives almost a metallic look to the plant.

inniswood hostas

img src sunnysidegarden


3. Canadian Blue hosta. The Canadian Blue hosta has to be one of the most different hosta varieties that I’ve ever seen. I love how the steely blue contrasts against the green in the rest of this garden. What a beautiful plant!

canadian blue hosta

img src tradera

For more pictures of hosta plants and lots of gardening inspiration, follow me on Pinterest!